How to Apply Lime to Your Lawn Correctly: A Complete Guide
Lead Turfgrass & Lawn Care Specialist at Totally Green Lawn · Certified Turfgrass Specialist (CTS), Master Gardener, B.S. in Agronomy & Turf Science · 14+ years in residential turf management, organic fertilization, and weed science
If your lawn looks tired, patchy, or full of moss no matter how much you fertilize, the problem is probably hiding underground in the soil pH. Knowing how to apply lime to lawn correctly starts with one truth: lime isn't a quick fix, it's a soil correction, and skipping the test before you spread almost always backfires.
The numbers back this up. Most cool-season turfgrass grows best in a pH range of 6.0 to 7.0, and a huge share of home lawns sit well below that, especially in the Northeast, Pacific Northwest, and the Upper Midwest. As of 2026, university extension services still rank soil testing as the single most important step before any lime goes down.
Let's walk through what your lawn is actually telling you, and how to read the signals before you start spreading.
Quick Answer
To apply lime to a lawn correctly, start with a soil test. Confirm the pH is below 6.0. Pick calcitic or dolomitic lime based on magnesium levels.
Apply 25 to 50 lbs per 1,000 sq ft using a broadcast spreader. Water lightly afterward. Wait 3 to 6 months before retesting.
What Your Lawn Is Actually Telling You
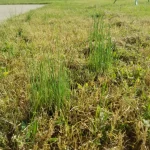
A yellowing lawn, slow growth, and moss creeping in are all classic signs of acidic soil. Fertilizer struggles to work when pH is off. Iron and phosphorus get locked out.
Lime corrects that, but only when the soil actually needs it.
Here are the most common visual cues homeowners report in our research:
- Persistent moss, especially in shaded or wet spots
- Poor response to fertilizer even after multiple applications
- Thin, patchy turf that won't thicken up
- Acid-loving weeds like dandelions and clover taking over
- Yellowing between grass veins (a sign of iron lockout from low pH)
If any of these match your lawn, lime might help. But here's the catch: those same symptoms can also point to compacted soil, drought stress, or grub damage. That's why guessing costs you money.
The only way to know for sure is to test, not to spread.
Testing First: The One Step That Changes Everything
Skip the test, and you're guessing in the dark. A soil test tells you three things no amount of guesswork can: your current pH, your buffer pH (how strongly the soil resists change), and your magnesium level. Together, those three numbers dictate how much lime to apply, what type to buy, and whether you even need lime at all.
Most university extension labs charge $15 to $30 for a full analysis. Home test kits run $10 to $25 and give you a rough pH reading, though they don't typically include buffer capacity. The USDA Natural Resources Conservation Service maintains a national soil survey database that can also help you understand your native soil type.
What the Numbers Actually Mean
| pH Reading | What It Means | Action |
|---|---|---|
| Below 5.5 | Strongly acidic, nutrient lockout likely | Apply lime based on buffer pH |
| 5.5 to 6.0 | Mildly acidic, lime often helpful | Light to moderate lime application |
| 6.0 to 7.0 | Ideal range for most turfgrass | No lime needed, retest in 1 to 2 years |
| Above 7.0 | Alkaline, lime will make it worse | Do not apply, consider sulfur instead |
One more detail most homeowners miss: the buffer pH. Two lawns can both read 5.5, but one might need 30 lbs of lime per 1,000 sq ft while the other needs 60. Buffer pH accounts for soil texture.
Clay-heavy soils resist change more than sandy soils. That's why extension lab reports include a recommended rate. Use it, don't eyeball it.

Choosing the Right Lime for Your Soil and Grass
Once you have your test results, the next decision is which lime to buy. There are three main forms on the market, and they behave very differently in a home spreader.
Pelletized vs. Pulverized vs. Liquid Lime
| Form | Best For | Reaction Time | Spreader Compatibility | Cost per 1,000 sq ft |
|---|---|---|---|---|
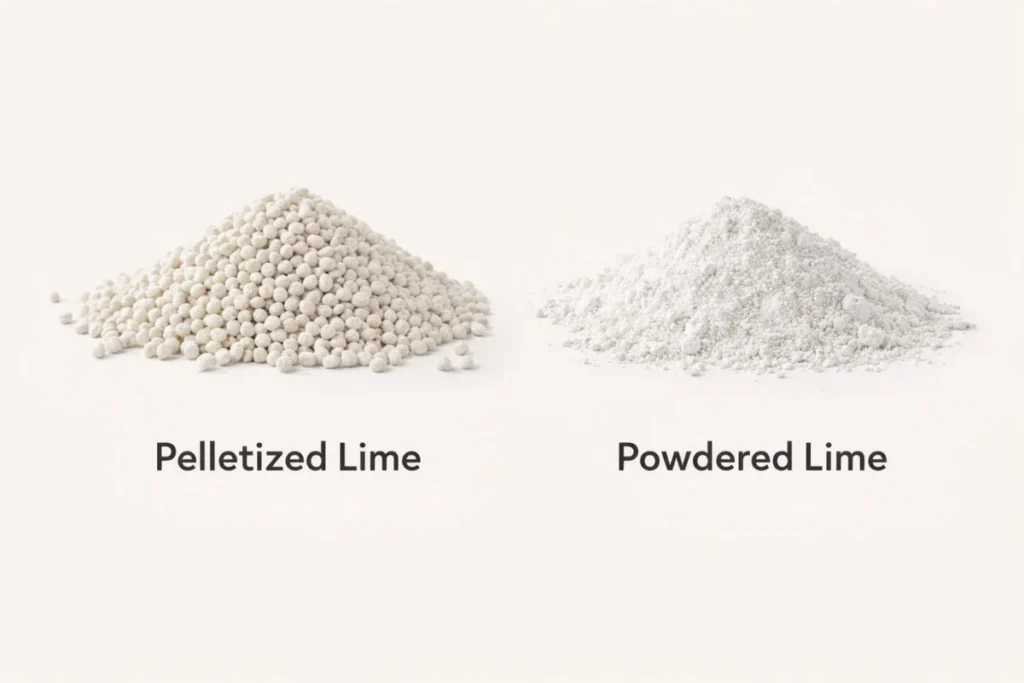
| Pelletized | DIY homeowners, small to mid lawns | 2 to 4 weeks | Drop or broadcast, easy | $3 to $8 |
| Pulverized | Large areas, professional use | 1 to 2 weeks | Broadcast only, clumpy in drop spreaders | $2 to $5 |
| Liquid | Quick pH nudge, foliar boost | Days, short-lived | Hose-end or tank sprayer | $8 to $15 |
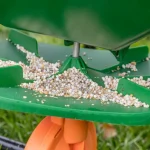
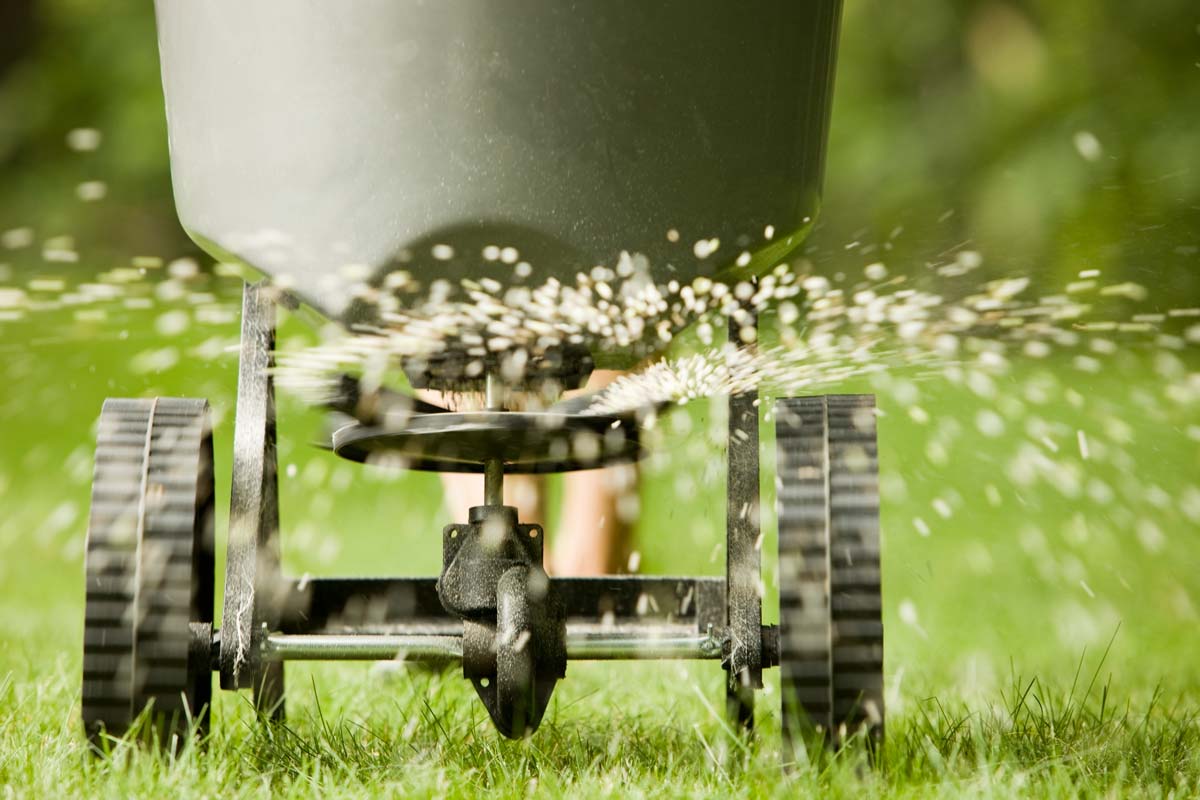
Pelletized lime is the easiest for most homeowners. The uniform pellets flow through a standard broadcast or drop spreader without clumping. Pulverized lime is finer and reacts faster, but it creates dust, stains driveways, and tends to bridge in smaller hoppers.
Liquid lime is convenient and fast-acting, but it doesn't correct deep soil pH the way a dry product does.
Calcitic vs. Dolomitic: It Depends on Magnesium
The calcium versus magnesium question trips up a lot of people. Both lime types raise pH, but dolomitic lime also adds magnesium. If your soil test shows adequate or high magnesium, go with calcitic lime.
If magnesium is low, dolomitic is the better pick. Aggregate reviews of extension guidance consistently point to this same rule: match the lime to the test, not to the bag on sale.
Hydrated lime, sometimes called "slaked lime" or "burnt lime," reacts almost instantly. It's also caustic enough to burn skin, eyes, and turf. We don't recommend it for home lawn use under any circumstances.
The risk-to-reward ratio simply isn't there when pelletized and pulverized options are widely available.
How to Apply Lime to a Lawn Step by Step
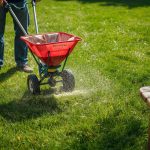
You've tested, you've picked your lime, now it's time to put it down. The actual application is straightforward, but the sequence matters. Rush it or skip a step, and you'll end up with uneven coverage and a partially corrected lawn.
Step 1: Mow the Lawn Short
Cut your grass a notch or two below normal height the day before. Short grass lets the lime reach the soil surface instead of getting trapped in the canopy. Bag the clippings so they don't form a thatch barrier.
Step 2: Calibrate Your Spreader
Check the lime bag for a recommended spreader setting. These vary by brand, but most pelletized lime products work well at a mid-range broadcast setting. If you've never calibrated your spreader, do a test pass on your driveway.
You'll see the spread pattern and can adjust your walking speed to match.
Step 3: Apply in Two Crisscross Passes
This is the technique most DIYers miss. Apply half the total lime in one direction (north to south), then apply the other half perpendicular to that (east to west). The crisscross pattern eliminates the striping that happens when you only do a single pass.
Overlap each pass slightly so you don't leave gaps.
Step 4: Sweep Hard Surfaces Immediately
Lime will stain concrete, pavers, and asphalt if left to sit. Sweep it off driveways and walkways right after application. A leaf blower works well for getting stray pellets off edges.
Step 5: Water Lightly
Give the lawn about a quarter inch of water after applying. This activates the lime and pulls it off the grass blades down to the soil. Don't flood it.
A gentle, even watering is all you need. Heavy rain right after application can wash lime into low spots and create uneven correction, so check the forecast first.
Step 6: Stay Off the Lawn for 24 to 48 Hours
Keep kids and pets off the treated area until the lime has been watered in and the grass has dried. Once the lawn is dry to the touch, it's safe for normal traffic. Manufacturer safety data sheets confirm this 24 to 48 hour window for most pelletized products.
Timing, Rates, and What to Expect After Application
Lime isn't a fast-acting product, and setting the right expectations keeps you from over-applying. Most homeowners see visible improvement in turf color and density within 3 to 6 months, though pelletized lime can show subtle changes in as little as 2 to 4 weeks. The full pH correction typically takes a full growing season.
When Should You Apply Lime?
Fall is the gold standard window. Cooler temperatures, fall rains, and winter freeze-thaw cycles all help drive lime into the soil profile. Plus, your lawn is heading into dormancy, so there's no risk of stressing actively growing grass.
Early spring is the second-best option. Apply lime before peak growth kicks in. Avoid summer applications on cool-season lawns, since heat stress plus lime activation can compound and yellow the turf.
Warm-season lawns like Bermuda and Zoysia can handle late spring applications just fine.
Don't apply lime to frozen ground. The pellets won't break down properly. They also won't stick where you put them.
Spring melt can wash everything into the storm drain.
How Long Until pH Actually Changes?
Here's a realistic timeline based on aggregate extension guidance:
| Stage | Timeframe | What You'll Notice |
|---|---|---|
| Initial reaction | 2 to 4 weeks | Lime starts dissolving into soil |
| Early improvement | 2 to 3 months | Slight color deepening, better fertilizer response |
| Full correction | 3 to 6 months | pH test confirms target range |
| Long-term holding | 1 to 3 years | Lime continues buffering soil acidity |
One more detail: don't expect lime to fix everything. A soil test showing pH 5.2 with low potassium and compacted clay needs more than lime alone. You'll get partial improvement, then hit a ceiling until you address the other issues.
That's why a complete soil test report is worth the $20.
Mistakes That Burn Lawns and Waste Money
Most lime application problems fall into a handful of common categories. Knowing what not to do is just as important as knowing the right steps.
Applying Lime Without a Soil Test
This is the single most common mistake, and the most expensive. Without test results, you're guessing on both the rate and the need. Aggregate extension reports consistently identify this as the top reason lime applications fail or backfire.
If your pH is already 6.5, adding lime pushes it alkaline and locks out iron, manganese, and phosphorus. Your lawn gets worse, not better.
Over-Liming in a Single Application
More lime does not mean faster results. A 10,000 sq ft lawn with pH 5.2 might need 400 to 500 lbs of lime over a year, but that doesn't mean you dump it all in one weekend. Split applications are safer.
Apply half in fall, the other half in spring, and retest before going further. This avoids shocking the soil biology.
Using Hydrated Lime on the Lawn
We've covered this before, but it bears repeating. Hydrated lime is caustic. It can burn grass blades on contact, irritate skin and eyes, and damage nearby concrete.
It reacts almost instantly, which sounds appealing, but the risk far outweighs the reward. Pelletized or pulverized agricultural lime is the safe, effective choice for home lawns.
Combining Lime and Fertilizer Too Soon
Wait at least 2 to 4 weeks between lime and fertilizer applications. They're doing opposite things in the soil. Lime is raising pH, while most fertilizers work best in slightly acidic conditions.
Applying them together can waste both products. The same rule applies to seeding: give the lime time to start working before you drop new seed, or the seedling root zone won't be at the right pH for establishment.
Walking On Wet Lime
Freshly applied, wet lime tracked onto a driveway will etch the surface. Sweep it off hard surfaces before watering in. Once it's been watered and dried, it's stable, but the first 24 hours are when most staining happens.
Lime vs. Other Soil Amendments: When to Use What
Lime isn't the only soil amendment out there, and it's not always the right answer. Knowing when to use lime versus gypsum, sulfur, or compost depends entirely on what your soil test shows.
Gypsum vs. Lime
Gypsum (calcium sulfate) doesn't change pH. It adds calcium and sulfur, and it's excellent for breaking up heavy clay soils. If your pH is already in the 6.0 to 7.0 range but your soil is compacted, gypsum is the better pick.
Aggregate reviews of extension guidance confirm: gypsum for structure, lime for pH.
Sulfur vs. Lime
Sulfur does the opposite of lime. It lowers pH, making soil more acidic. If your soil test shows pH above 7.0 and your lawn looks yellow and stunted, you need sulfur, not lime.
Adding lime to already-alkaline soil is a fast track to dead turf.
Compost vs. Lime
Compost is a slow, gentle pH buffer. It also adds organic matter, improves soil structure, and feeds microbial life. For lawns that are only slightly acidic (pH 5.8 to 6.0), a top-dressing of compost may be enough.
For more significant corrections, lime is faster and more targeted.
Wood Ash vs. Lime
Wood ash raises pH and adds potassium, but the effect is variable and hard to predict. It's also slow and can create localized hot spots. For predictable, uniform pH correction, lime wins every time.
The bottom line: test first, then match the amendment to the problem. Lime is a powerful tool, but only when the soil actually calls for it.
🧪 Agronomist Recommended: Soil pH Testing & Aeration Gear
Healthy root systems require balanced soil chemistry and loose structure. Our field testing recommends calibrated digital testers and biological aerators:
- Digital Soil pH & Moisture Tester:Check Digital Lawn Soil pH Testers on Amazon →
- Liquid Soil Aerator & Penetrant:Check Liquid Soil Aerators & Conditioners on Amazon →
*FTC Disclosure: As an Amazon Associate, Totally Green Lawn earns from qualifying purchases.*

Similar Posts