How to Calculate Inches of Water Your Lawn Gets from a
Lead Turfgrass & Lawn Care Specialist at Totally Green Lawn · Certified Turfgrass Specialist (CTS), Master Gardener, B.S. in Agronomy & Turf Science · 14+ years in residential turf management, organic fertilization, and weed science
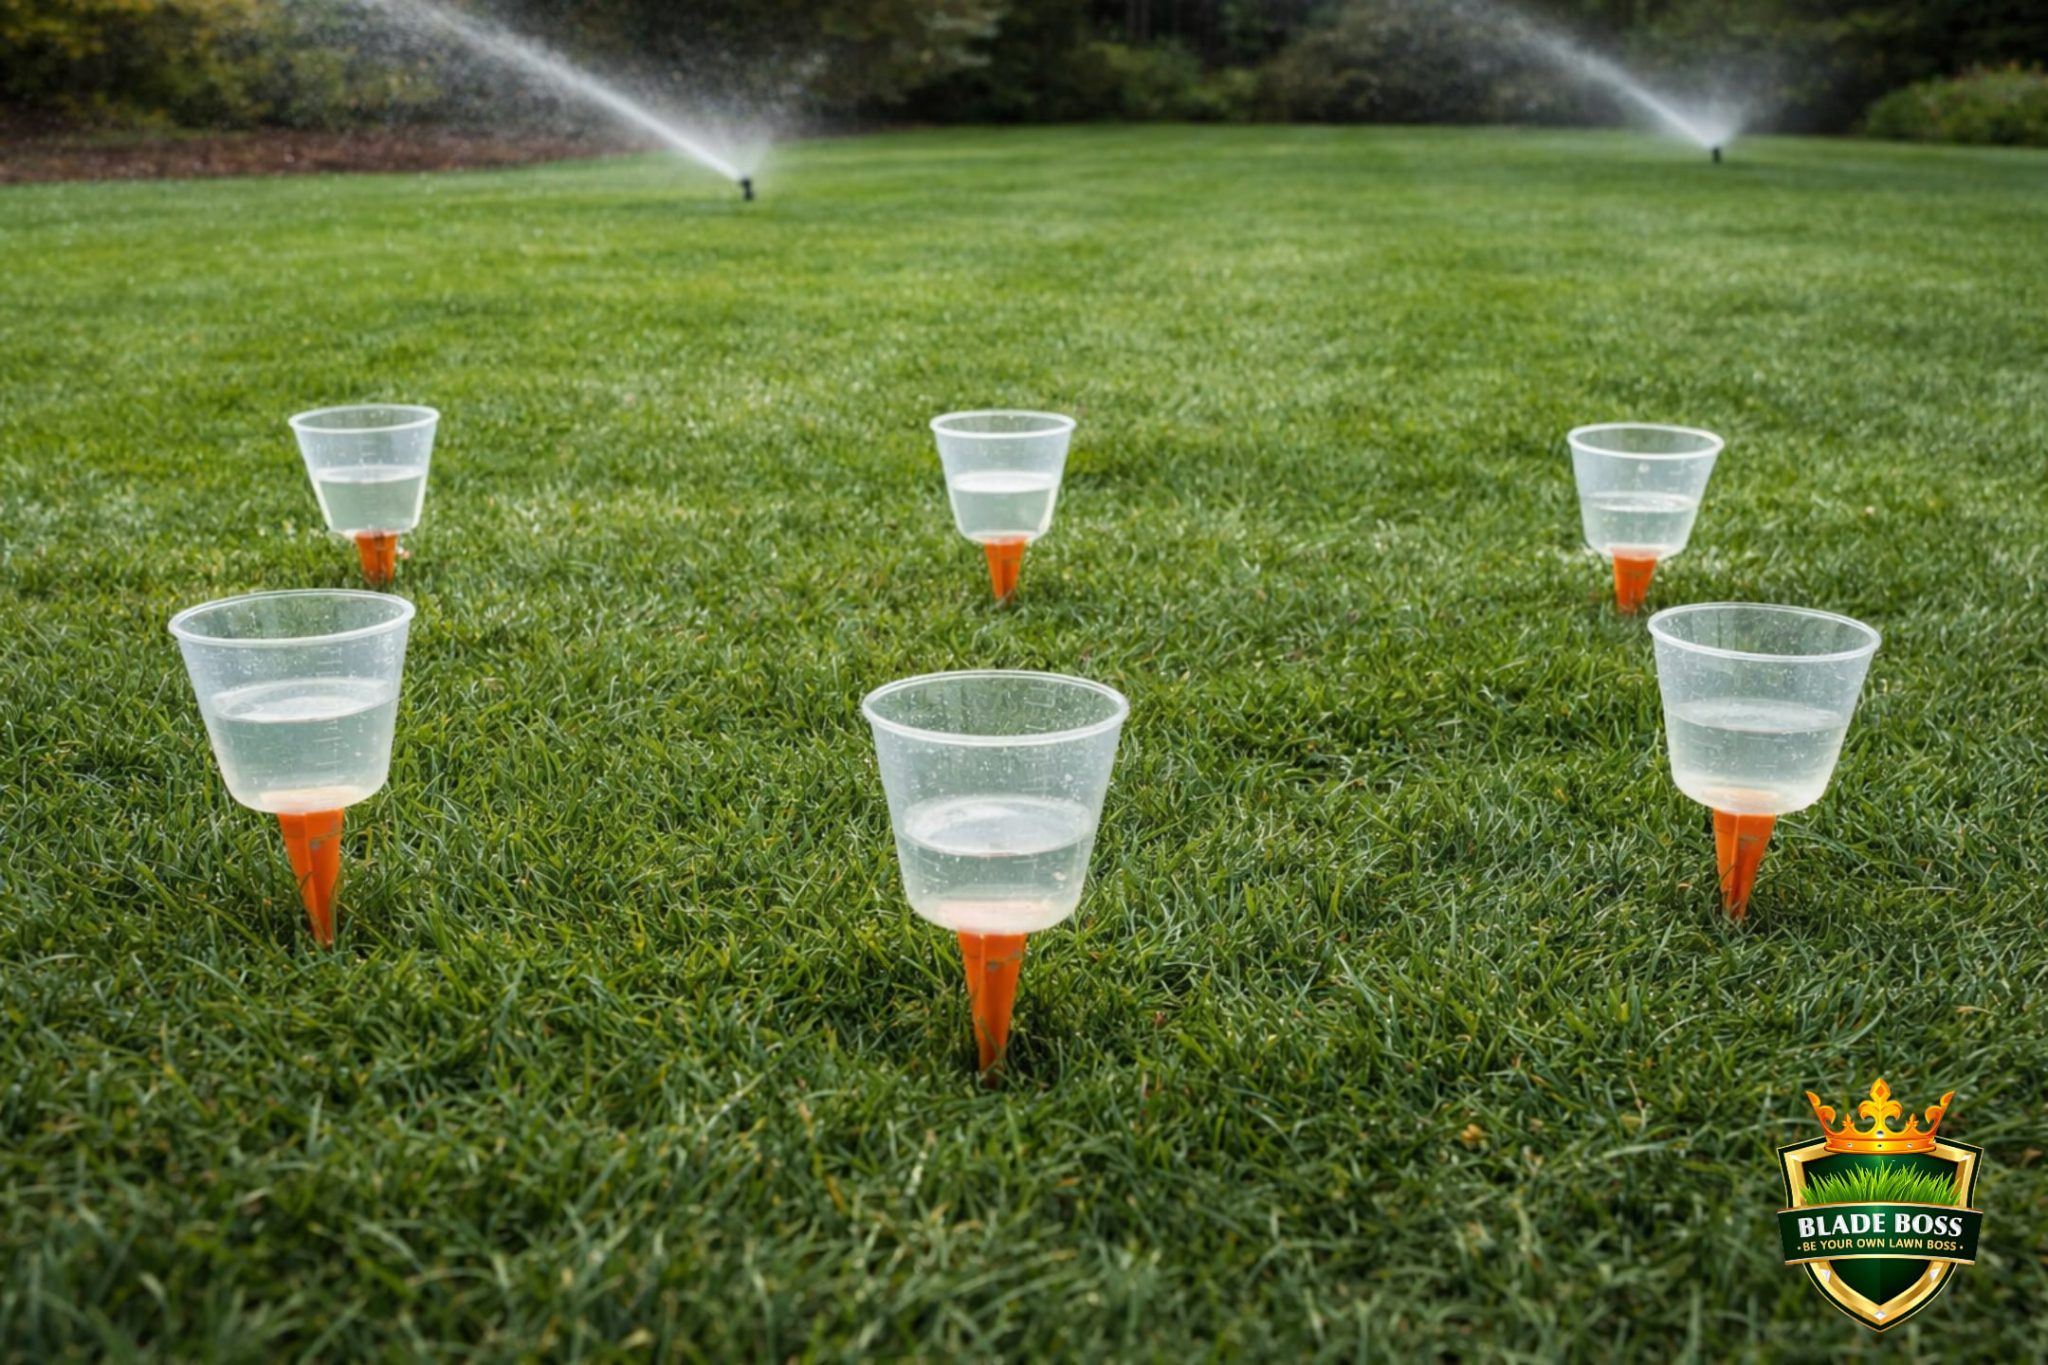
If you've ever stood in your yard after running the sprinklers and wondered whether your lawn actually got the inch of water your controller claims to deliver, you're not alone. Most homeowners eyeball it, then either underwater their grass or waste hundreds of gallons a year chasing a guess. The good news is that learning how to calculate inches of water lawn gets from sprinkler output is a quick, DIY-friendly skill, and you only need a few identical containers and a stopwatch to get a real number.
The catch can test is the same method university extension services and EPA WaterSense-trained auditors use, and it works for almost any setup from a single oscillating hose sprinkler to a multi-zone in-ground system. Manufacturer specifications confirm that a typical spray head delivers around 1.5 to 2.0 inches per hour, while rotors average closer to 0.4 to 0.6 inches per hour, so the same 20-minute runtime can put down wildly different amounts of water depending on what you've got. Let's walk through the variables, the formula, and the test itself so you can dial in your schedule before the next dry stretch hits.
Quick Answer
Place 6 to 12 identical flat-bottomed containers in a grid inside one irrigation zone. Run that zone for a set time, usually 15 to 20 minutes. Measure the average depth of water collected in inches, then divide by the run time in hours.
That's your precipitation rate. Multiply that rate by your scheduled runtime to find out how many inches your lawn actually receives each cycle.
The Core Formula (and Why Most People Get It Wrong)
The math behind sprinkler output is dead simple once you see it, but almost everyone skips the one variable that actually controls the answer: your sprinkler's precipitation rate (PR), measured in inches per hour.
Here's the formula, plain and simple:
Average water collected (inches) ÷ Run time (hours) = Precipitation rate (inches per hour)
Then, to figure out how much water your lawn gets in a normal cycle:
Precipitation rate × Run time (in hours) = Inches delivered per cycle
Let's run through a real example. Say you set out 10 containers, run your spray-head zone for 20 minutes (that's 1/3 of an hour), and the average depth in the cans is 0.65 inches.
- 0.65 inches ÷ 0.333 hours = 1.95 in/hr (your precipitation rate)
- 1.95 in/hr × 0.333 hours = 0.65 inches delivered in that 20-minute cycle
If your controller runs that zone three times a week, you're putting down about 1.95 inches per week, which sits right in the sweet spot for most cool-season lawns as of 2026 guidance.
Why "set the timer and forget it" fails
Most homeowners just dial up 15 or 20 minutes per zone and assume the lawn is happy. The problem is that zones are rarely uniform. One zone might have all rotors, the next all spray heads, and a third might mix both.
Each type outputs water at a different rate, so the same runtime delivers different inches across the yard. Without measuring, you're basically watering by feel, and that's where overwatering bills and dry patches come from.

Sprinkler Type and Pressure: The Variables That Change Your Numbers
Before you grab your cans, it helps to know what's actually driving your numbers, because two yards can run identical 20-minute cycles and deliver wildly different inches.
Spray heads vs. rotors vs. drip
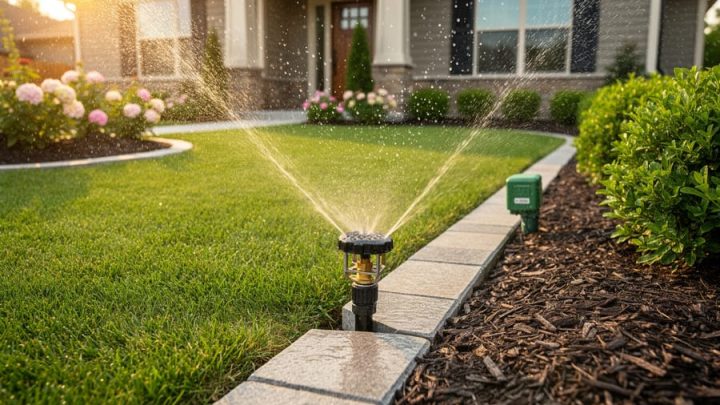
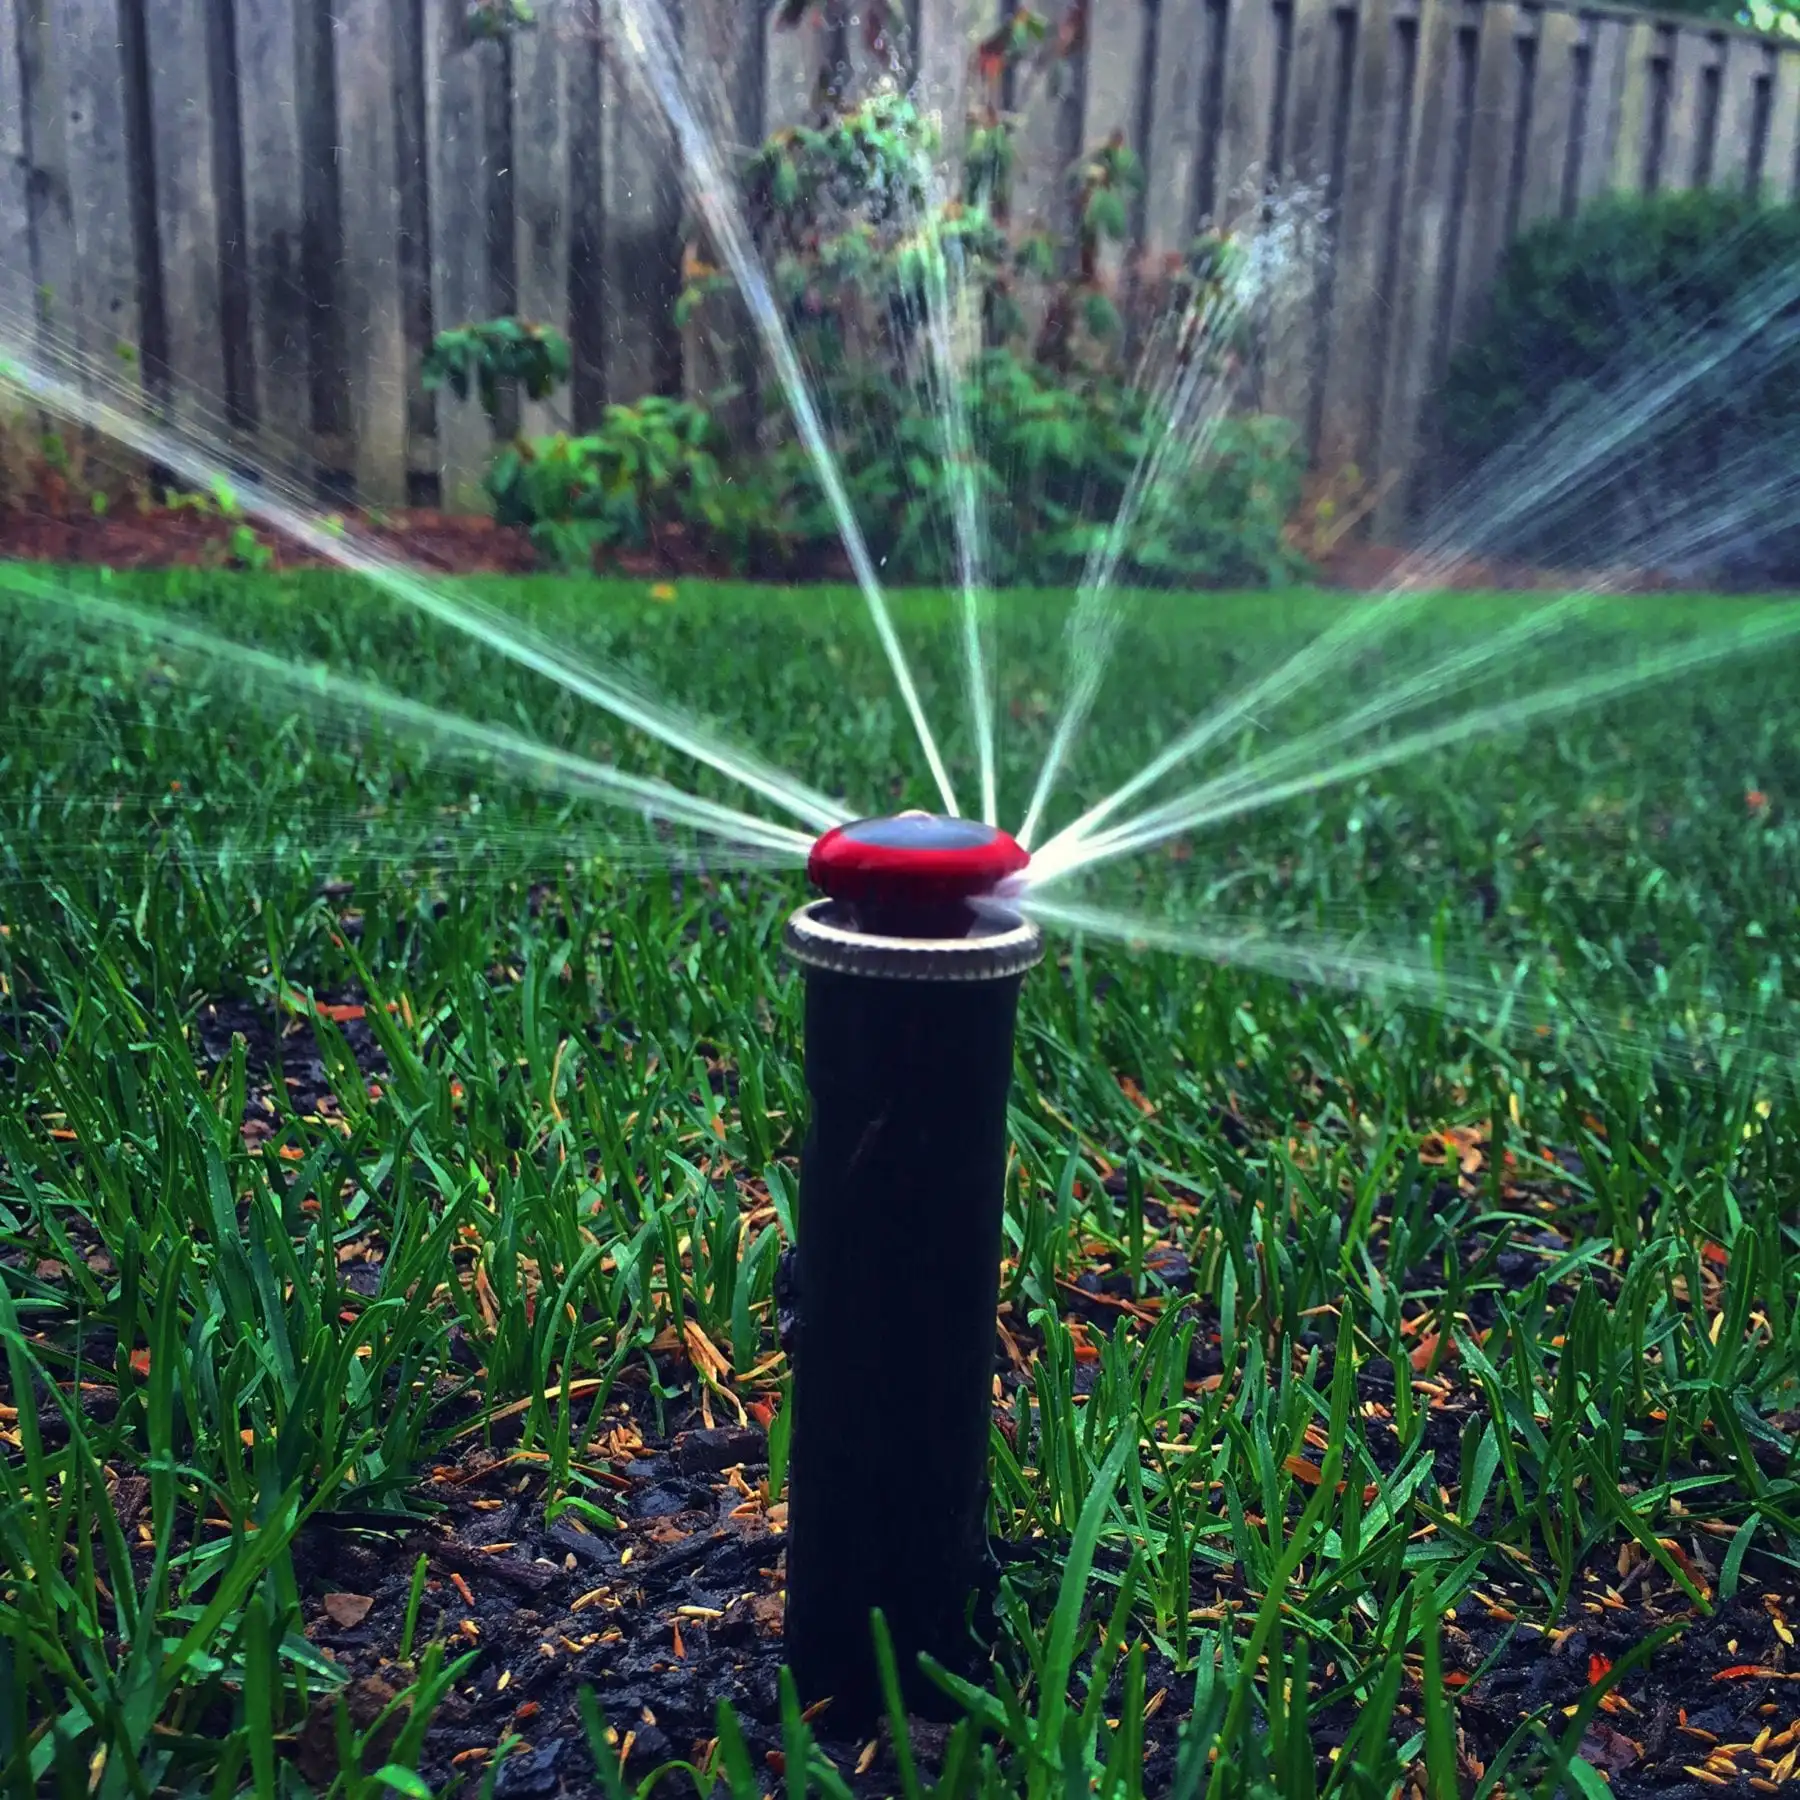
Spray heads (the pop-up kind that throw a fan-shaped mist) put water out fast, typically 1.5 to 2.0 inches per hour. They cover small areas, run at lower pressure, and cycle off quickly. Rotors (the gear-driven heads that slowly sweep a stream) run at a much lower rate, around 0.4 to 0.6 inches per hour, and need longer runtimes to deliver the same volume.
Drip lines sit in their own category, usually 0.1 to 0.3 in/hr depending on emitter flow and spacing.
If your zone mixes spray heads with rotors, you've got a problem, because the PR of one head type will dominate the zone, and the other heads won't keep up. Most pros treat mixed zones as a design flaw and re-zone the system to fix it.
Pressure changes everything
Manufacturer specs are only accurate at the design pressure, usually 30 PSI for rotors and 30 to 40 PSI for sprays. If your pressure is too low, the spray pattern collapses, droplets fall straight down, and distribution uniformity falls apart. If pressure is too high, you get mist that drifts away in the wind.
EPA WaterSense guidelines flag pressure irregularities as the leading cause of failed irrigation audits (see the EPA WaterSense program for more on residential irrigation standards).
Wind, slope, and soil
Three "invisible" variables skew every test:
- Wind drift can cut effective delivery by 20% or more on breezy days, so test in calm conditions.
- Slope causes runoff before water can soak in, especially on clay or compacted soils. Cycle and soak (running shorter bursts with rest periods) handles this.
- Soil infiltration rate dictates how fast water can disappear into the ground. Sandy soil drinks faster than clay, which affects how deep the moisture penetrates before puddling starts.
These variables don't change your formula, but they change how you apply the result to your schedule.
Step-by-Step: Run a Catch Can Test on Any Zone
This is the same procedure a certified irrigation auditor would walk through, scaled down for a homeowner. Set aside about an hour, and you'll have real numbers for every zone on your property.
Tools you'll need
| Item | What to use | Why it matters |
|---|---|---|
| Containers | 6 to 12 identical flat-bottomed cans, cups, or rain gauges | Identical shape and size keeps the math consistent |
| Stopwatch or phone timer | Any timer | You need exact run times |
| Ruler or measuring tape | Inches or millimeters | For measuring collected water |
| Marker and notebook | Pen and paper | Log each zone's results |
| Pressure gauge (optional) | Threaded pressure gauge, ~$10 | Confirms your system is at design pressure |
Tuna cans and cat food cans work great as catch cans. Just make sure they're all the same diameter and height. Rain gauges are fine for single-spot checks, but they under-sample the zone.
Step 1: Map your zone
Walk the zone while it's running. Identify the sprinkler type (spray, rotor, drip) and note any dry spots or soggy areas. Make sure the heads are upright and not clogged.
This walk tells you if a zone is even worth testing, or if it needs basic repairs first.
Step 2: Lay out the containers
Place the cans in a grid inside the spray pattern of the zone, spacing them between heads if you can. Avoid placing cans right next to a head or in the dry gap between two rotors. Aim for 6 cans in small zones and up to 12 in larger ones.
More cans = a more representative average.
Step 3: Run the test
Turn the zone on and time exactly 15 to 20 minutes. Longer is fine, just keep the math consistent: whatever you run, convert to hours before dividing. If a zone has rotors that take 30 minutes just to cycle through their arc once, run for the full cycle length to capture the average.
Step 4: Measure and average
Turn the zone off. Measure the water depth in each can to the nearest 1/8 inch or millimeter. Add all readings together, divide by the number of cans, and you've got the average depth in inches.
Step 5: Plug into the formula
Use the formula from the previous section. Average depth (inches) ÷ run time (hours) gives you precipitation rate. Save this number for every zone.
It doesn't change much unless you change nozzles, pressure, or layout.
Step 6: Repeat for every zone
Each zone gets its own test because each zone has its own mix of heads, pressure, and layout. Plan for one zone every 20 to 30 minutes.
Convert Catch Can Results Into Your Real Watering Schedule
Once you know each zone's PR, the rest is just multiplication. The hard part is matching the inches you deliver to what your lawn actually needs.
Match the inches to your grass
As of 2026, university extension guidance broadly points to 1 to 1.5 inches per week for cool-season grasses (tall fescue, Kentucky bluegrass, perennial ryegrass) during the growing season, and 0.5 to 1 inch per week for warm-season grasses (Bermuda, Zoysia, St. Augustine) once established. New sod or seed needs lighter, more frequent watering for the first few weeks regardless of grass type.
Do the weekly math
Say your rotor zone's PR came out to 0.5 in/hr and you want to deliver 1 inch per week. You need 2 hours of total runtime per week. Split into two 1-hour cycles, or four 30-minute cycles on a cycle-and-soak schedule.
For a spray zone at 1.8 in/hr delivering the same 1 inch, you only need about 33 minutes per week, often broken into two short cycles.
Step-by-step schedule build
| Step | Action | Example |
|---|---|---|
| 1 | Set your weekly target | 1.0 in/week (cool-season) |
| 2 | Use your zone PR | 0.5 in/hr (rotor zone) |
| 3 | Divide target by PR | 1.0 ÷ 0.5 = 2 hours of runtime |
| 4 | Split across multiple days | 2 cycles × 1 hour, Mon and Thu |
| 5 | Adjust for slope or runoff | Shorter cycles with soaks in between |
| 6 | Re-check after any system changes | Repeat the catch test if nozzles or pressure change |
Adjust for the season
Don't treat one PR number as gospel year-round. Cool-season lawns want that 1 to 1.5 in/week during summer stress and much less (often nothing) during dormancy. Warm-season grass needs scale up during peak heat and scale down in spring and fall.
The EPA WaterSense program recommends seasonal runtime adjustments of 20 to 40% rather than fixed schedules.
Common Mistakes That Skew Your Numbers (and Waste Water)
Even with a perfect catch can setup, a few slip-ups can throw off your entire schedule. Here are the ones we see trip people up most often.
Mixing sprinkler types in one zone
This is the single biggest issue in residential systems. A spray head and a rotor on the same zone can't possibly keep up with each other. The rotor needs 30+ minutes to deliver a quarter inch, while the spray head dumps the same quarter inch in 8 minutes.
One will always overwater, the other will always underwater. If your catch test shows huge variability between cans (some with 0.3 inches, some with 0.9 inches), mismatched heads are the likely culprit.
Testing in the wrong conditions
Running the test at high noon on a windy day gives you a PR that has nothing to do with your normal watering window. Wind drift alone can cut delivery by 20 to 30%. Test in the early morning, when you'll actually be watering anyway, and on a calm day.
Forgetting to account for pressure
If your static pressure is above 65 PSI or below 25 PSI, your heads won't perform to spec. A simple pressure gauge on an outdoor spigot tells you the static number. Most residential systems need a pressure regulator at the backflow preventer to stay in the 30 to 50 PSI sweet spot.
Manufacturer specs always list the design pressure right on the nozzle data sheet, so compare what you measure to what they recommend.
Using containers of different sizes
A tuna can and a coffee mug don't measure the same. The whole point of the test is that depth equals volume across identical containers. Stick to one can type for the entire zone, then switch to a fresh batch for the next zone.
Ignoring runoff
If water is running down the driveway before the cycle ends, your soil can't keep up. That runoff never reaches the roots, so it doesn't count toward your "inches delivered." The fix is cycle and soak: split the runtime into two or three shorter bursts with 30 to 60 minute rests in between. The total inches stay the same, but more of it actually soaks in.
Watering Goals by Grass Type and Climate
Your PR number tells you how fast your system delivers water. Your grass type and climate tell you how much you actually need. The two have to meet in the middle for a healthy lawn.
Cool-season grasses
Tall fescue, Kentucky bluegrass, and perennial ryegrass generally need 1 to 1.5 inches per week during the growing season. In hot, dry summers that number can climb to 1.75 inches in heat-stressed regions, while spring and fall often drop to 0.75 inches. University extension services like Penn State Extension and Colorado State Extension publish regional ET-based watering guides worth bookmarking.
Warm-season grasses
Bermuda, Zoysia, St. Augustine, and Centipede thrive on less. Once established, 0.5 to 1 inch per week is usually enough.
They go semi-dormant in cooler months and need almost no supplemental water then. Overwatering warm-season grass invites fungal issues like brown patch and dollar spot, so resist the urge to overdo it.
Climate and regional adjustments
If you're in the arid Southwest, ET rates can pull 0.25 to 0.35 inches per day from a lawn in July. In the humid Southeast, weekly rainfall might cover half your needs. The EPA WaterSense program publishes a simple water budget worksheet that lets you plug in your local ET and grass type.
EPA's WaterSense at Work guidelines are a solid starting point if you want to see how this looks in practice.
A quick way to adjust: check a local weather station or university extension site for your area's average weekly ET. Set your target inches slightly below that number, then top up with rainfall. Soil type matters too.
Sandy soils need more frequent, shorter cycles. Clay soils need less frequent, longer cycles with soaks in between.
Frequently Asked Questions
How long should I run my sprinklers to get 1 inch of water?
It depends entirely on your precipitation rate. If your zone's PR is 0.5 in/hr, you need 2 hours. If it's 1.5 in/hr, you need about 40 minutes.
Run a catch test per zone to get your real number, then divide 1 inch by your PR in inches per hour.
How often should I water my lawn each week?
Most established lawns do well with 2 to 3 watering days per week rather than daily light watering. Deep, infrequent cycles push roots deeper and build drought tolerance. Daily shallow watering trains roots to stay near the surface, where they cook in the first heat wave.
Can I use a rain gauge instead of multiple catch cans?
A single rain gauge gives you a one-spot reading, which can mislead you badly. If the gauge happens to land under a dry gap between rotors, you'll think the zone is putting out almost nothing. Multiple identical cans spread across the zone give a true average.
The Irrigation Association's Certified Landscape Irrigation Auditor (CLIA) training standard recommends 6 to 12 sample points per zone for this reason.
Do I need to retest every year?
Test at least once a year, ideally at the start of the watering season. Retest any time you change nozzles, adjust pressure, repair a leak, or reconfigure a zone. Most homeowners find their PR drifts less than 10% year over year unless something physical changes.
What if my cans show very different amounts of water?
That's a distribution uniformity problem, not a PR problem. If some cans collect 0.2 inches and others collect 0.8 inches in the same cycle, your heads aren't throwing evenly. Common causes: clogged nozzles, low pressure, mismatched head types, or broken heads.
Fix the underlying issue and retest. Until uniformity improves, you'll always have dry spots and soggy spots in the same zone.
Will smart controllers do this math for me automatically?
Yes, partly. Weather-based or ET controllers use your local weather data to adjust runtimes automatically. They assume a PR value you enter manually, so you still need to do the catch test once.
After that, the controller handles seasonal adjustments. EPA WaterSense-labeled controllers are independently tested to confirm they actually save water compared to a standard timer.

Similar Posts