How to Clean Calcified Spray Holes on an Oscillating
Lead Turfgrass & Lawn Care Specialist at Totally Green Lawn · Certified Turfgrass Specialist (CTS), Master Gardener, B.S. in Agronomy & Turf Science · 14+ years in residential turf management, organic fertilization, and weed science
If your oscillating sprinkler has started shooting water in weird directions, dribbling instead of spraying, or just leaving dry patches all over the lawn, calcified spray holes are almost always the reason. Knowing how to clean calcified spray holes on oscillating sprinkler heads the right way saves you from buying a replacement and keeps your coverage even.
Mineral buildup happens fast in hard water areas. According to EPA WaterSense guidance on outdoor water use, anything over 7 grains per gallon (about 120 ppm) tends to leave scale on irrigation gear, and most of the US sits well above that. That same scale is what slowly chokes off each tiny nozzle on your spray bar.
Below we'll walk through how to diagnose it, clean it without cracking the plastic, and stop it from coming back next month.
Image source: Bing (Web (fair-use with source credit))
Quick Answer
Soak the spray head in white vinegar for 1 to 8 hours. Use a thin needle to clear remaining debris. Flush with clean water.
Reassemble and test. Replace the sprinkler only if holes stay clogged after two cleaning cycles.
Why Your Sprinkler Holes Get Clogged in the First Place
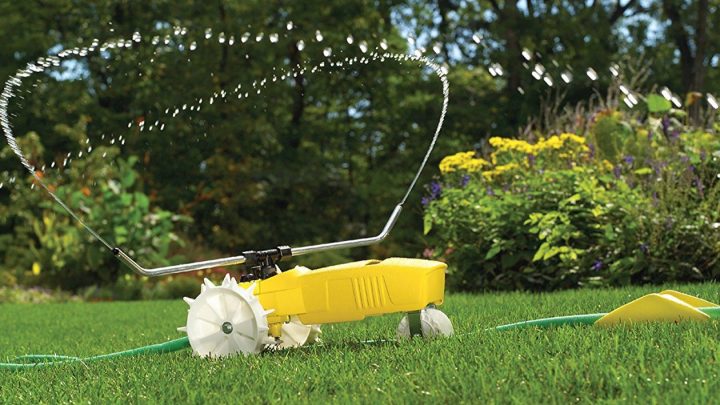
Oscillating sprinklers shoot water through a row of small, precision-drilled holes, usually 10 to 20 of them, along a curved spray tube. When hard water evaporates on or inside those tiny openings, calcium and magnesium carbonate get left behind. Over weeks of use, that white crust builds up layer by layer.
A few things speed this up:
- Hard water: Anything above 7 gpg (120 ppm) leaves visible scale fast.
- Heat and sun: Sprinklers that sit in full sun dry between cycles, baking deposits onto plastic.
- Iron in the water: Leaves reddish-brown stains that clog as aggressively as white calcium.
- Infrequent use: A sprinkler that sits unused for a month or two builds up far more scale than one running daily.
- Fine mesh filters skipped or missing: Allows sediment to compound the mineral problem.
If you live in the Southwest, Florida, or anywhere with groundwater rich in minerals, expect to deal with this every few months. As of 2026, manufacturer service data from brands like Melnor and Orbit still flags limescale as the top warranty-related issue on residential oscillating models.
Diagnose Your Sprinkler Before You Clean It
Before you start soaking anything, figure out what you're actually dealing with. The cleaning path changes depending on what you find.
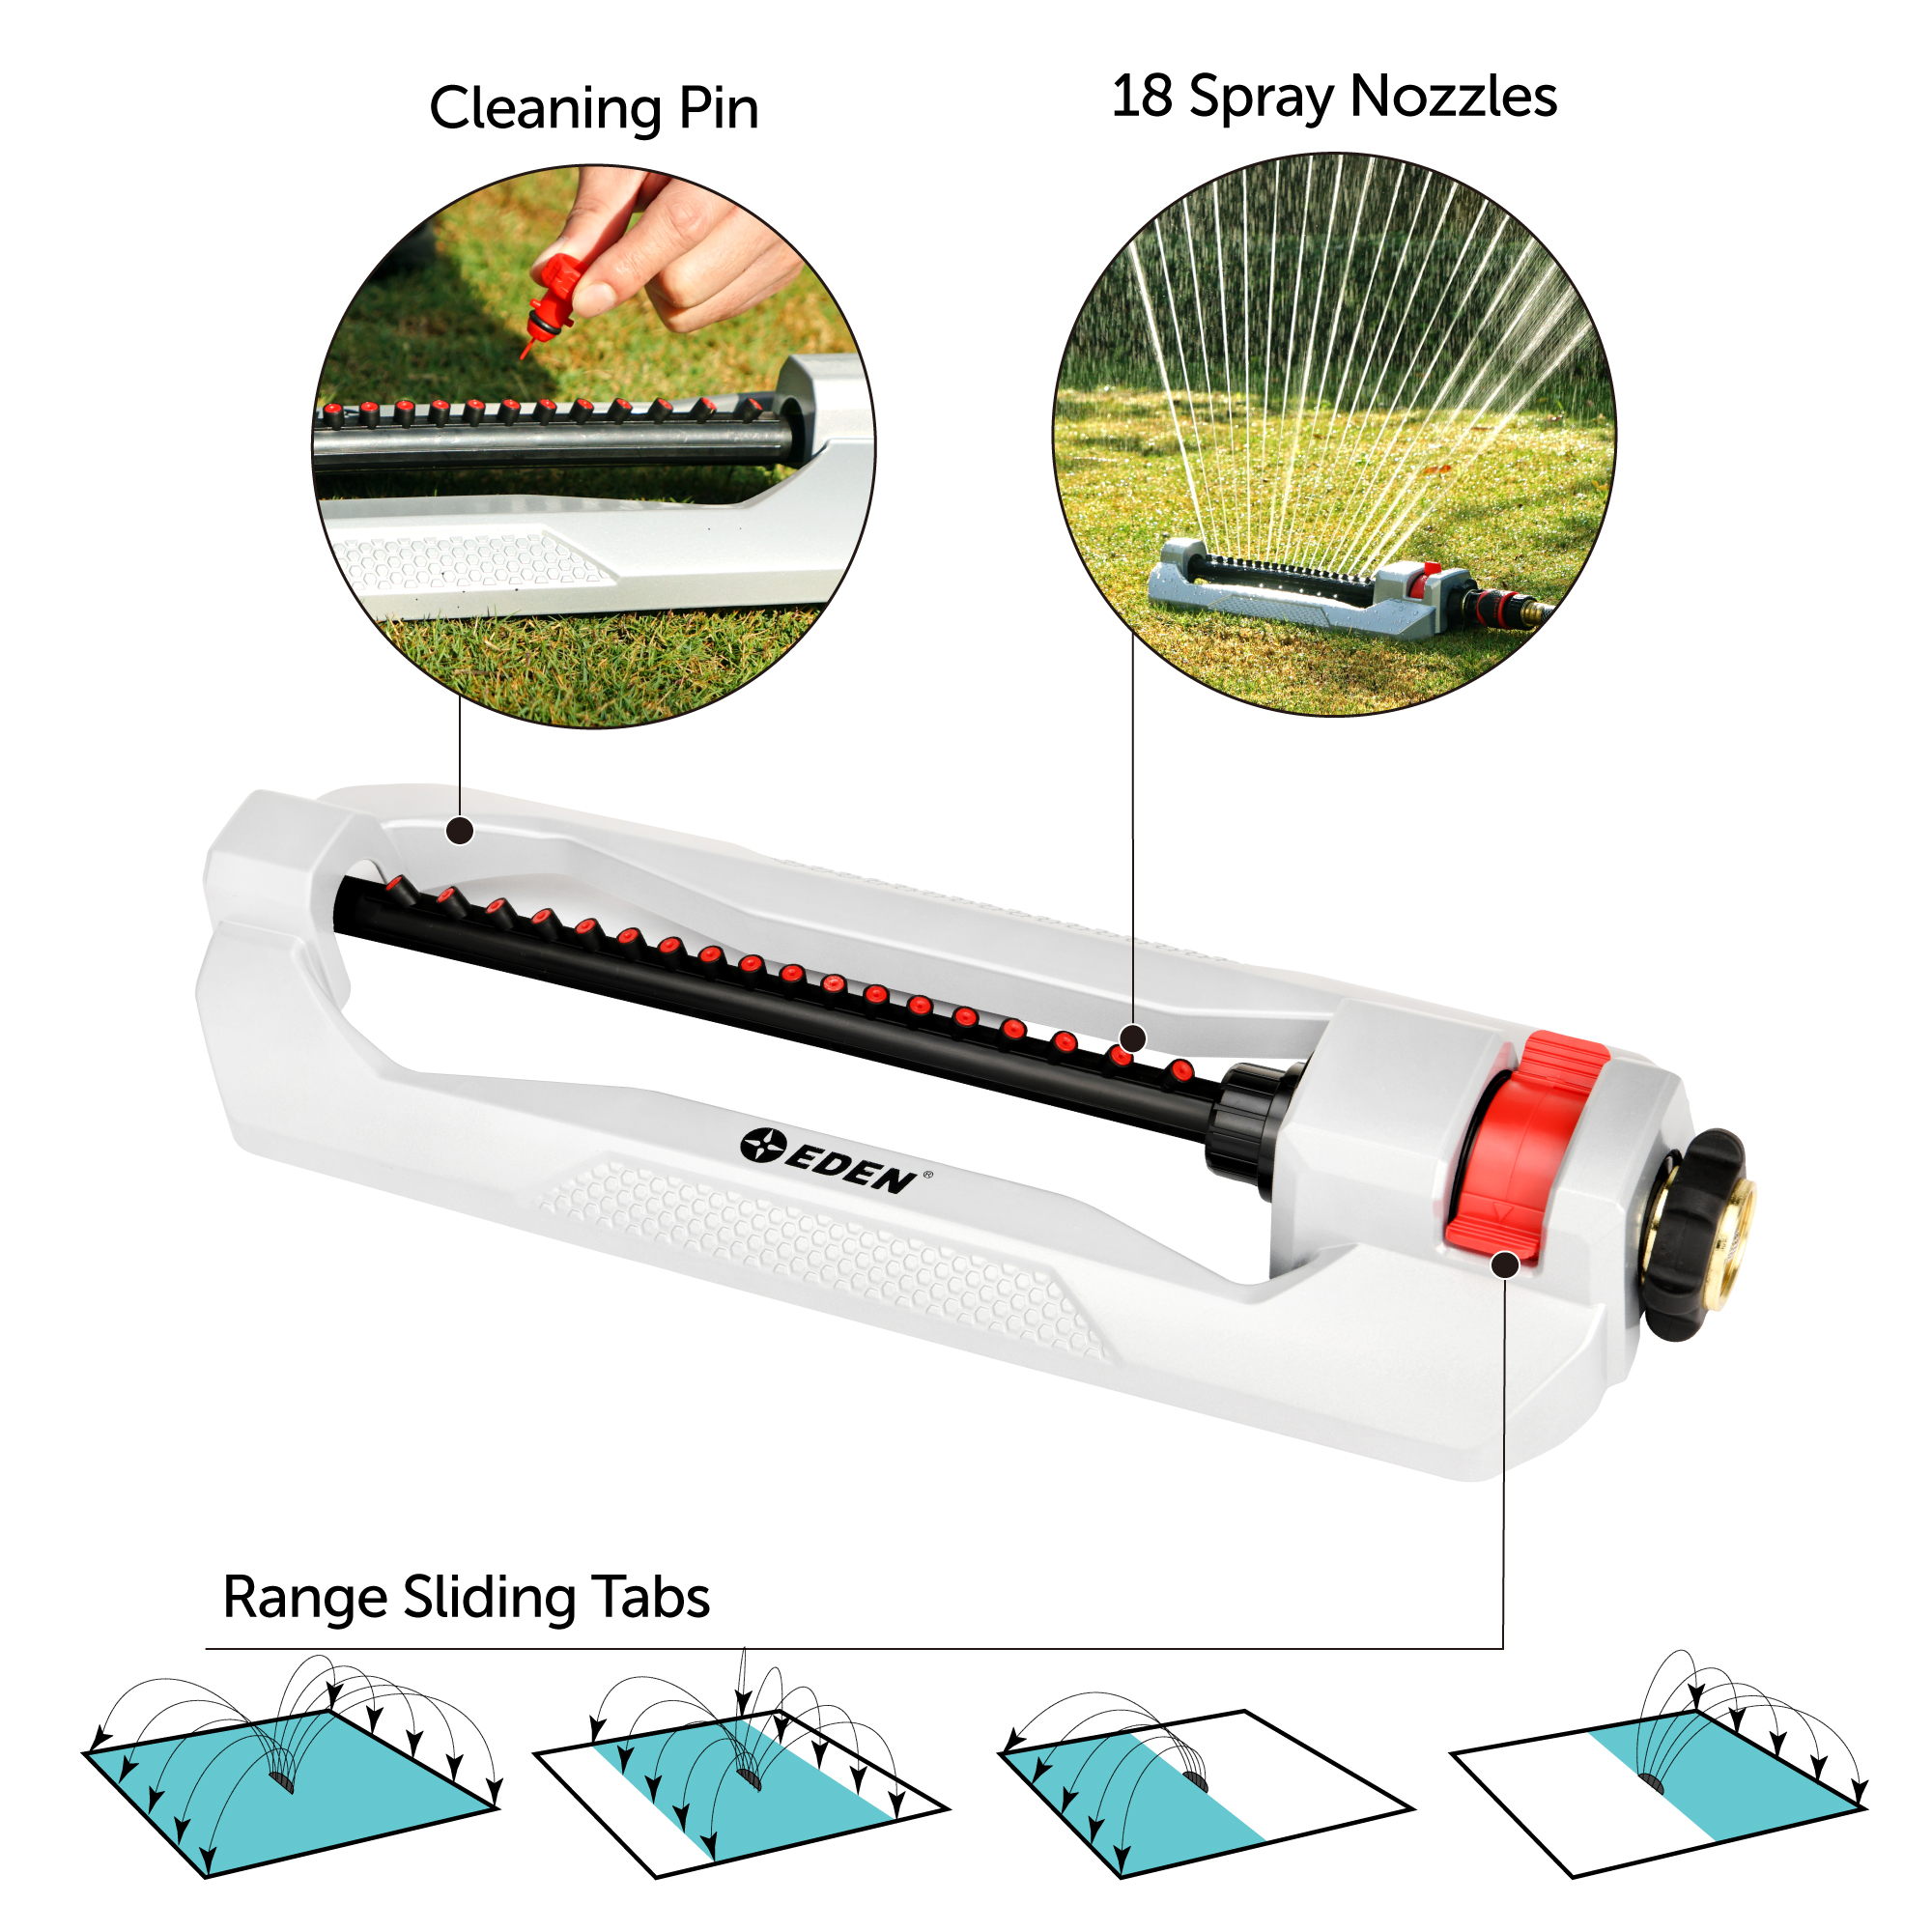
Image source: Bing (Web (fair-use with source credit))
Is It Really Calcification?
Run the sprinkler for 30 seconds on a clean driveway. Look for:
- A consistent weak stream or trickle from some holes → classic limescale narrowing the opening.
- Spray shooting sideways or upward at odd angles → a chunk of scale has broken loose inside and is deflecting the water.
- No water at all from a hole, but the rest spray fine → fully blocked. Could be scale, debris, or a tiny insect nest.
- All holes weak, low pressure across the board → check the hose spigot and the inlet filter first. Not a nozzle problem.
Check the Material of the Spray Head
This matters more than most people realize. Look at the head and answer these questions:
- Plastic head and tube? Don't use CLR, strong acids, or metal picks. Use vinegar and a soft pin.
- Brass or metal nozzles? You can use a slightly firmer wire, mild commercial descalers, and a bit more elbow grease.
- Removable nozzle inserts? Pull them out and soak separately. Way easier than soaking the whole unit.
- Glued or riveted head? You're working in place with a pick and a short soak. No full disassembly possible.
Check the Inlet Filter
Flip the sprinkler over. Most have a small mesh screen where the hose screws on. If that's packed with grit, it mimics clogged nozzles by starving every hole of pressure.
Clean it before assuming the spray holes are the problem.
| Symptom | Likely Cause | Where to Start |
|---|---|---|
| Some holes dribble, others spray fine | Limescale in those openings | Vinegar soak + pin |
| All holes weak, low pressure overall | Clogged inlet screen or hose issue | Clean filter, check spigot |
| Spray shoots sideways | Loose scale chunk inside tube | Disassemble and flush |
| No water from one or two holes | Fully blocked nozzle | Pin first, then soak |
| Reddish-brown crust | Iron deposits | Soak in citric acid, not vinegar |
If your diagnosis lands on limescale, move to the next section. If it points to the filter or hose, fix that first and retest before doing any descaling work.
What You'll Need (And What to Avoid Using)
You don't need much. Most of this is probably already in your kitchen or garage.
| Item | Use | Avoid If |
|---|---|---|
| White vinegar (5% acetic acid) | Descale plastic and metal | None, safest option |
| Citric acid powder | Stronger descaling, food-safe | Don't use on bare aluminum |
| Commercial descaler (CLR, etc.) | Heavy buildup, metal parts only | Avoid on plastic heads |
| Thin sewing needle or pin | Clear softened scale from holes | Don't use thick wire on plastic |
| Brass wire (0.3–0.5 mm) | Stubborn scale in metal nozzles | Avoid on plastic orifices |
| Old toothbrush | Scrub exterior scale | Any stiff metal brush |
| Small bowl or bucket | Soak the spray head | Use glass or plastic, not metal |
| Soft cloth | Wipe and dry | Anything abrasive |
| Safety glasses | Flush debris | Skip if you want grit in your eye |
Things to skip entirely:
- Screwdrivers, knives, or thick nails. They will chew up the hole edge and turn a clogged nozzle into a permanently misshapen one.
- Bleach or chlorine-based cleaners. They don't dissolve calcium and can damage plastic and rubber seals.
- Boiling water on a cold plastic head. The thermal shock can crack the housing or warp the spray tube.
- Muriatic acid. Way too aggressive. It's overkill and dangerous on residential gear.
If your water is on the harder side, citric acid is a nice middle ground. It works faster than vinegar, stays food-safe, and won't cloud up plastic the way CLR sometimes does. Two tablespoons dissolved in a quart of warm water handles most residential scale.
The Cleaning Method: A Decision-Based Walkthrough
The exact steps depend on how bad the buildup is and what your sprinkler is made of. Use the branch that matches your situation.
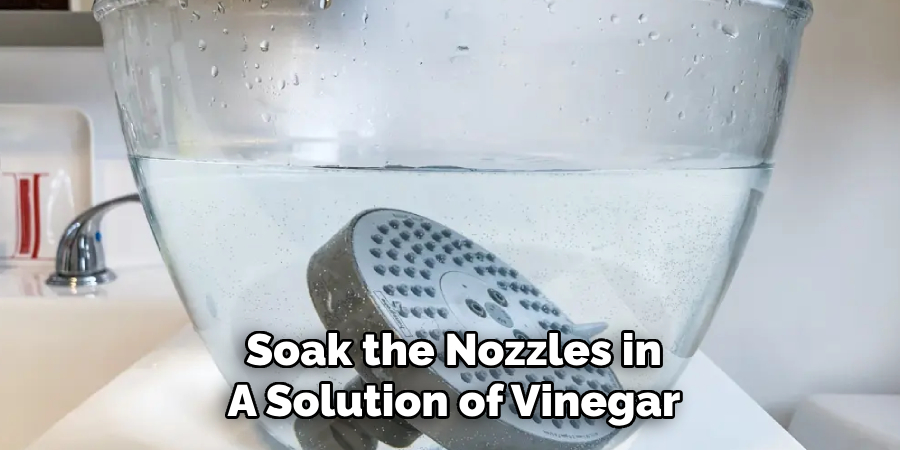
Image source: Bing (Web (fair-use with source credit))
Step 1: Disconnect and Prep
Unhook the sprinkler from the hose. Pop out the inlet filter screen and set it aside. If your model has removable nozzle caps, twist or pull them off.
Most oscillating heads from the last decade come apart by hand. No tools needed.
If the head is glued or one-piece, you're cleaning in place. The methods still work, but you can't soak as deeply.
Step 2: Pick Your Descaling Liquid
If your head is plastic (most common):
- Light to moderate scale: 1:1 white vinegar and warm water, 1 to 4 hours.
- Heavy scale: full-strength white vinegar, 6 to 8 hours or overnight.
If your head is metal or brass:
- Light scale: 1:1 vinegar and water, 1 hour.
- Heavy scale: full vinegar, 4 hours, or a citric acid solution (2 tbsp per quart of warm water) for 30 to 60 minutes.
If buildup is severe and the head is metal:
- CLR or a similar commercial descaler, diluted per the bottle, for 15 to 30 minutes max. Rinse thoroughly.
Step 3: Soak the Spray Head
Set the head in a small bowl and pour your chosen solution over it. Make sure all the spray holes stay submerged. If you can only soak the tube portion, that's fine.
The motor and gearbox don't need to swim in vinegar.
Cover the bowl to slow evaporation if you're doing a long soak. A plate works.
Step 4: Clear Remaining Debris
After soaking, grab your thin needle or pin. Work gently under a flashlight. Insert the tip into each clogged hole and twist slowly.
You should feel soft, chalky resistance. That's the scale breaking up.
For metal nozzles, you can use a fine brass wire. For plastic, stick to a sewing needle. Don't force anything.
If the pin won't go in with light pressure, soak longer.
After clearing, take an old toothbrush and gently scrub the outside of the spray tube. This knocks loose any scale sitting on the surface.
Step 5: Flush Everything
Run the spray head under a faucet for 30 seconds, holes facing down. Then run it backward under the tap so water flows out through the inlet side. This pushes loosened scale out of the internal passages.
If your model has removable caps, flush each one individually.
Step 6: Reassemble and Test
Put the inlet filter back. Reconnect the hose. Run the sprinkler on the driveway or sidewalk for 30 seconds and check the pattern.
What you want to see:
- All holes spraying at roughly the same volume.
- Even fan pattern, no sideways jets.
- Spray reaching the manufacturer's rated distance for your water pressure.
What you don't want to see:
- A few holes still dribbling. Soak again for another 2 to 4 hours and repeat.
- A hissing leak at the connection. You may have over-tightened the filter housing. Back it off a quarter turn.
- Spraying pattern visibly worse than before. You may have widened a hole with the pin. Note which one, and don't force-clean that spot again.
If two full cleaning cycles don't restore the pattern, the internal spray tube may be scaled shut where you can't reach. At that point, replacement is usually the smarter move. A new oscillating sprinkler runs $15 to $50, which beats wasting a Saturday on a part that's already past saving.
Step 7: Dry and Store (If Off-Season)
If you're putting the sprinkler away for winter, let it air dry completely before storage. Trapped moisture inside the tube will keep scale working on the metal and plastic. A sunny spot for an hour or two does the job.
Mistakes That Ruin Oscillating Sprinkler Nozzles
Most sprinkler nozzles don't fail from scale. They fail from how people try to fix the scale. A few common habits cause more damage than the limescale ever did.
Using the Wrong Tool to Clear the Hole
A sewing needle clears a plastic orifice just fine. A thumbtack, a Phillips screwdriver, or a finish nail will chew up the edge of the hole and leave it spraying sideways forever. The factory holes are precision-shaped.
Once you deform the rim, the only fix is replacement.
If your pin feels loose inside the hole, you've gone too big. Step down to a thinner one.
Soaking in the Wrong Chemical
Bleach doesn't dissolve calcium. It just sits there and eats rubber seals and plastic gears. Ammonia-based cleaners do the same.
Even CLR, useful on metal, can cloud or craze certain plastics if left too long.
Stick to vinegar or citric acid unless your unit is solid brass. The food-safe descalers exist because they work without destroying the surrounding material.
Forcing Apart a Glued Head
If the spray tube doesn't come apart with normal hand pressure, it wasn't meant to. Prying it open with pliers usually breaks a tab or warps the housing. You'll be left with a sprinkler that leaks from the seam every time it runs.
If yours is one-piece, clean it in place. Don't try to make it something it isn't.
Running the Sprinkler While It's Partly Disassembled
It happens more than people admit. You pull a nozzle cap, get distracted, and a kid turns on the spigot. Water hits the motor, the gearbox strips, and your $30 sprinkler is now scrap.
Keep the spigot off until everything is back together. Every time.
Skipping the Inlet Filter Cleaning
You can soak and pin every hole perfectly. If the inlet screen is half packed with sand, your pressure is still going to be wrong. The filter is the cheapest, easiest step in the whole process, and the one most people forget.
How to Keep Your Sprinkler From Clogging Again
A clean sprinkler is great. A sprinkler that stays clean for two seasons is even better. A few habits will get you there.
Flush the Line Before Hooking Up
Before you screw the sprinkler onto the hose, run the spigot for 5 to 10 seconds with no attachment. That clears sediment that's been sitting in the hose since last fall. Skipping this is the fastest way to clog a fresh-cleaned nozzle.
Clean the Inlet Filter Monthly
Pop the screen out, rinse it under the tap, and put it back. Takes 30 seconds. If you have a well or extremely hard water, do it every two weeks.
Don't Let It Sit in the Sun Between Uses
UV and heat bake mineral residue onto the spray tube. If you water early morning and run again at dusk, move the sprinkler into shade in between. Not always practical, but it helps in desert climates.
Use a Hose-End Filter if Your Water Is Very Hard
Inline garden hose filters with replaceable cartridges are cheap and catch sediment before it reaches the sprinkler. They won't stop dissolved calcium, but they'll slow the physical buildup that compounds the scale problem.
Soak at the End of the Season
Before you store the sprinkler for winter, give it the same vinegar treatment described earlier. Dry it completely. Store it indoors.
Spring startup will be much smoother next year.
| Maintenance Step | How Often | Time Needed |
|---|---|---|
| Flush hose before hookup | Every use | 10 seconds |
| Clean inlet filter | Every 2 to 4 weeks | 30 seconds |
| Full descale soak | Every 3 to 6 months (hard water: monthly) | 1 to 8 hours |
| End-of-season deep clean | Once per year | 30 minutes active |
| Replace inlet filter cartridge | Every watering season | 2 minutes |
Frequently Asked Questions
How often should I clean my oscillating sprinkler if I have hard water?
Every 1 to 3 months during heavy use. If your water tests above 10 grains per gallon, lean toward monthly soaks. Most homeowners with municipal water in the 7 to 12 gpg range can stretch to every 3 months without trouble.
Can I use CLR on a plastic oscillating sprinkler?
Only in a very dilute form, and only for a short soak. Plain white vinegar is safer for plastic and handles 90 percent of residential scale. Save CLR for brass or stainless models where the plastic isn't in contact with the solution.
What if the spray holes still won't clear after soaking?
Soak again for a longer period, up to 24 hours in full-strength vinegar. If the pin still won't pass through with light pressure, the internal scale has likely hardened past the reach of home treatment. Replacement is usually cheaper than continued effort.
Is it safe to put oscillating sprinkler parts in the dishwasher?
Not recommended. The heat cycle can warp plastic spray tubes and dissolve lubrication in the gearbox. A hand wash with warm soapy water is safer for any plastic component.
Will a water softener prevent sprinkler clogging?
Mostly, yes. A whole-home softener drops the calcium and magnesium load dramatically, and you'll see far less white scale on the spray tube. Iron may still be present, so an additional sediment filter is helpful if your source water carries it.
How do I know when it's time to replace the sprinkler instead of cleaning it?
If the spray pattern stays uneven after two full cleaning cycles, the motor sounds rough, or the housing is cracked from UV damage, replace it. A new oscillating sprinkler runs $15 to $50 and saves hours of work on a unit that's already past its service life.

Similar Posts