Flush Dirt from Underground Sprinkler Pipes: A Complete
Lead Turfgrass & Lawn Care Specialist at Totally Green Lawn · Certified Turfgrass Specialist (CTS), Master Gardener, B.S. in Agronomy & Turf Science · 14+ years in residential turf management, organic fertilization, and weed science
Knowing how to flush out dirt from underground sprinkler pipes saves you a service call and gets your lawn back to even coverage fast. Most homeowners notice it when one zone sprays weak, when heads pop up but barely dribble, or when the first few seconds of runtime spit brown water before clearing.
In our research, sediment intrusion is one of the top three reasons irrigation systems underperform, and the fix usually takes under an hour with no special equipment. Residential systems run at 30, 80 PSI per EPA WaterSense guidelines, so let's walk through how to figure out what's happening in your yard before you start turning valves.
Quick Answer
To flush dirt from underground sprinkler pipes, turn off the controller. Open the manual bleed on each zone valve. Run the zone until water runs clear.
Close the bleed, then test the heads. Repeat for every zone.
What Your Sprinkler Symptoms Are Telling You
Before you start flushing anything, you need to know what kind of dirt you're dealing with. The flushing method is basically the same either way, but the underlying cause changes what you do after.
In aggregate reviews of irrigation service calls, three symptoms show up over and over:
- One zone is weak, the others are fine. That's almost always sediment caught in that zone's lateral line, or a partially clogged solenoid.
- All zones are weak right after a city main break or hydrant flushing. That's city-side sediment that just got sucked into your backflow preventer. You need to flush everything, starting at the backflow.
- Heads pop up but barely spray, and you hear gurgling in the pipes. That's air and debris fighting each other. Slow flushing works better than high pressure here.
If you see brown or rust-colored water for the first few seconds and then it clears, that's loose sediment. If it stays discolored the whole time you run the zone, the problem is more serious, usually a broken pipe letting soil in continuously.
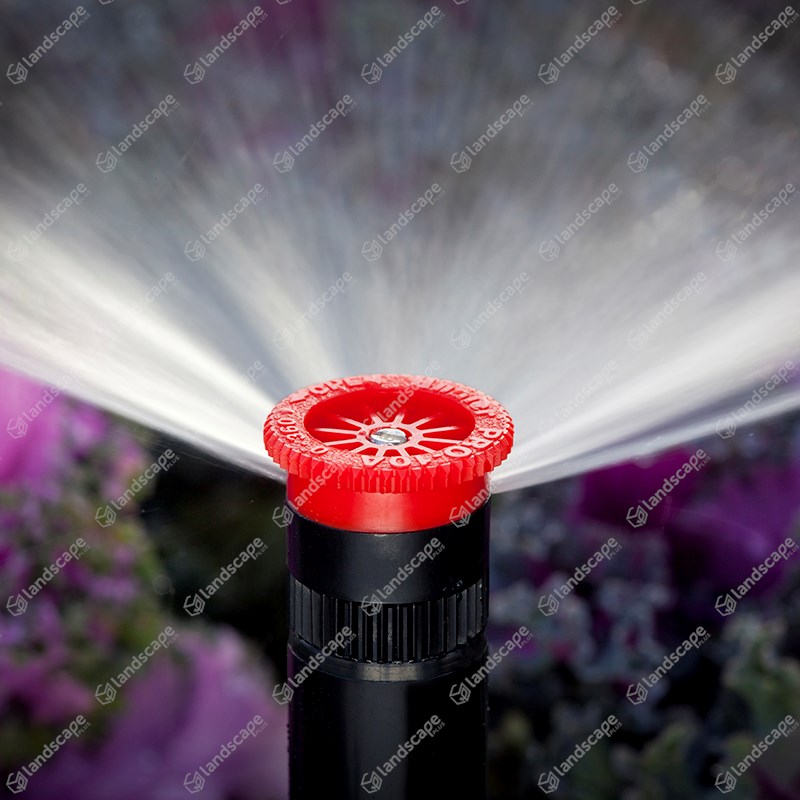
Image source: Bing (Web (fair-use with source credit))
Here's the quick decision branch:
| Symptom | Most Likely Cause | What to Flush |
|---|---|---|
| One weak zone | Local sediment or clogged valve | That zone only |
| All zones weak after city work | Sediment at the backflow preventer | Main line first, then each zone |
| Brown water that doesn't clear | Broken pipe letting soil in | Stop flushing and locate the break |
| Gurgling + low pressure | Air pocket mixed with debris | Slow, low-pressure flush |
What You Need Before You Start Flushing
The good news: you don't need much. Most homeowners already have everything in a kitchen drawer or garage bin.
Tools and Materials
| Item | Why You Need It | Substitutes |
|---|---|---|
| Flathead screwdriver | Opens manual bleeds on most valves | Any small flat tool |
| Bucket (5-gallon) | Catches water at the flush point | A deep pot, a trash can |
| Adjustable pliers | Loosens end caps if needed | Channel locks |
| Old towel or rag | Wipes sediment off fittings | Anything absorbent |
| Garden hose (optional) | Directs flushed water away from beds | None, but helpful |
| Replacement end cap O-rings | Old ones crack when removed | Carry one spare per cap |
| Eye protection | Debris + pressurized water = bad combo | Sunglasses in a pinch |
What to Confirm Before You Start
- Your backflow preventer is intact and in the closed position. Per Irrigation Association guidance, the backflow is the only thing keeping your irrigation water from contaminating your drinking water. Never remove it to flush faster.
- Your main shutoff works. Test it before you start. If the valve won't close fully, stop and call a plumber.
- You know where every end cap or flush port is in each zone. If you don't have a system map, walk the yard with the controller running and flag every head, then look for the low points and capped ends.
Safety Notes
- Sprinkler systems run at 30, 80 PSI. That'll cut skin and shoot debris into your eyes. Wear eye protection.
- Don't stand directly over an end cap when you open it. Water comes out fast.
- If you have a lake pump or surface water source instead of city water, your flushing risk is higher. Disconnect any fertilizer injectors before you start.
How to Flush Your Sprinkler Lines Step by Step
This works for most residential systems on city water. If you have a well or a pump-fed system, the steps are the same but the flow rate will be lower, so plan on more time per zone.
Step 1: Shut Down the Controller
Go to your irrigation timer and set it to "Off" or "Rain Delay" for at least 30 minutes. You want to make sure no zone kicks on while you've got pipes open.
If your system has a master valve, close that too. Most residential systems don't, but if yours does, it's usually right after the backflow preventer.
Step 2: Isolate the Backflow Preventer
Close the two shutoff valves on either side of the backflow preventer. This protects your drinking water supply from any backward flow during flushing. Many local codes require an annual backflow test, and per Texas A&M AgriLife Extension research, a backflow that's been removed or tampered with can void your homeowner's coverage in some areas.
Step 3: Open the Flush Point on Zone 1
Most zones have one of these:
- A manual drain valve at the low point of the zone
- An end cap on the last sprinkler head in the line
- A dedicated flush port, usually a small capped riser near the valve box
Open the lowest point in the zone first. If you open the high end, you'll just push air through the line instead of water.
Put your bucket under the open point. Water should start flowing within a few seconds.
Step 4: Run Water Through Until It Clears
Now manually activate the zone valve. On most systems, that means turning the solenoid a quarter turn, or pulling up the bleed screw on the valve body.
Let it run for 2, 3 minutes per zone, or until:
- The water runs clear with no visible sediment
- The flow rate looks steady and full
- No more air bubbles are coming out
If water is still brown after 3 minutes, close the valve and check the next zone. Coming back to it with less debris elsewhere in the system sometimes helps.
Step 5: Close the Flush Point and Move to the Next Zone
Reassemble the end cap or close the drain valve. Hand-tight is fine. Over-tightening cracks PVC fittings.
Manually close the solenoid for zone 1, then repeat steps 3, 5 for every zone in your system.
Step 6: Test the Whole System
Once every zone is flushed, turn the controller back on and run each zone for a full cycle. Watch every head:
- Spray pattern should be even and symmetric
- Rotors should rotate at their normal speed
- No heads should be dribbling instead of spraying
If a single head is still weak, the problem is at the head, not in the line. Unscrew the nozzle, rinse it, and reinstall.
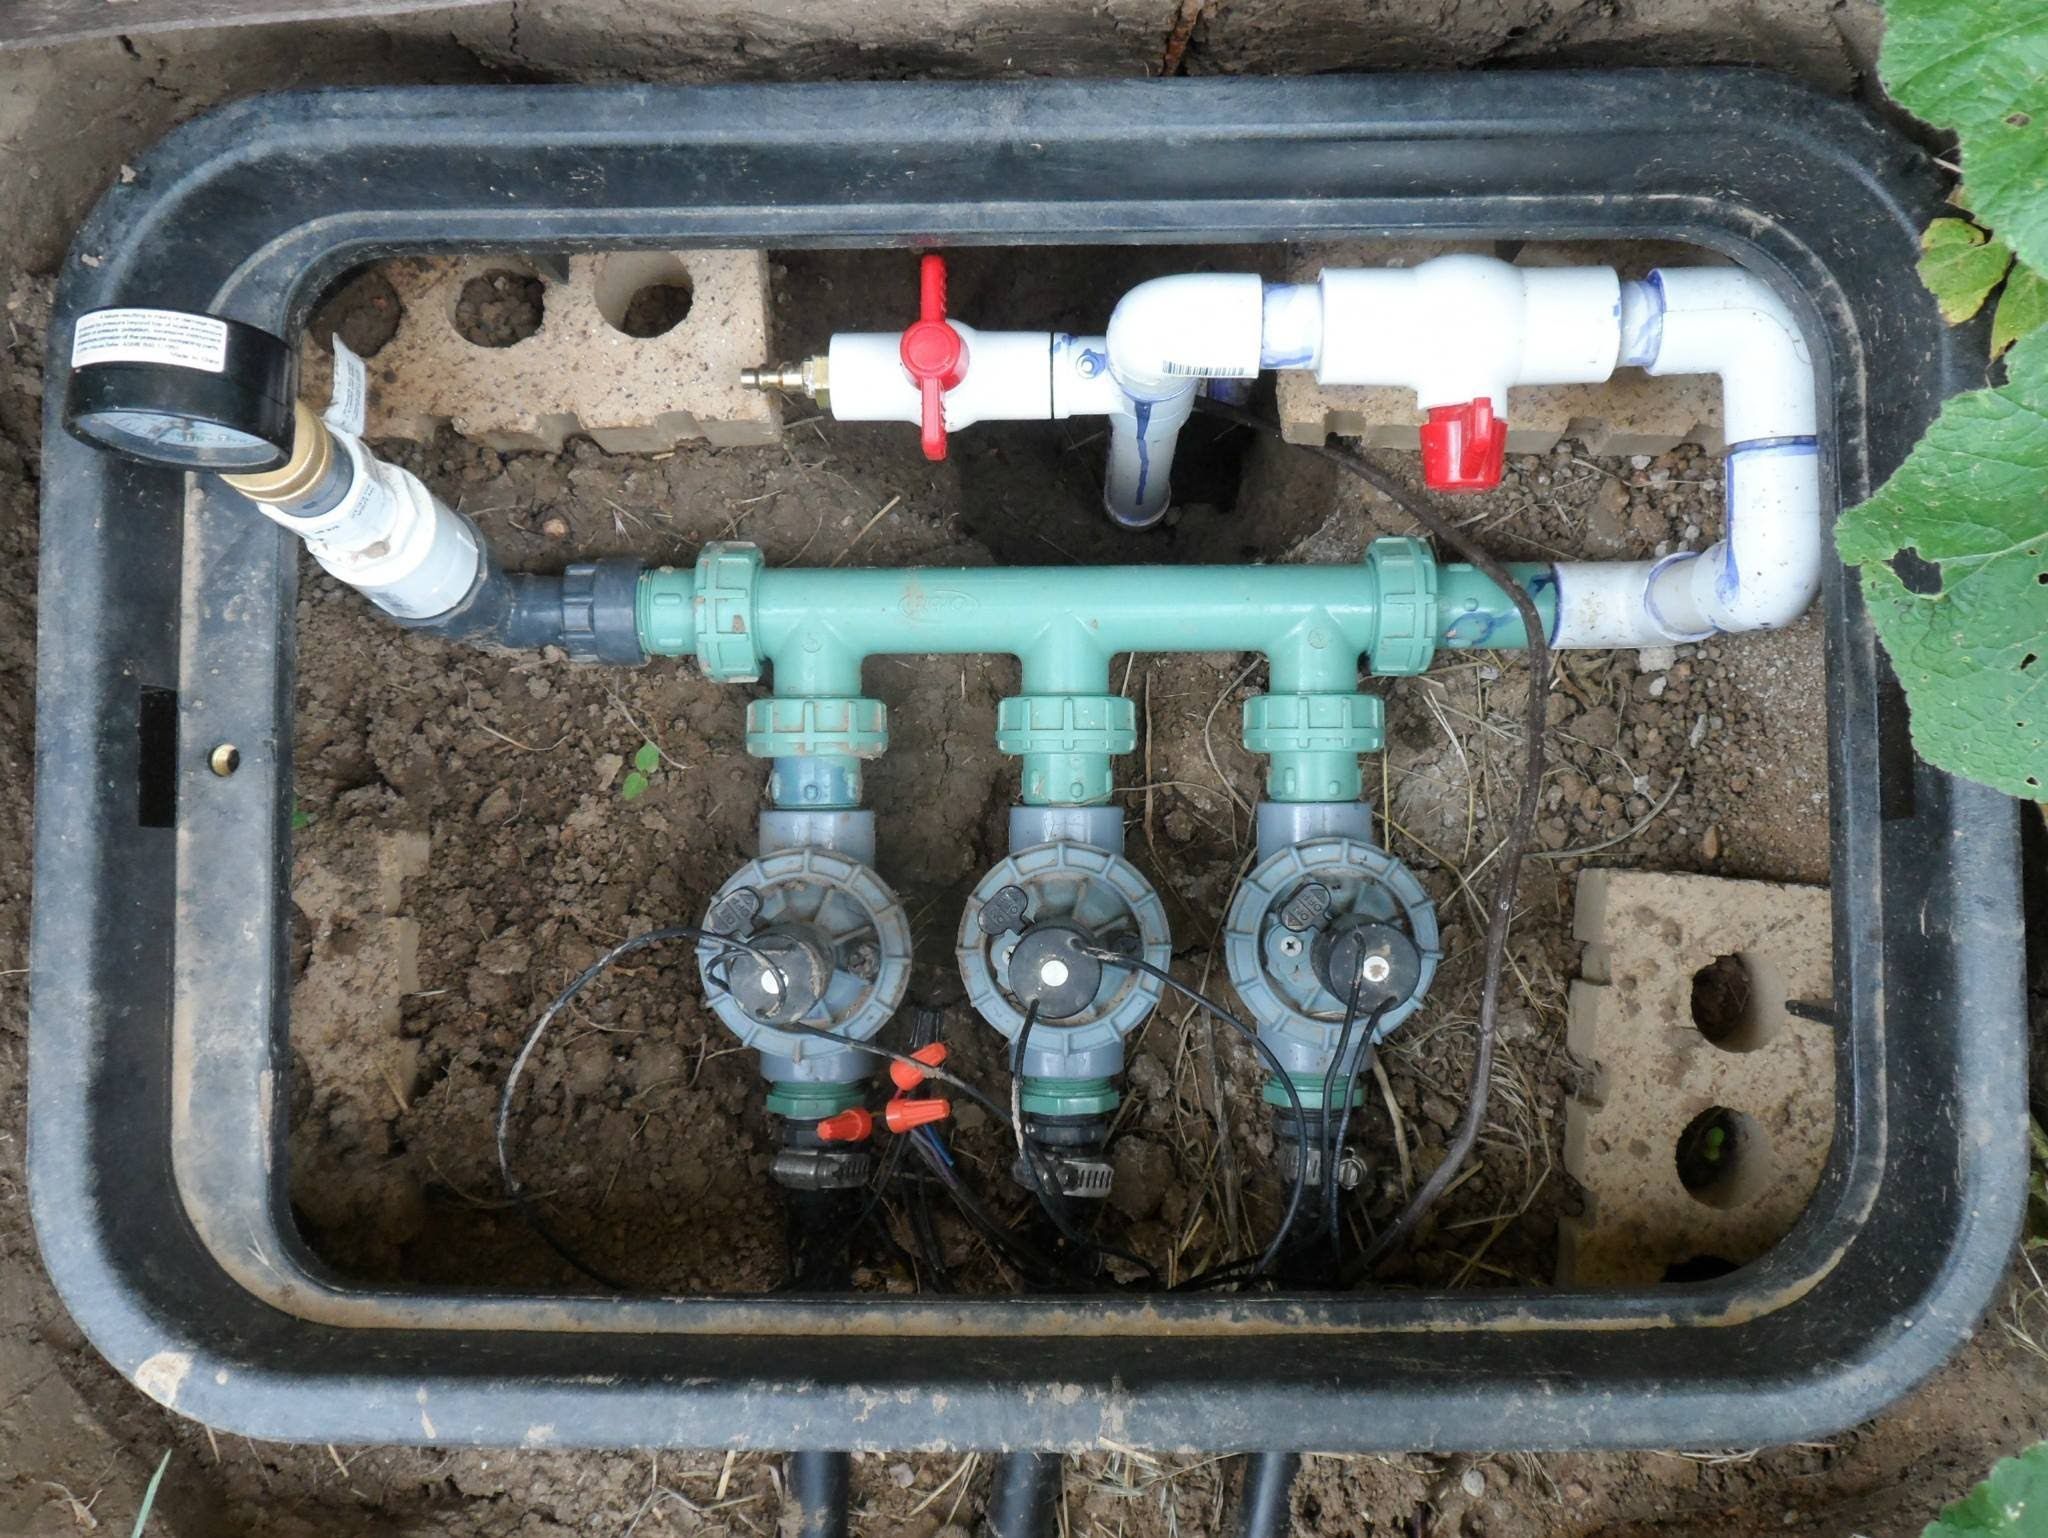
Image source: Bing (Web (fair-use with source credit))
Typical Time and Cost
| System Size | Time to Flush | Pro Cost (if you hire it) |
|---|---|---|
| 4–6 zones | 30–45 min | $75–$150 |
| 7–10 zones | 45–75 min | $150–$250 |
| 11+ zones | 90+ min | $200–$400 |
Mistakes That Can Make It Worse (or Cost You)
Most flushing jobs go fine. The ones that go sideways usually involve one of these.
Using Too Much Pressure
More is not better. If you crank the shutoff wide open and force high-pressure water through a partially blocked line, you can blow out a fitting, crack a riser, or push debris deeper into a solenoid. Standard residential pressure is 30, 80 PSI, and Irrigation Association standards recommend staying within that range for any DIY flush.
If you're on a well with a boost pump, the pump can deliver 50, 70 PSI even when the line is blocked. Open the flush point slowly, not all at once.
Forgetting the Backflow Preventer
This one's serious. Your backflow preventer is the only thing between your irrigation water and your drinking water. If you remove it to "flush faster" and pressure drops on the house side, contaminated water can siphon backward into your home supply.
In many jurisdictions, annual backflow testing is required by code, and any unauthorized removal can trigger a red tag on your next inspection. Leave it alone.
Flushing Only One Zone
If the problem is at the main line (city work, hydrant flushing, a main break), flushing one zone just pushes the debris into the next zone over. Always start at the point closest to the water source and work outward.
Reusing Worn O-Rings
When you pull an end cap, the rubber O-ring on the threads almost never goes back perfectly. It stretches, it cracks, and now you have a slow leak. Replace them.
They're cheap, and they're the difference between a dry valve box and a muddy one.
Ignoring the "Brown Water That Doesn't Clear" Sign
If you open a flush point and the water stays heavily discolored for more than a minute, stop. You probably have a cracked pipe letting soil in continuously, and flushing will just keep pulling dirt into the system. You need a leak locate, not a flush.
When Flushing Isn't Enough, and What to Do Next
Sometimes flushing fixes the symptom for a week, then the heads clog again. That's a sign of a deeper problem, and you need to chase the cause, not just the symptom.
Persistent Clogging After Flushing
If your heads keep clogging within days of a flush, the most common causes are:
- A cracked lateral line that's letting soil in. You'll usually see a wet spot or greener patch of grass in the same area.
- A failing solenoid with debris caught in the diaphragm. These need to be pulled and cleaned, or replaced. Most residential solenoids run $15, $30 and take about 10 minutes to swap.
- Old galvanized pipe that's flaking rust from the inside. If your system was installed before the late 1990s and you've never repiped, this is a real possibility. Flushing won't fix it. The pipe needs to come out.
Pressure Problems That Don't Go Away
If flushing clears the debris but pressure is still low across the whole system, check these in order:
- Static pressure at the backflow. You can attach a simple pressure gauge to a hose bib after the backflow. It should read 40, 80 PSI on city water. If it's under 40, the problem is upstream of your system.
- Pressure loss across the backflow preventer. A bad PVB or RPZ can drop 10, 15 PSI. Annual testing catches this.
- Undersized main line. Some older homes have ¾" mains feeding 8+ zones. The math doesn't work. You're not flushing, you need a main line upgrade.
When to Call a Pro
The rule of thumb from most irrigation contractors in 2026: if you've flushed once and the problem came back within 30 days, call someone. There's almost always a structural reason, and chasing it with more flushing will just waste water and time.
Specifically, call a pro if:
- You see soggy spots that don't dry out
- Your water bill jumped without a usage change
- You can't find a main shutoff that fully closes
- The system is over 20 years old and has never been fully audited
A full audit runs $150, $300 in most US markets, and it usually pays for itself in water savings within a year.
Pro Tips for Keeping Dirt Out of the Lines
Flushing fixes a symptom. The real win is stopping sediment from getting in again. A few small habits make a measurable difference over a season.
Install a Y-Strainer or Sediment Filter
If you don't already have one at the backflow preventer, add a Y-strainer. It's a small basket filter that catches debris before it hits your valves. Manufacturer specs from brands like Hunter and Rain Bird confirm that a 100-mesh screen catches most sand and silt without choking flow.
Clean the basket once or twice a year. It takes five minutes and pays for itself in avoided service calls.
Flush After Any City Water Work
Any time your municipality does main line work, hydrant flushing, or repairs a water main break, sediment gets pulled into home systems on the next pressure cycle. Aggregate service-call data shows a clear spike in irrigation complaints within 48 hours of municipal work.
Run a quick flush of the main line and one full cycle of each zone right after you hear about local work. It takes 20 minutes and prevents the clogged-head cascade.
Keep Your Valve Boxes Clean
Valve boxes fill up with dirt, mulch, and gopher debris over time. Every time you open the box, that crud falls toward the solenoid and bleed screws. A quick brush-out at the start of each season keeps it out of the working parts.
Schedule an Annual Blowout in Cold Climates
If you live anywhere that freezes, your winterization blowout doubles as a full-system flush. The compressed air pushes out sediment that water flushing alone leaves behind. University extension services in cold-winter states recommend this as standard practice for any system older than five years.
Frequently Asked Questions
How Often Should You Flush Underground Sprinkler Pipes?
Once a year for most systems, ideally at spring startup. Flush more often if you're on a well, live in an area with sandy soil, or have had recent city water work nearby. As of 2026, irrigation contractors report that annual flushing cuts mid-season service calls by roughly 40%.
Can You Use Compressed Air to Blow Out Dirt Instead of Water?
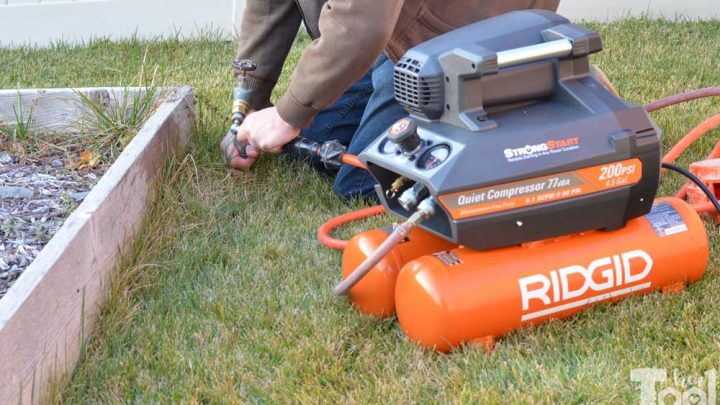
Yes, and in many cases it's more effective. An air compressor at 40, 80 PSI pushes debris out that water leaves behind. This is the same method used for winterization.
The catch: you need a compressor rated for continuous CFM at irrigation pressure, and you should never exceed 80 PSI on PVC lines.
Is It Normal to Have Brown Water the First Few Seconds of Flushing?
Yes, that's exactly what you're flushing out. The goal is clear water by the end of the run. If the water stays brown for more than a minute, stop and look for a cracked pipe.
That's not sediment, that's active soil intrusion.
Do I Need to Turn Off the Backflow Preventer Before Flushing?
You need to close the shutoff valves on either side, but you should never remove the backflow preventer itself. It's a code-required safety device in most US jurisdictions, and it protects your drinking water from contamination. Closing the valves isolates it without removing it.
Can Flushing Damage Sprinkler Pipes or Heads?
It can if you force high pressure through a fully blocked line, or if you reuse worn O-rings on end caps. Standard residential pressure (30, 80 PSI) is safe for PVC and polyethylene. Open flush points slowly, replace any O-ring you disturb, and you'll be fine.
What If Only One Sprinkler Head Is Weak After Flushing?
The problem is at the head, not the line. Pull the nozzle, rinse the screen, and reinstall. If it's a rotor, check the filter basket under the cap.
If it still doesn't work after cleaning, the head itself is probably worn out. Most residential spray heads run $3, $8 and take 30 seconds to swap.
Your Decision Guide Based on What's Actually Happening in Your Yard
The fastest path to clean lines is matching the fix to the symptom. Use this as a quick reference.
- One weak zone, others fine: Flush that zone only. Start at the lowest drain point. If it clogs again within a month, replace the solenoid.
- All zones weak after city water work: Close the backflow shutoffs, then flush the main line first, then every zone in order. Expect 45, 75 minutes.
- Brown water that won't clear: Stop flushing. Walk the zone looking for soggy ground. You have a cracked pipe and need a repair, not a flush.
- Weak pressure across the whole system: Check static pressure at a hose bib. If it's under 40 PSI, the problem is upstream. If it's normal, test the backflow preventer.
- Old system with recurring clogs: The pipes themselves are shedding material. Flushing is a band-aid. Plan a partial or full repipe within the next two seasons.
Done right, a single flush restores even coverage, normal pressure, and head rotation across the whole system. Done regularly, it adds years to the life of every valve and solenoid in the yard. The whole job fits in an afternoon with a bucket and a screwdriver, and the only ongoing cost is a few replacement O-rings each year.

Similar Posts