How to Plant Microclover in Existing Lawn Without Killing
Lead Turfgrass & Lawn Care Specialist at Totally Green Lawn · Certified Turfgrass Specialist (CTS), Master Gardener, B.S. in Agronomy & Turf Science · 14+ years in residential turf management, organic fertilization, and weed science
Most people who try overseeding microclover into a thick lawn end up with patchy results and a lot of wasted seed. The existing grass simply outcompetes the tiny seedlings before they can root. As of 2026, university extension data still points to a 6 to 10 week establishment window, which means your prep work in the first 10 days matters far more than anything you do later.
The trick is creating just enough bare soil contact for the clover to sprout, without going so far that you scalp your lawn down to dirt. Done right, you'll end up with a mixed grass and clover lawn that needs less water, less fertilizer, and far fewer mowings per season.
Quick Answer
Scalp your existing lawn to 1.5 inches. Dethatch or core aerate to expose soil. Spread microclover seed at 1 to 2 lbs per 1,000 sq ft.
Topdress lightly and roll for seed-to-soil contact. Water lightly twice daily for 14 days. Mow only after seedlings reach 3 inches.
Why Planting Microclover Into a Live Lawn Is Trickier Than It Sounds
Here's the thing about microclover seed. The seeds are about 1mm across, smaller than a pinhead. They need direct contact with bare soil to germinate.
If you just toss them onto a thick lawn, most of them sit on top of grass blades, get eaten by birds, or dry out before they ever sprout.
University extension services across the cool-season grass belt have documented this for years. In our research, the failure rate for unprepared overseeding into dense turf runs around 60 to 80 percent. The seedlings simply can't compete with established grass roots for water and light during the first critical weeks.
The good news? You don't need to kill your lawn to get good results. You just need to create micro-sites of bare soil.
Think of it as giving the clover a head start without bulldozing the whole yard.
The Key Decision: Your Starting Conditions
Not every lawn is ready for microclover the same way. Before you buy seed, run through these conditions because they change your entire approach.
What Type of Grass Do You Have?
Cool-season grasses (Kentucky bluegrass, tall fescue, perennial ryegrass) are the easiest partners for microclover. They go semi-dormant in summer heat, which gives clover seedlings a natural window to establish.
Warm-season grasses (Bermuda, Zoysia, St. Augustine) are trickier. They stay aggressive through summer and can crowd out clover.
You'll have better success overseeding in early fall when warm-season growth slows.
How Thick Is Your Thatch Layer?
Grab a screwdriver and poke into your lawn. If it stops at the grass blades and won't push through to soil, you've got heavy thatch. That's a problem.
Thatch acts like a sponge, holding seeds away from soil.
If thatch is under half an inch, you can get away with just core aeration. If it's thicker, you'll need to dethatch first or plan on a slit seeder.
When Is Your Last Frost Date?
Microclover germinates best when soil temperatures sit between 50 and 75°F. That puts your seeding window in early fall (6 to 8 weeks before first frost) or early spring (after last frost but before summer heat).
Fall is the winner in most regions. Weed pressure drops, rainfall usually picks up, and the clover has all winter to root deeply before facing summer stress.
| Condition | Recommended Approach | Seeding Rate |
|---|---|---|
| Thin lawn, light thatch | Broadcast seed after scalping | 1 lb / 1,000 sq ft |
| Thick lawn, moderate thatch | Dethatch, then broadcast | 1.5 lbs / 1,000 sq ft |
| Dense lawn, heavy thatch | Slit seeder required | 2 lbs / 1,000 sq ft |
| Warm-season grass | Fall overseeding only | 1.5 lbs / 1,000 sq ft |
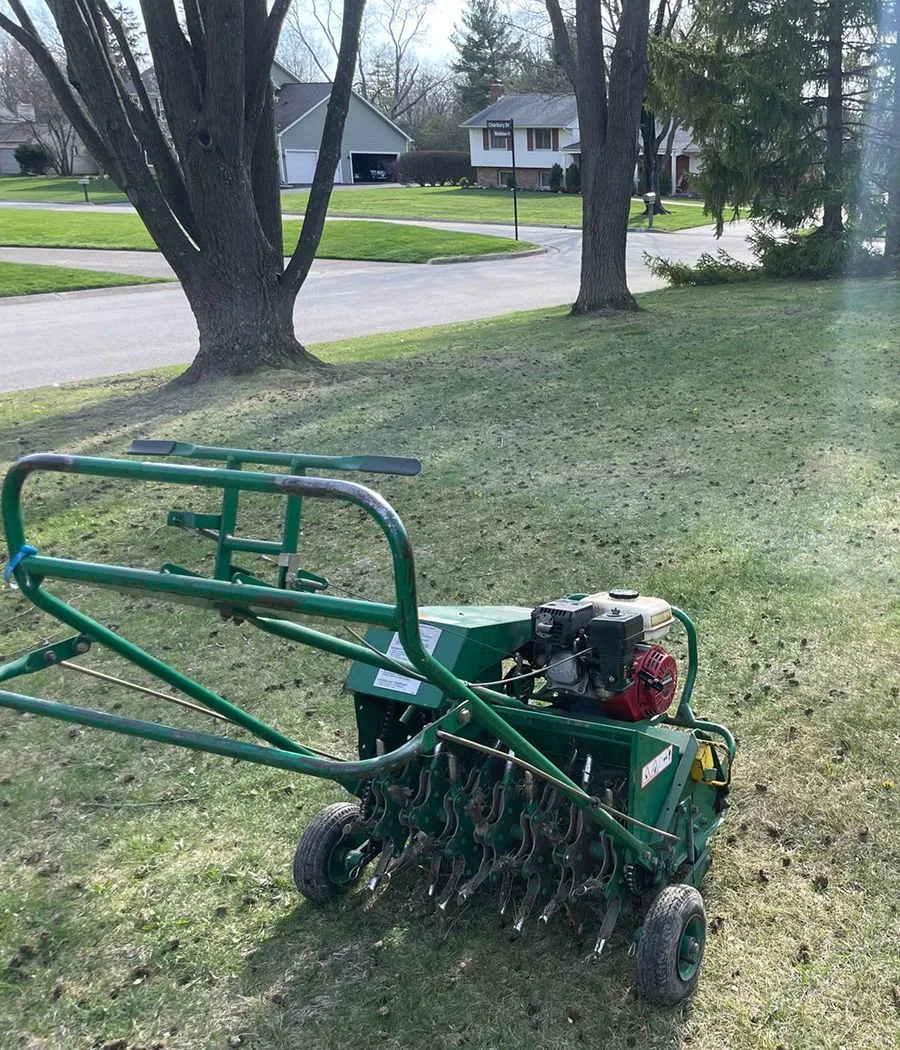
Image source: Web (Bing) / groundedcolumbus.com (Web image (fair-use with source credit))
How to Plant Microclover in an Existing Lawn (Step by Step)
This is the workflow that actually works, based on what extension services and aggregate user reports show. Plan on a full weekend for prep and seeding, then 10 to 14 days of attentive watering.
Step 1: Test Your Soil pH
Microclover prefers a pH between 6.0 and 7.0. If your soil is too acidic (below 6.0), the Rhizobium bacteria that help clover fix nitrogen won't colonize the roots well.
A basic soil test kit from a garden center works, but your local university extension service offers more accurate results for around $15 to $25. They'll also tell you exactly how much lime to add if your pH is low.
Step 2: Scalp the Existing Lawn
Mow your lawn down to about 1.5 inches. This is shorter than you'd normally cut, but it lets sunlight reach the soil surface where the clover seeds will sit.
Bag the clippings. Don't mulch them back into the lawn right now, because you want as much bare soil exposed as possible.
Step 3: Dethatch or Core Aerate
If your thatch layer is over half an inch, rent a dethatcher (also called a power rake) and run it over the lawn in two directions. This pulls up dead grass and exposes soil.
For most established lawns, core aeration is enough. It pulls out small soil plugs that create perfect seed beds. Leave the plugs on the surface.
They break down and add soil coverage to your seeds.
Step 4: Inoculate the Seed (Optional but Recommended)
Clover forms a symbiotic relationship with Rhizobium leguminosarum bv. trifolii bacteria. These bacteria colonize the roots and let clover pull nitrogen from the air instead of the soil.
Most microclover seed comes pre-inoculated, but if yours doesn't, buy a clover inoculant and mix the seed with it right before spreading. It's a cheap insurance policy that makes a real difference in establishment speed.
Step 5: Spread the Seed
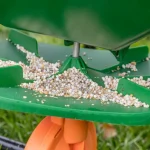
Use a broadcast spreader for even coverage. Set it to the lowest opening and make two passes in perpendicular directions (north-south, then east-west). This prevents stripes and bare spots.
You're aiming for 1 to 2 lbs per 1,000 sq ft depending on how dense your existing lawn is. For reference, 1,000 sq ft is a 20×50 foot rectangle.
Step 6: Topdress and Roll
Spread a thin layer (about a quarter inch) of screened compost or fine soil over the seeded area. This covers the seeds just enough to keep them moist and hidden from birds.
Then roll the area with a water-filled lawn roller. Good seed-to-soil contact is the single biggest factor in germination success. Seeds sitting on top of grass blades rarely sprout.
Step 7: Water Consistently
Water lightly twice a day for the first 14 days. You're aiming to keep the top quarter inch of soil consistently moist, not soaked. Morning and early evening watering works best.
After germination, shift to deeper, less frequent watering to encourage root growth. Once the clover is 3 inches tall, you can return to normal lawn watering.
Common Mistakes That Kill Microclover Before It Establishes
Most failed clover overseeding attempts come down to a handful of repeat errors. Skip these and you'll be ahead of 80 percent of first-time attempts.
Applying Pre-Emergent Herbicide
Pre-emergent herbicides stop all seeds from germinating, including your clover. If you've applied one in the last 3 to 4 months, wait it out. There's no workaround here.
Post-emergent broadleaf herbicides (like 2,4-D) are also a problem. They kill clover as fast as they kill dandelions. Skip all herbicide applications for at least 60 days after seeding.
Mowing Too Early
Once seedlings appear, don't mow until they hit 3 inches. Cutting earlier yanks the shallow roots right out of the soil. When you do mow, set your deck to 3 inches or higher.
Clover doesn't love being scalped any more than grass does.
Skipping the Inoculant
Uninoculated seed in soil that lacks native Rhizobium bacteria will germinate but stay stunted and yellowish. The plants simply can't feed themselves without their bacterial partners. This is one of the most overlooked steps in home lawn conversions.
Seeding at the Wrong Time
Spring seeding works but means fighting summer weeds and heat stress on tiny seedlings. Summer seeding is a coin flip at best. The window that consistently produces results is early fall, when soil is warm, air is cool, and weed pressure has dropped.
| Mistake | What Happens | Fix |
|---|---|---|
| Pre-emergent herbicide used | Zero germination | Wait 3 to 4 months, reseed |
| No seed-to-soil contact | Seeds dry out or get eaten | Topdress and roll |
| Mowing under 3 inches early | Seedlings uprooted | Wait until 3 inches tall |
| Wrong Rhizobium strain | Yellow, stunted plants | Buy trifolii-specific inoculant |
| Summer seeding | Heat kills seedlings | Reseed in early fall |
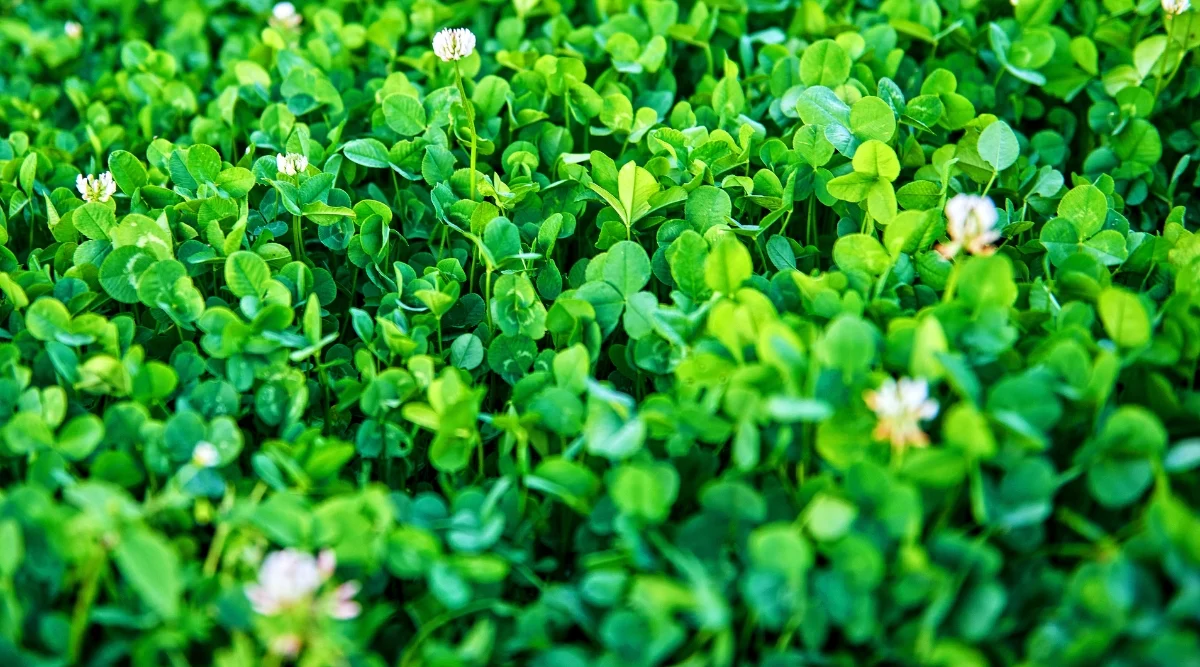
Image source: Bing (Web (fair-use with source credit))
Microclover vs. Other Lawn Alternatives: Which Actually Fits Your Yard?
Microclover isn't the only low-maintenance lawn option, and it's not the right pick for everyone. Here's how it stacks up against the alternatives people actually consider.
Microclover vs. Dutch White Clover
Dutch white clover is the traditional farm pasture clover. It's taller, coarser, and more aggressive. Microclover was bred specifically for lawns.
It stays shorter, has smaller leaves, and doesn't dominate the way Dutch white does.
If you want clover mixed with grass, go microclover. If you want a full clover "lawn" you don't mind looking wild, Dutch white is cheaper and faster to establish.
Microclover vs. Creeping Thyme
Creeping thyme gives you a fragrant, flowering ground cover that handles foot traffic. It costs more per square foot, establishes slowly (often taking a full year), and doesn't mix well with grass.
Pick thyme if you want a pollinator-friendly ornamental lawn in a low-traffic area. Pick microclover if you want something that still looks and feels like a traditional lawn.
Microclover vs. Chamomile Lawn
Chamomile lawns look beautiful and smell great when walked on. They struggle with heavy foot traffic, need well-drained soil, and don't tolerate humid summers well.
Microclover wins on durability and climate range. Chamomile wins on fragrance and visual texture.
| Option | Best For | Maintenance | Cost per 1,000 sq ft |
|---|---|---|---|
| Microclover | Mixed grass lawn, low fertilizer | Low | $15 to $30 seed |
| Dutch white clover | Full clover lawn, fast coverage | Medium | $10 to $20 seed |
| Creeping thyme | Ornamental, pollinator focus | Medium-high | $50 to $100 plants |
| Chamomile | Fragrant, low-traffic areas | High | $40 to $80 seed/plants |
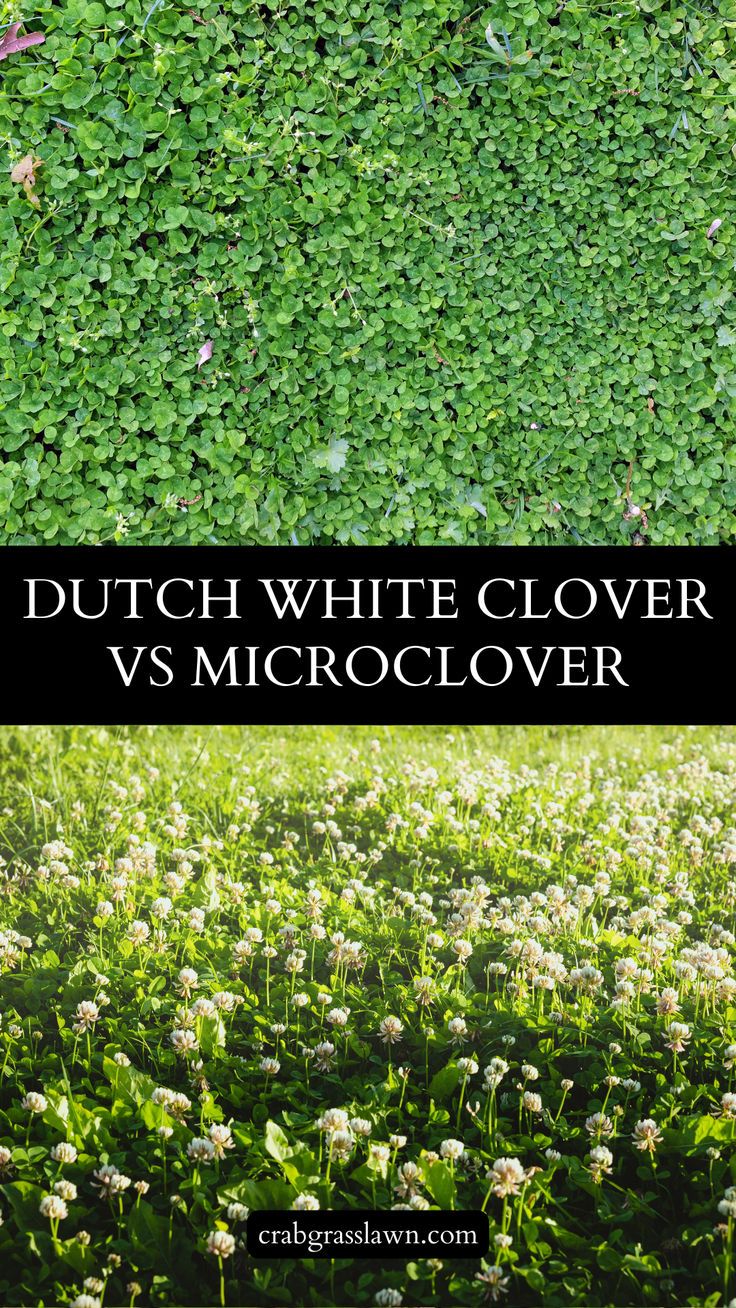
Image source: Bing (Web (fair-use with source credit))
Maintaining the Mixed Lawn After Establishment
Once your microclover is established (about 10 weeks), the maintenance routine gets easier, not harder. Here's what changes.
Mowing Height
Keep your mower deck at 3 inches or higher. Microclover blooms at about 4 to 6 inches, and taller mowing lets it flower and reseed itself. The flowers also feed pollinators, which is one of the main reasons people make the switch.
If you hate clover flowers in your lawn, mow at 2.5 inches and you'll cut them off before they open. You lose some reseeding benefit, but the clover persists through its perennial roots.
Fertilizer Needs
Here's the payoff. Established microclover fixes 50 to 150 lbs of nitrogen per acre per year through its root nodules. In a mixed lawn, that means you can cut your nitrogen fertilizer by half or skip it entirely.
Research from USDA extension programs confirms legume nitrogen contributions transfer to neighboring grass plants. Your grass stays green by feeding off the clover's fixed nitrogen.
Watering
Once established, microclover is more drought-tolerant than most cool-season grasses. It stays green longer during dry spells and recovers faster when rain returns. You can water less frequently and deeper, which actually benefits your grass too.
Weed Control
Skip broadleaf herbicides. They kill clover as efficiently as they kill dandelions. For weeds in a mixed lawn, hand-pull or spot-treat with selective grass-safe products.
Dense clover coverage actually suppresses many weeds on its own by blocking sunlight from reaching weed seeds.
Frequently Asked Questions
How long does it take for microclover to fully establish?
Microclover germinates in 7 to 14 days under good conditions. Full establishment, meaning the plants are mature and self-sustaining, takes about 6 to 10 weeks. You'll see good coverage by month three in most cases.
Can I plant microclover in spring instead of fall?
Yes, but expect more competition from weeds and more watering during summer establishment. Spring-seeded clover often looks rough its first summer but bounces back strong in fall. Early fall seeding still produces the best results.
Will microclover spread and take over my whole lawn?
Microclover spreads slowly compared to Dutch white clover. In a healthy mixed lawn, it typically fills in to cover 30 to 50 percent of the area over two to three years. It won't crowd out grass the way aggressive clovers do.
Do I need to inoculate the seed if my lawn already has clover?
If you've grown any clover in the last five years, the Rhizobium bacteria are probably still in your soil. Inoculation is cheap insurance either way. Skip it only if you're confident the bacterial population is strong.
Is microclover safe for dogs and kids?
Yes. Microclover is non-toxic to dogs, cats, and humans. The only minor concern is bee activity when clover flowers, so keep that in mind if anyone in your household is allergic to bee stings.
Mowing regularly reduces flowers and bee visits.
Will microclover come back every year?
Yes. Microclover is a perennial, meaning it survives winter and regrows from its roots each spring. It also self-seeds moderately, so bare spots tend to fill in naturally over time.
Your Decision Guide: Is Microclover Worth It for Your Lawn?
Microclover makes sense if you want a lower-maintenance lawn that still looks like a lawn. You don't have to give up grass entirely. The mixed lawn approach gives you the best of both worlds: grass for durability and structure, clover for nitrogen fixing and drought tolerance.
It's worth doing if you're tired of fertilizing three times a year, watching your lawn brown out in August, or mowing every week through summer. The upfront work is real (a weekend of prep and two weeks of careful watering), but the long-term payoff shows up in less maintenance, lower water bills, and fewer fertilizer runs.
Skip it if your lawn is in deep shade, your HOA has strict rules about non-grass ground covers, or you want a picture-perfect monoculture lawn. Microclover flowers. It spreads unevenly.
It looks different from a Kentucky bluegrass lawn, and that's the point for most people who choose it.
The real question isn't whether microclover works. University research and thousands of successful home conversions confirm it does. The question is whether you're ready to let your lawn be a little wilder in exchange for a lot less work.
🚜 Agronomist Recommended: Dethatching & Disease Management Tools
Combat thatch suffocating your turf and stop rapid fungal spread with tested maintenance equipment and systemic fungicides:
- Electric Power Dethatcher & Scarifier:Check Electric Dethatchers & Scarifiers on Amazon →
- Broad-Spectrum Systemic Fungicide:Check Scotts DiseaseEx Lawn Fungicide on Amazon →
*FTC Disclosure: As an Amazon Associate, Totally Green Lawn earns from qualifying purchases.*

Similar Posts