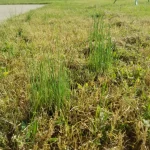
How to Fix Dry Spots in Lawn That Repel Water
Lead Turfgrass & Lawn Care Specialist at Totally Green Lawn · Certified Turfgrass Specialist (CTS), Master Gardener, B.S. in Agronomy & Turf Science · 14+ years in residential turf management, organic fertilization, and weed science
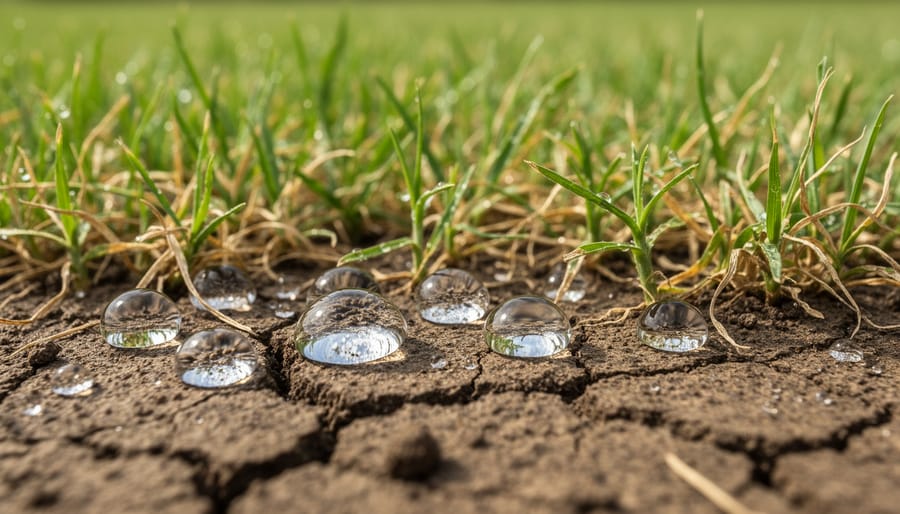
You water the lawn. The water beads up, rolls off, and the same brown patches stay bone dry anyway. That runoff is the tell.
When grass sheds water instead of soaking it up, the soil underneath has gone hydrophobic, and no amount of extra sprinkler time is going to fix it.
The real problem isn't how much water you're applying. It's that the soil itself has become water-repellent, often from a waxy organic coating on sand or peat particles, or from compaction that closes off the pore space water needs to enter. University extension research on turfgrass soils shows infiltration can drop below 0.1 inches per hour in severe cases, which is why your 20-minute soak cycle ends up as street runoff.
As of 2026, the fix hasn't changed: figure out which underlying condition is causing the repellency, then treat that specific cause. Let's walk through how to tell which one you've got.
Quick Answer
To fix dry spots in a lawn that repel water, identify the cause first. Then apply a soil surfactant to break surface tension. Aerate compacted zones.
Dethatch if the layer exceeds half an inch. Topdress with compost. Adjust sprinkler heads for even coverage.
Severely hydrophobic soil often needs repeated wetting agent treatments every four to eight weeks.
Why Your Lawn Repels Water (And Why It Matters)
Healthy soil is a sponge. Water flows into the pore spaces between mineral particles and organic matter, then drains downward as the sponge fills. When that sponge stops working, water has nowhere to go but sideways, which is exactly what you see when puddles form on the surface or sprinkler water sheets off into the driveway.
The repellency itself usually comes from one of three things, and often a combination of all three:
- Coating on soil particles. Sand grains and decomposed organic matter can develop a waxy, hydrocarbon-like coating as soil microbes break down certain acids. Once that coating forms, water literally cannot wet the particle. This is most common in sandy soils and is the textbook cause of what turf researchers call localized dry spot (LDS).
- Compaction. Foot traffic, mowers, kids playing, and even heavy rain can press soil particles so tight that the macropores (the big channels water needs) collapse. Water has nowhere to go, so it sits on top and evaporates.
- Thatch buildup. A thin thatch layer (under half an inch) is actually healthy. Once it thickens past that point, it acts like a thatched roof, shedding water sideways before it ever reaches the soil. The grass blades above look thirsty even when the soil below is damp.
The reason this matters: a lot of homeowners see dry spots and reach for the hose, watering longer and more often. That often makes things worse, because the water never actually penetrates. The grass roots stay shallow, the hydrophobic layer deepens, and you end up with a lawn that's both drought-stressed and overwatered at the same time.
Our research into turf management literature consistently points to the same conclusion: diagnose the cause before you change the irrigation schedule.
Figure Out What's Actually Causing the Dry Spots
Before you buy anything or rent an aerator, spend ten minutes doing a few simple tests. They'll tell you which fix actually applies, and save you from doing the wrong job twice.
The Screwdriver Test for Compaction
Push a long screwdriver or a steel rod into the soil in a dry spot and compare it to a healthy green area nearby. In healthy soil, it should slide in to a depth of 6 inches or more with moderate hand pressure. If you can't get it past 2 to 3 inches in the dry zone, you've got compaction.
The Thatch Check
Slice a small wedge of turf with a knife, like a tiny piece of sod, and peel it back. Measure the brown, spongy layer between the green blades and the soil. Under half an inch is fine.
Over half an inch is the problem.
The Catch-Can Test for Sprinkler Coverage
Set out five to six flat-bottomed containers (tuna cans, cat food tins, a rain gauge) in a grid across the dry area. Run your irrigation system for the normal cycle. Measure what each container caught.
You're looking for no more than about a quarter-inch of variation between the highest and lowest cans. Big gaps mean coverage problems, not hydrophobic soil.
The Moisture Meter Confirmation
A basic soil moisture meter (around $15 to $25 as of 2026, per common retail pricing) takes the guesswork out. Stick it 4 inches down in the dry patch and in a healthy spot. If the meter reads "dry" in the brown area but "moist" in the green, you've confirmed the water isn't reaching the root zone.
If both areas read similarly dry, your irrigation volume is the issue, not repellency.
| Symptom You See | Most Likely Cause | Confirm With |
|---|---|---|
| Water beads on surface, runs off | Hydrophobic soil (LDS) | Screwdriver test + moisture meter |
| Spongy feel underfoot, water sheds sideways | Thick thatch | Thatch wedge measurement |
| Hard soil, water pools then evaporates | Compaction | Screwdriver penetration depth |
| Brown patches in fixed arcs or strips | Uneven coverage | Catch-can test |
| Circular brown patches with rings | Fungal disease | Visual ring pattern, mycelium in morning |
One quick note on that last row. Brown patch, dollar spot, and summer patch all create brown, dry-looking areas that get mistaken for drought. But fungal disease patches often have a defined ring, a slightly purple or straw-colored border, or visible white mycelium in the early morning.
If you see those signs, the fix is fungicide, not more water or wetting agent. Aerating through active fungal disease can also spread the pathogen, which is why diagnosis matters before you pull any equipment out of the garage.
The Fix That Matches Your Diagnosis
This is the decision-tree part. Once you've identified the cause, the path forward branches pretty cleanly.
If the Cause Is Hydrophobic Soil
This is the most common culprit, especially on sandy soils and in lawns that have dried out during summer stress. The fix is a soil surfactant, also called a wetting agent. These don't add water, they reduce the surface tension that keeps water from bonding with hydrophobic soil particles.
Most home-use wetting agents use one of two active ingredient classes: alkyl polyglycosides (plant-derived, milder) or ethylene oxide/propylene oxide block copolymers (synthetic, longer-lasting). Both work. Per university extension recommendations, the synthetic class tends to last longer in the soil, typically 6 to 8 weeks, while the plant-derived versions often need reapplication every 4 weeks.
The USDA Natural Resources Conservation Service maintains soil texture guides that confirm sandy soils are far more prone to hydrophobic behavior than clay or loam.
If the Cause Is Compaction
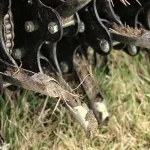
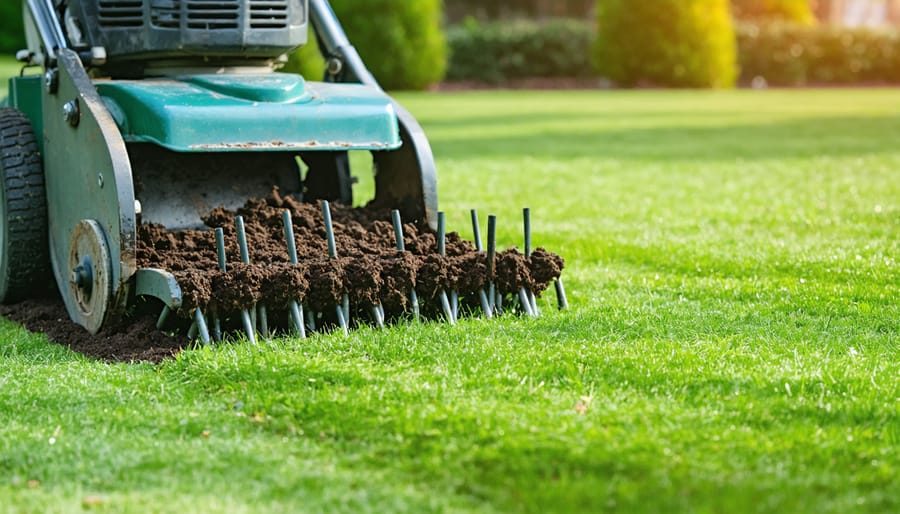
Core aeration. Spike aerators don't do this job, because they just press the soil tighter sideways. Core aerators pull actual plugs of soil out, opening channels for water, air, and roots.
The plugs break down in a week or two and feed the topsoil back in. Best timing: during the active growth period for your grass type, so it can recover fast.
If the Cause Is Thatch
Dethatch with a power rake or vertical mower, then bag up the debris. The window for this is the same as aeration: when the grass is actively growing and can fill in the bare spots quickly. Dethatching during summer heat or winter dormancy is a recipe for weeds.
If the Cause Is Irrigation Coverage
Adjust the heads, replace clogged nozzles, or swap fixed-spray nozzles for rotary nozzles in zones that have dry arcs. If your catch-can test showed a quarter-inch or more variation across a zone, the heads need work, not the soil.
If the Cause Is Fungal Disease
Stop and reconsider. Don't aerate, don't dethatch through active fungal patches, and don't crank up the watering. Apply the appropriate fungicide, then revisit the dry-spot issue once the disease pressure has passed.
How to Apply Wetting Agents the Right Way
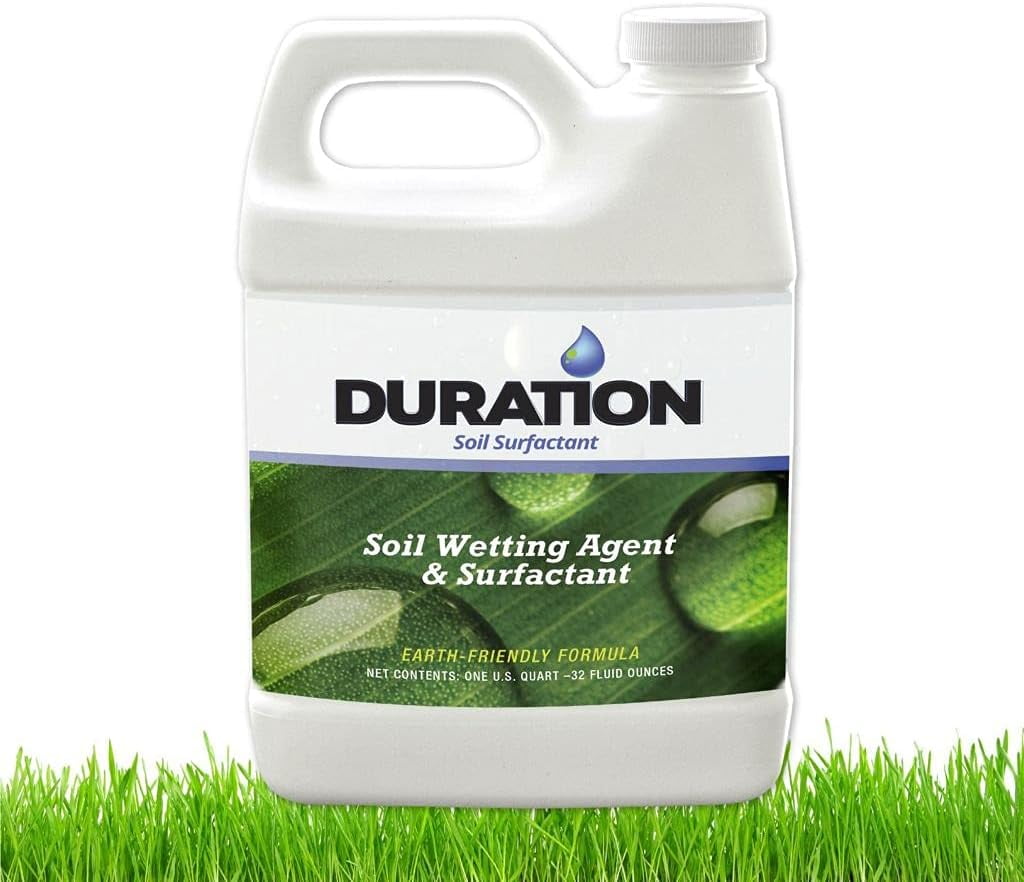
Most homeowners get the product right and the timing wrong, which is why wetting agents sometimes get blamed for "not working." The application method matters as much as the choice of product.
Liquid vs. Granular
| Format | Best For | Reapplication |
|---|---|---|
| Liquid concentrate | Hose-end sprayers, larger areas, faster uptake | Every 4 to 6 weeks |
| Granular | Spot treatments, smaller lawns, easier storage | Every 6 to 8 weeks |
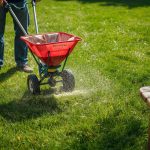
Liquid formulations are usually more economical for lawns over 2,000 square feet. Granular wetting agents are easier to apply with a standard spreader and don't need mixing, which makes them friendlier for first-timers.
Step-by-Step Application
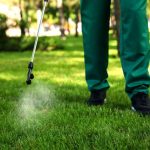
- Water the lawn lightly the night before. You want the soil slightly moist, not bone dry. Wetting agent on completely dry hydrophobic soil can actually bead up and roll off the same way water does.
- Mix per label directions. Don't eyeball it. Most liquid surfactants call for 1 to 2 ounces per 1,000 square feet in 1 to 2 gallons of water.
- Apply in the early morning. Cooler temps and lower wind mean better coverage and less evaporation before the product soaks in.
- Walk a consistent pattern. Overlap slightly, the same way you'd mow, so you don't leave stripes of untreated soil.
- Water it in lightly afterward. About a quarter-inch of irrigation moves the surfactant down into the top 2 to 3 inches of soil where it needs to be.
- Mark your calendar. Reapply on the schedule listed on the label, typically every 4 to 8 weeks through the active growing season.
One thing a lot of product instructions skip: wetting agents aren't a one-and-done. They break down over time, especially in biologically active soil. If you stop applying and the underlying conditions that caused the repellency haven't changed (sandy soil, thatch buildup, summer stress), the dry spots will return.
Plan on seasonal reapplication, similar to how you'd plan fertilizer.
Aeration, Dethatching, and Topdressing (When They're Worth Doing)
These three jobs are often sold as a package, and they do work well together, but only when the lawn actually needs them. Doing them unnecessarily wastes money and can stress the grass.
Core Aeration
The job of core aeration is to relieve compaction and open up channels for water infiltration. Manufacturer specifications for walk-behind core aerators typically call for tine penetration of 2 to 3 inches, with plug spacing of about 2 to 4 inches apart for full coverage.
Best timing by grass type:
| Grass Type | Best Aeration Window |
|---|---|
| Kentucky bluegrass, fescue, ryegrass (cool-season) | Early fall (September to October) |
| Bermuda, Zoysia, St. Augustine (warm-season) | Late spring to early summer (May to June) |
| Transition zone blends | Either peak growth period for the dominant species |
Cost reference as of 2026: Professional core aeration runs about $75 to $200 per service for an average residential lawn, depending on lot size and region. DIY rental of a walk-behind core aerator runs $40 to $80 per day from most home improvement stores.
Dethatching
Dethatching is only worth doing when the thatch layer is over half an inch thick. Anything below that is healthy and actually helps the lawn. Power dethatchers (also called vertical mowers) slice through the thatch and pull it up.
Run the machine in two directions for thorough coverage, then rake up and remove the debris.
Topdressing
After aeration or dethatching, topdressing with a thin layer of compost (a quarter-inch, no more) feeds the soil biology and improves long-term water-holding capacity. The University of Florida IFAS Extension turfgrass program notes that compost topdressing on sandy soils can increase water retention by 20% or more over multiple applications. The mistake to avoid: laying it on too thick.
More than half an inch will smother the existing grass.
When to Skip All Three
If your dry spots trace back to irrigation coverage problems or fungal disease, aeration, dethatching, and topdressing won't help, and may make things worse. Match the intervention to the diagnosis. That's the whole game.
Mistakes That Make Dry Spots Worse
The fastest way to lock in a hydrophobic lawn is to keep doing the wrong things. Here are the moves that consistently backfire.
Watering More Often for Shorter Cycles
Daily light watering trains roots to stay shallow and feeds the waxy coating that makes soil repel water in the first place. Per EPA WaterSense guidance, deeper, less frequent watering (about 1 to 1.5 inches per session, two to three times a week) builds drought tolerance and actually reduces total water use.
Aerating Through Fungal Disease
If the brown patches have a defined ring, a purplish border, or visible white mycelium in the morning, you've got disease, not dry soil. Aerating spreads the fungal pathogen through the soil and to other parts of the lawn. Treat the disease first, then revisit aeration once the pressure has cleared.
Applying Wetting Agent to Bone-Dry Soil
The product beads up and rolls off the same way water does. Pre-water lightly the night before, apply in the early morning, then water it in with about a quarter inch of irrigation. Manufacturer specs on labels from major surfactant brands confirm this sequence in the application directions.
Topdressing Too Thick
A light quarter-inch of compost feeds the soil. A heavy half-inch or more smothers the grass and creates a new hydrophobic layer as the organic matter dries out. Less is more here.
Ignoring Sprinkler Coverage Entirely
If the catch-can test shows a quarter-inch or more variation across a zone, the heads are the problem. Pouring water and wetting agent onto a zone with broken heads is just flushing product down the sidewalk. Fix the heads first, then treat the soil.
Quick-Reference Decision Guide
When the lawn is in front of you and you've got limited time, this is the shortcut.
| If You See | Do This First | Then This |
|---|---|---|
| Water beads, runoff, sandy soil | Wetting agent, light pre-water | Reapply every 4 to 8 weeks |
| Spongy feel, brown thatch over 1/2 inch | Power dethatch in growing season | Topdress with 1/4 inch compost |
| Hard soil, screwdriver won't penetrate | Core aerate, fall or late spring | Topdress, then wetting agent |
| Brown arcs in fixed sprinkler pattern | Catch-can test, adjust heads | No soil treatment needed yet |
| Brown ring with purple border, morning mycelium | Identify the disease, apply fungicide | Do NOT aerate until cleared |
Keep this table handy for the next time something brown shows up mid-summer. Half the work of fixing dry spots is just refusing to repeat the same wrong move.
Frequently Asked Questions
How long does it take a wetting agent to fix dry spots?
Most soil surfactants show visible improvement within 1 to 2 weeks, with full effect by week 3. Severely hydrophobic soil often needs a second application at the 4 to 6 week mark before the dry spots fully close in.
Can I just water longer instead of using a wetting agent?
Not if the soil is hydrophobic. Watering longer on repellent soil mostly produces runoff. The water beads, rolls off, and ends up in the storm drain.
Wetting agent changes the surface chemistry so water actually bonds with the soil particles.
Is it safe to apply wetting agent during a drought or watering restriction?
Yes. Wetting agents are not pesticides and aren't typically restricted under drought rules. Many extension services actually recommend them during drought because they reduce total water use.
Check your local ordinance to confirm.
Should I aerate or dethatch first?
Aerate first, then dethatch if needed. Aeration opens the soil and reduces compaction. Dethatching removes the surface layer.
Doing them in this order lets the dethatcher work on loosened soil and gives the lawn a faster recovery.
How do I tell the difference between dry spots and grub damage?
Pull up a small section of turf. Grubs will be visible as white C-shaped larvae in the top inch of soil, and the turf will lift up like a loose carpet. Dry spots from hydrophobic soil still have roots firmly anchored.
If you've got grubs, treat for grubs, not water repellency.
🚜 Agronomist Recommended: Dethatching & Disease Management Tools
Combat thatch suffocating your turf and stop rapid fungal spread with tested maintenance equipment and systemic fungicides:
- Electric Power Dethatcher & Scarifier:Check Electric Dethatchers & Scarifiers on Amazon →
- Broad-Spectrum Systemic Fungicide:Check Scotts DiseaseEx Lawn Fungicide on Amazon →
*FTC Disclosure: As an Amazon Associate, Totally Green Lawn earns from qualifying purchases.*

Similar Posts