Check Lawn Mower Tire Pressure Without a Valve Leak
Lead Turfgrass & Lawn Care Specialist at Totally Green Lawn · Certified Turfgrass Specialist (CTS), Master Gardener, B.S. in Agronomy & Turf Science · 14+ years in residential turf management, organic fertilization, and weed science
How to check lawn mower tire pressure without valve stem leak is a question that comes up more often than you'd think, and the reason is simple. Most people grab whatever pressure gauge is lying around, jam it onto the valve at an angle, and then wonder why the tire is flat a day later. The valve stem on a mower tire is fragile, and a sloppy check is the number one reason it starts leaking.
Here's what the manufacturer specs confirm. Most riding mower tires run between 8 and 20 PSI, while push mowers typically sit around 14 to 18 PSI, well below car tire pressure. That low range means a tiny leak around the valve goes unnoticed for weeks.
A careful, straight-on check with the right gauge and a dab of lubricant keeps the seal intact. Up next, we'll walk through the one detail that decides your entire approach.
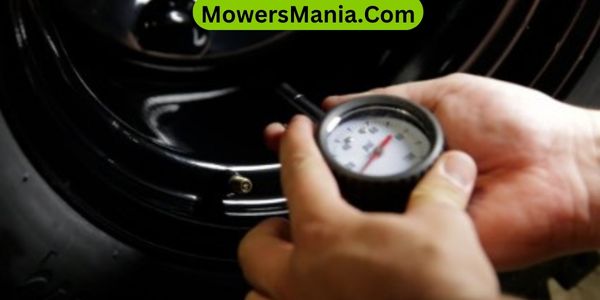
Image source: Bing (Web (fair-use with source credit))
Quick Answer
Check tire pressure with a low-range gauge. Press straight down on the valve. Do not tilt the gauge.
Use a light dab of lubricant on the stem first. Keep the gauge in line with the valve. A slow, straight push prevents valve leaks.
Why Most Lawn Mower Tire Checks Cause a Valve Stem Leak (And How to Avoid It)
Here's the thing about lawn mower valve stems. They are almost always rubber snap-in designs, not the metal clamp-in stems you find on car tires. Rubber stems dry out, especially after a winter in the shed, and the seal between the stem and the rim gets brittle.
When you shove a gauge onto a brittle rubber stem at an angle, two things happen. You distort the stem opening, and you scrape the sealing surface. The gauge might still give you a reading, but the valve won't seat right after you pull it off.
Air seeps out slowly, and the tire is soft by your next mow.
Aggregate user reviews across mower forums report this same pattern. The pressure reads fine on Monday, and the tire is flat by Saturday. The fix isn't a better gauge.
It's a better technique and a valve that isn't already compromised.
Know Your Valve Stem First: The Branch That Changes Everything
Before you touch a gauge, look at the valve stem. The material and condition tell you which path to take.
Rubber Snap-In Valve Stems
These are standard on nearly every lawn mower built in the last 30 years. The stem pushes through a hole in the rim and is held by friction and a rubber grommet. Over time, the rubber hardens, especially with temperature swings and UV exposure.
If your stem is shiny, cracked, or stiff when you flex it with a fingernail, treat it as fragile. Do not press a metal gauge directly onto a brittle stem without lubricant. The risk of snapping or deforming it is real.
Metal Clamp-In Valve Stems
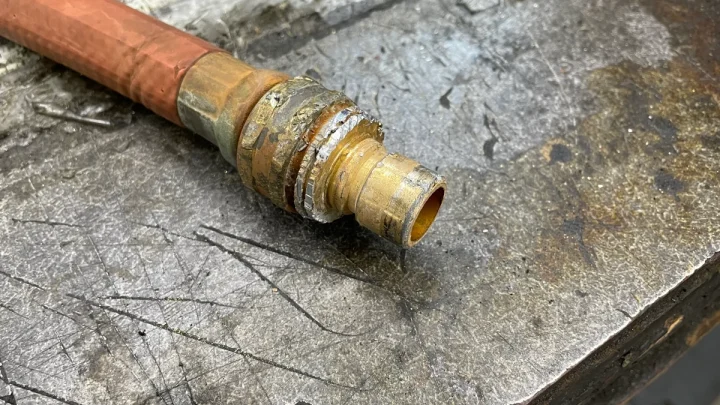
Some higher-end mowers, particularly commercial zero-turn units, use brass or nickel-plated metal stems. These are far more durable. You can press a gauge on them more firmly without the same leak risk, though a straight push is still the right move.
Visual Cues to Check First
Run your finger around the base of the stem where it meets the rim. Feel for crusty buildup, corrosion, or a gritty texture. Any of those means debris is compromising the seal.
A quick wipe with a damp cloth and a drop of silicone lubricant buys you a clean surface to work with.
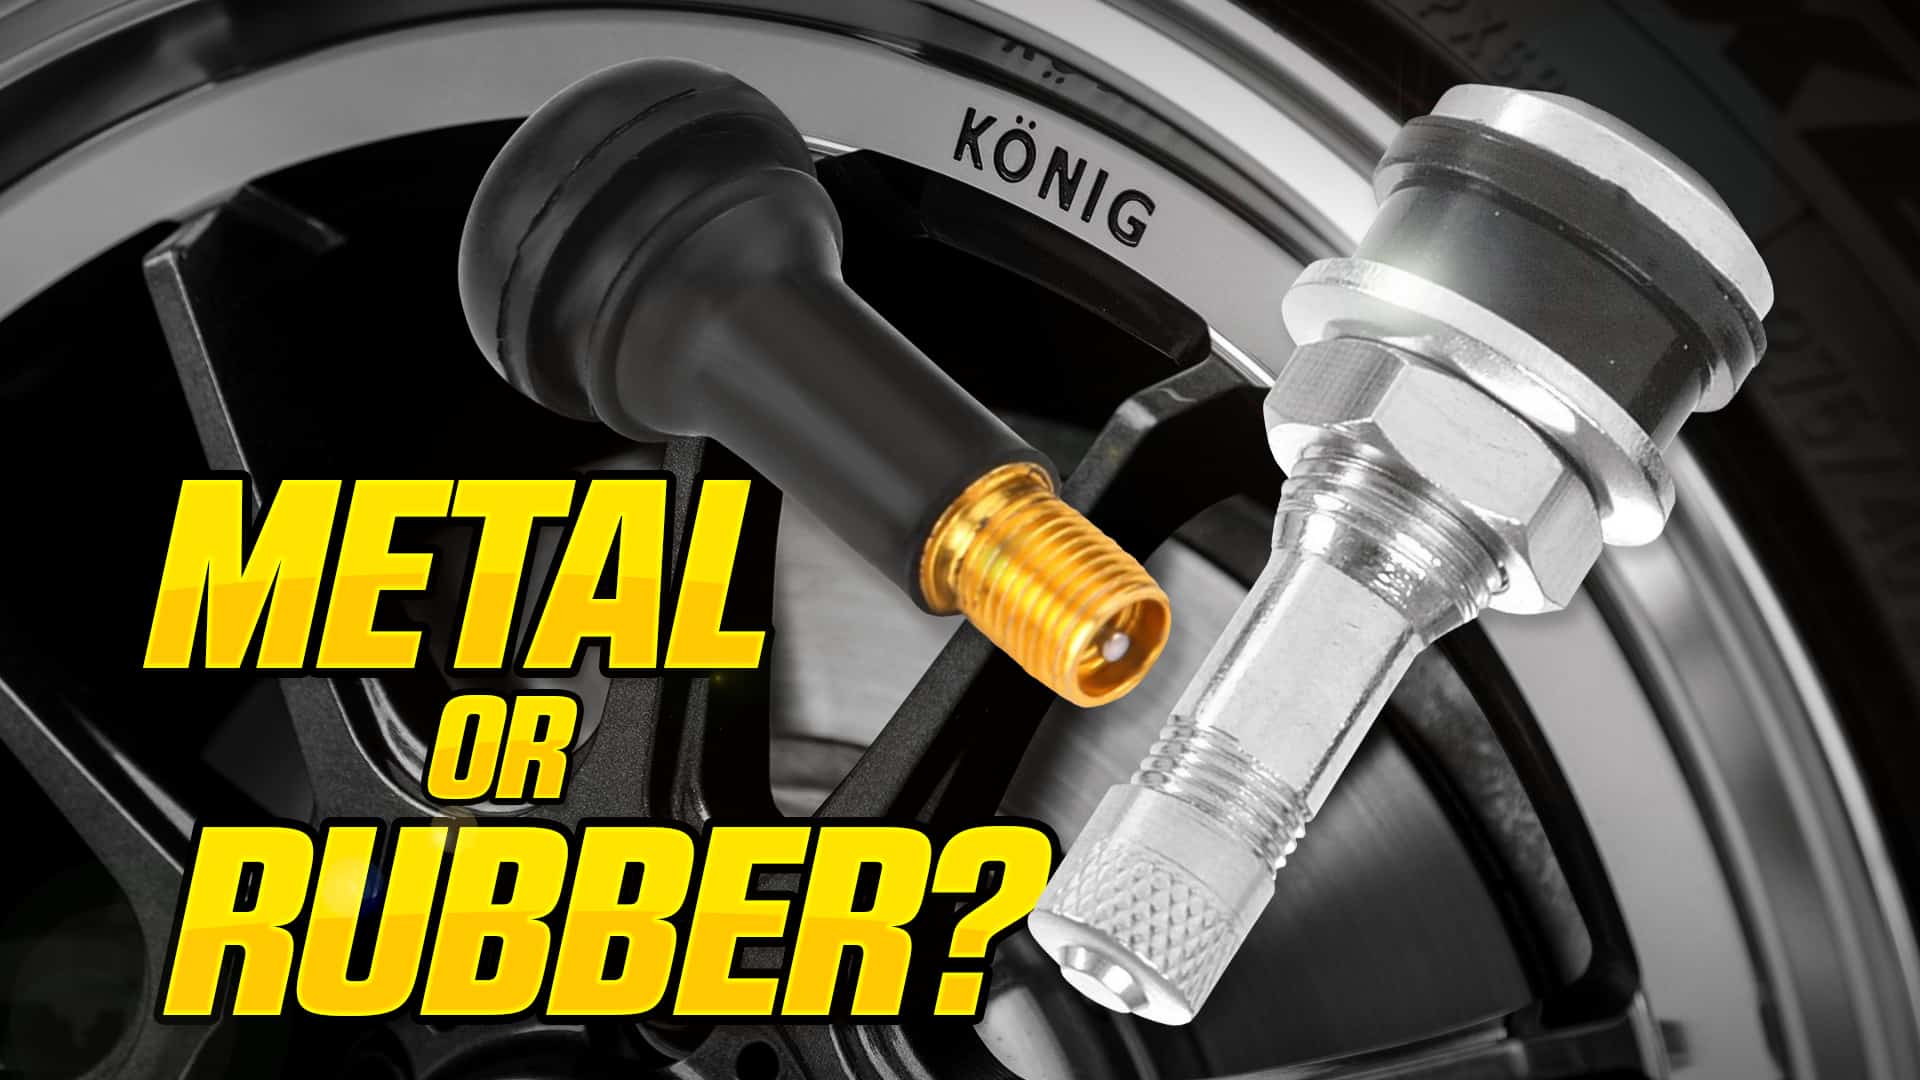
Image source: Bing (Web (fair-use with source credit))
If the stem is bent, visibly cracked, or weeping bubbles when you dab soapy water on it, skip the pressure check entirely. That stem needs replacement, and adding air will just escape through the same leak. A standard Schrader valve core replacement runs about $2 to $5 per core, and the job takes under 10 minutes with a valve core tool.
The Right Tool for a Lawn Mower Tire (And Why the Wrong One Wrecks the Valve)
The gauge matters more than most people think. A standard automotive gauge rated for 0 to 100 PSI is technically accurate at low pressure, but it's hard to read precisely at 10 PSI. The needle barely moves, and you're guessing whether you're at 9 or 11.
A low-pressure gauge rated for 0 to 30 PSI gives you clear, readable results in the mower tire range. Manufacturer specifications indicate this is the sweet spot for accuracy, with most models offering plus or minus 1 to 2 PSI in that range.
Gauge Type Comparison
| Gauge Type | Best For | Leak Risk | Reading Clarity at 10-20 PSI |
|---|---|---|---|
| Dial gauge (0-30 PSI) | Most accurate check | Low if pushed straight | Excellent |
| Digital gauge | Quick numeric readout | Low | Excellent |
| Stick/pencil gauge | Budget option, portability | Moderate (prone to tilt) | Fair, hard to read small increments |
| Push-on vs. screw-on chuck | Any of the above | Screw-on is safer for brittle stems | N/A |
Here's the decision branch. If you have a brittle rubber stem, use a screw-on chuck gauge. The threaded connection eliminates sideways force on the valve.
If you only have a push-on gauge, go slow, keep it perfectly straight, and do not wiggle it.
For adding air, a hand pump or foot pump is safer than a compressor on mower tires. A compressor at 150 PSI will overwhelm a small tire in a fraction of a second. If you use a compressor, set the regulator no higher than 25 PSI and add air in one-second bursts.
How to Check Lawn Mower Tire Pressure Without Leaking: Step-by-Step
This is the core workflow. The whole process takes about 5 to 10 minutes for all four tires on a riding mower. Follow the order, and you'll get an accurate reading without disturbing the seal.
Step 1: Check the Tires When Cold
Pressure readings rise as tires heat up. If you just finished mowing, the PSI on the gauge will read 2 to 4 PSI higher than the actual cold pressure. Manufacturer specs are always given as cold inflation values.
Park the mower for at least two hours before checking, or check first thing in the morning before you start the engine.
Step 2: Clean the Valve Stem
Wipe the stem and cap with a dry cloth. Dirt or grass clippings on the sealing surface will give you a false reading and can work their way into the valve core. A clean stem is a sealed stem.
Step 3: Remove the Cap and Inspect
Unscrew the plastic valve cap. Check for a small rubber O-ring inside the cap. If it's missing or cracked, replace the cap.
That tiny O-ring is a secondary seal that most people overlook. As of 2026, replacement caps with O-rings are widely available at any auto parts store for under a dollar.
Step 4: Apply a Light Lubricant
Dip the tip of your finger in silicone lubricant or even plain dish soap. Touch it to the very tip of the valve stem where the gauge contacts. This sounds odd, but it reduces friction and helps the gauge seat smoothly.
The lubricant evaporates within minutes and doesn't affect pressure.
Step 5: Press the Gauge Straight On
Position the gauge nozzle directly in line with the stem. Push in firmly but do not tilt. You should feel a slight resistance as the gauge seats.
If you feel the stem flex sideways, stop and re-position. A sideways force on a rubber stem is the fastest way to start a leak.
Step 6: Read at Eye Level
For dial gauges, view the needle straight on. Reading from an angle introduces parallax error of 1 to 2 PSI, which matters at these low pressures.
Step 7: Remove the Gauge Straight Off
Pull the gauge off in the same line of motion. Do not twist or pry. Twisting is what cracks brittle rubber stems.
A clean, straight pull keeps the valve core seated.
Step 8: Compare to Spec and Recheck
Check your reading against the operator's manual or the tire sidewall for max PSI. If pressure is low, add air in short bursts. Recheck after each burst.
A typical riding mower tire only needs 1 to 3 PSI of added air to hit spec.
Step 9: Replace the Cap
Screw the cap back on finger-tight. That cap keeps moisture and dirt out of the valve core, which is the leading cause of slow leaks that mimic pressure loss.
Mistakes That Snap Valve Stems and Skew Readings
A few common errors show up over and over in mower repair documentation and user reports. Knowing these ahead of time saves you a trip to the dealer.
Tilting the Gauge
The single biggest mistake. A gauge pushed on at even a 15-degree angle applies lateral force to the stem. On a healthy rubber stem, you'll feel it flex.
On a brittle one, you'll snap it or distort the seal so it never quite seats again.
Skipping the Lubricant
Dry rubber on dry metal creates friction. That friction means you push harder to seat the gauge, and harder pushing means more lateral force. A drop of lubricant turns a 5-pound push into a 1-pound push.
Checking Hot Tires
As we noted, hot tires read high. If you check after mowing and decide to bleed air down to the spec number, you'll end up under-inflated once the tire cools. The Rubber Manufacturers Association guidelines consistently recommend cold inflation checks for accurate readings.
Over-Tightening the Cap
The plastic cap is finger-tight only. Over-tightening can crack the cap or distort the valve stem threads on metal stems. Hand snug is enough to seal.
Using a High-Pressure Compressor Without a Regulator
A shop compressor at 150 PSI will fill a 10-PSI tire in a heartbeat. The sudden rush of air can pop the bead or blow debris into the valve core. Always use a regulator.
A low-PSI hand pump is the safer choice for small tires.
Mistaking a Slow Leak for Normal Pressure Loss
A healthy tire loses about 1 PSI per month from natural air diffusion through the rubber. If you're losing more than that, something is leaking. The valve stem is a prime suspect, but so is the tire bead where it seals against the rim.
A quick soapy water test tells you which one.
How to Tell If Your Valve Stem Is Leaking vs. the Tire Itself
A pressure drop doesn't always mean a bad tire. The valve is the most common culprit, but only a quick test tells you for sure. Here's the diagnostic branch.
The Soapy Water Test
Mix a few drops of dish soap into a small spray bottle of water. Saturate the valve stem, including the base where it meets the rim. Watch for bubbles.
Steady bubbling at the base means the stem-to-rim seal is failing. Bubbles at the very tip mean a bad valve core or damaged stem threads. No bubbles at all means the valve is fine, and you should move to the tire itself.
Spray the Bead and Tread
If the valve checks out, hit the tire bead (the edge where the tire seats against the rim) and the tread surface. Bead leaks often look like rim corrosion, especially after winter storage in a humid shed. Tread leaks are rarer on mower tires but show up after hitting a sharp rock or stub.
Listen After Spraying
Sometimes you'll hear a faint hiss before bubbles form. That's the air escaping fast enough to push water out of the way without forming suds. If you hear it but don't see bubbles, dry the area and re-spray.
The second pass usually reveals the leak point.
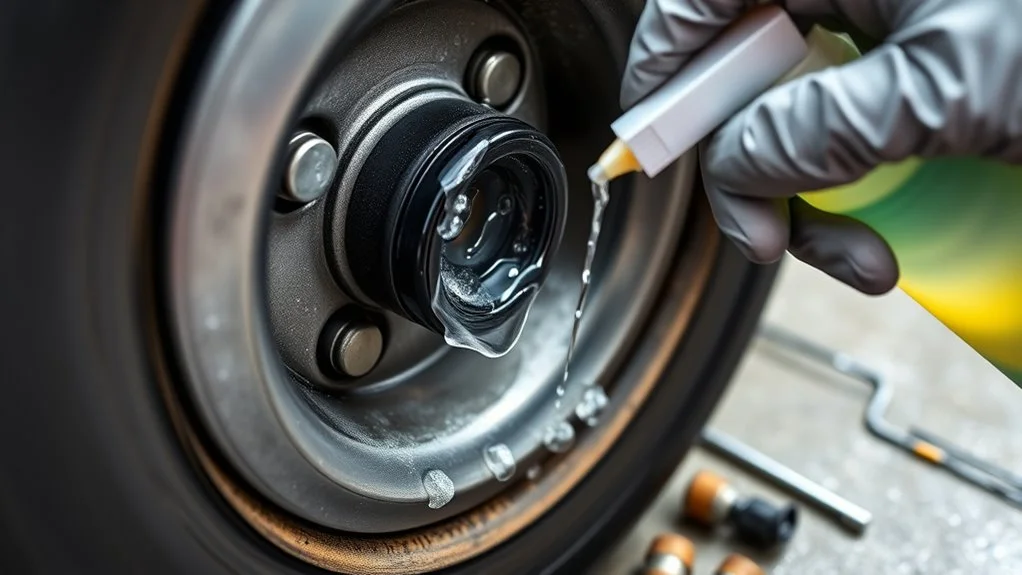
Image source: Bing (Web (fair-use with source credit))
When to Replace vs. Repair
| Leak Location | Fix | Time | Cost |
|---|---|---|---|
| Valve core (top threads) | Screw in new core with valve tool | 5 min | $2-5 |
| Stem-to-rim seal | Pull and replace stem | 15 min | $5-10 |
| Bead leak (corrosion) | Clean rim, reseat tire | 30 min | $0-15 |
| Tread puncture | Tire plug or replacement | 20-60 min | $5-25 |
A valve core swap is the cheapest and fastest fix. A bead leak from rim corrosion means pulling the tire, scrubbing the rim with a wire brush, and reseating with bead sealer. That job is doable at home but takes more time and a tire lever set.
Quick Reference: Lawn Mower Tire Specs, Tools, and Fixes
This is the at-a-glance summary. Bookmark it for spring tune-up day or pre-season checks.
Typical PSI by Mower Type
| Mower Type | Front Tires | Rear Tires |
|---|---|---|
| Push mower (walk-behind) | 14-18 PSI | N/A |
| Rear-engine riding mower | 10-14 PSI | 10-14 PSI |
| Lawn tractor | 10-14 PSI | 8-12 PSI |
| Zero-turn residential | 10-15 PSI | 8-12 PSI |
| Commercial zero-turn | 12-18 PSI | 10-15 PSI |
Tools and Materials Checklist
- Low-pressure dial or digital gauge (0-30 PSI range)
- Silicone lubricant or dish soap
- Clean rag or shop towel
- Valve core tool (standard Schrader size)
- Spare valve cores (pack of 4)
- Replacement valve caps with O-rings
- Small spray bottle for leak detection
- Hand pump or regulated compressor (max 25 PSI)
- Valve stem puller (for full stem replacement)
Seasonal Reminder
Cold weather drops tire pressure by about 1 PSI for every 10°F drop in temperature. A tire at 14 PSI in October can read 11 PSI by January. Check pressure at the start of every mowing season and monthly during heavy use.
Frequently Asked Questions
How often should I check lawn mower tire pressure?
Check it once per month during the mowing season and once before storage. Manufacturer maintenance schedules typically list tire pressure as a 25-hour or 30-day check item.
Can a valve stem leak fix itself?
No. Once a rubber valve stem is cracked, hardened, or deformed, it will not reseal. The only fix is replacement of the core or the entire stem.
Adding air to a leaking valve just buys you a few hours of run time.
What PSI is too low for a riding mower?
Any reading more than 2 PSI below the spec is too low for safe operation. At 4 or more PSI under spec, the tire can slip on the rim, damage the sidewall, or cause the deck to sit unevenly, which produces a poor cut.
Is it safe to use tire sealant in a lawn mower tire?
Tire sealant works for small punctures in the tread but can clog a valve core if it migrates. If you use sealant, remove the valve core during application and install a fresh core afterward. Avoid sealant in tires with slow leaks around the bead, since it won't reach the leak point effectively.
Why does my lawn mower tire keep going flat even after inflating it?
The three most common causes are a leaking valve core, a corroded rim bead, and a slow puncture in the tread. The soapy water test isolates which one is the culprit. If none of those show, the tube inside the tire may be porous, which is rare but possible on older units.
Can I drive a riding mower with low tire pressure?
You can, but you'll get an uneven cut, reduced traction on slopes, and accelerated tire wear. The deck height shifts when one tire is low, which scalps high spots and leaves long grass in low spots. Inflate to spec before each mow.

Similar Posts