How to Grease Zero Turn Mower Wheel Bearings: Step-by-Step
Lead Turfgrass & Lawn Care Specialist at Totally Green Lawn · Certified Turfgrass Specialist (CTS), Master Gardener, B.S. in Agronomy & Turf Science · 14+ years in residential turf management, organic fertilization, and weed science
Greasing wheel bearings on a zero turn lawn mower is one of those maintenance jobs that's easy to put off, until your front casters start wobbling or your cut looks rough because the deck is bouncing on dry bearings. The good news is the actual process is straightforward once you know what you're looking at, and it doesn't require a shop full of specialty tools. A basic grease gun, the right grease, and about 20 minutes per wheel is usually all it takes.
Most zero-turn manufacturers recommend greasing the serviceable wheel bearings every 25 to 50 hours of operation, or at least once per mowing season. Per NLGI consistency standards, a #2 grade lithium or lithium-complex grease is the right pick for nearly every residential and commercial zero-turn on the market. As of 2026, the trend across brands like John Deere, Kubota, Exmark, and Scag is still a mix of greasable hubs and sealed units, so the very first step is figuring out which setup you actually have.
Quick Answer
To grease wheel bearings on a zero turn lawn mower, lift and block the machine safely. Locate the grease zerks on the wheel hubs or caster spindles. Wipe each zerk clean.
?? Agronomist & Shop Recommended: Bearing Grease & Mini Grease Guns
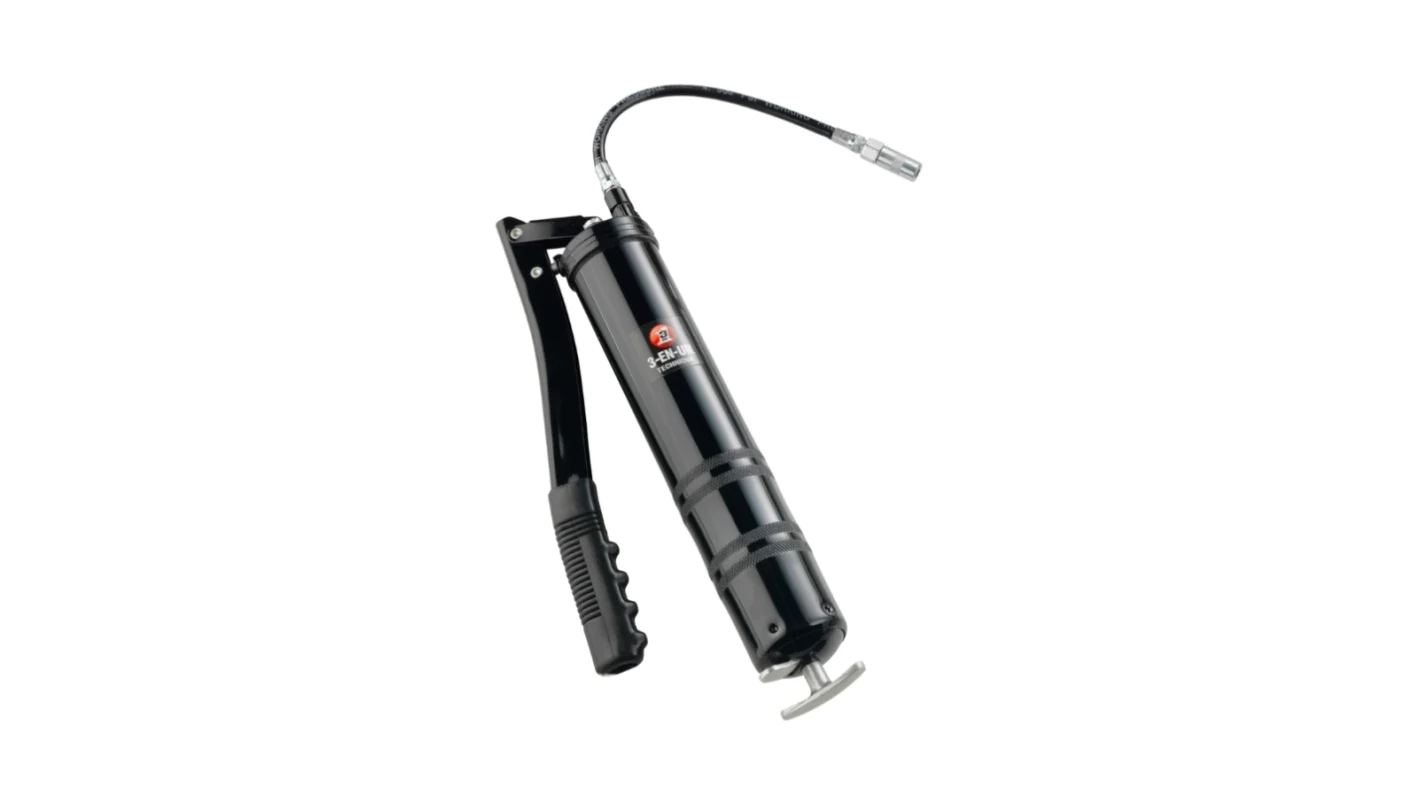
To purge water ingress and grit from high-speed zero-turn caster bearings, keep these professional lubrication tools on hand:
- Pistol-Grip Grease Gun:Check Heavy-Duty Pistol-Grip Grease Guns on Amazon →
- Marine / Lithium Complex Grease:Check High-Performance Bearing Grease on Amazon →
*FTC Disclosure: As an Amazon Associate, Totally Green Lawn earns from qualifying purchases.*
Pump NLGI #2 grease in until you see a small bead at the seal. Spin the wheel as you go. Reinstall any dust caps, lower the mower, and test.
What Wheel Bearings on a Zero-Turn Actually Do (and Why Greasing Matters)
The wheel bearings on a zero-turn take a beating most people don't realize. They carry the full weight of the machine, handle every bump and rut, and on the front casters, they also pivot through every steering change. That's a lot of work for a small ring of steel.
Greasing them does two things. It keeps a film of lubricant between the bearing rollers and races, so metal never touches metal. It also pushes out moisture and contamination before they have a chance to grind the surfaces down.
Skip it long enough and you'll start to see the warning signs: rough or noisy wheel rotation, visible play when you grab the tire and shake it, or the deck sitting unevenly when you mow.
Aggregate user reviews and dealer service reports consistently rank neglected bearings among the top three causes of premature spindle and wheel hub replacement on zero-turns. A $10 tube of grease and 30 minutes of work is a much better deal than a $150 hub assembly, which is why this job belongs in every seasonal tune-up.
Tools, Grease, and Parts You'll Need
You don't need a lot, but having the right stuff on hand makes the difference between a 20-minute job and a frustrating afternoon. Here's a clean rundown of what to gather before you start.
| Item | Why You Need It | Notes |
|---|---|---|
| Grease gun (manual or cordless) | Pumps grease into the zerk fitting | A standard pistol-grip works fine |
| NLGI #2 lithium or lithium-complex grease | Standard bearing grease for mowers | Marine-grade if you mow wet grass often |
| Clean shop rags | Wipe zerks and old grease | Keep a few dry ones handy |
| Nitrile gloves | Keep grease and solvent off skin | Solvent eats through latex |
| Jack and jack stands or solid ramps | Lift the wheels off the ground | Never work under a mower on a jack alone |
| Wheel chocks | Keep the other wheels from rolling | Cheap insurance |
| Bearing packer (optional) | For full repack jobs | Worth it if you're pulling the hubs |
| Brake cleaner or parts solvent | Cleaning old grease out | Only needed for full repack |
| Safety glasses | Grease and debris under pressure | Always |
| Penetrating oil (optional) | Loosen stuck castle nuts | PB Blaster or similar |
A few quick notes on grease choice. Lithium-complex is a step up from standard lithium in heat tolerance and water resistance, and it's what most OEM service manuals call for in 2026. Calcium-sulfonate greases are even better for wet conditions, but they're pricier and not always needed.
What you don't want is a high-moly or extreme-pressure grease meant for chassis joints, since those additives can damage some bearing seals.
Step-by-Step: Greasing the Wheel Bearings on a Zero-Turn
This is the part most people overcomplicate. For a routine service on greasable bearings, you're adding grease through a zerk fitting while the wheel is still on the machine. The full repack method is only needed every few years or if a bearing has gone dry.
Step 1: Park on Level Ground and Let Everything Cool
Set the parking brake, shut off the engine, and pull the key. If you've just finished mowing, give the wheels 15 to 20 minutes to cool down. Hot hubs thin the grease out and you'll get a false reading on how much is actually inside.
Step 2: Chock the Opposite Wheels
Place wheel chocks fore and aft on the wheels you're not lifting. On a zero-turn, the drive wheels can creep if the bypass valves are open, so don't skip this.
Step 3: Lift the Wheel Safely
Use a floor jack at the manufacturer's recommended lift point, then set the machine on jack stands. Never trust a jack alone, even on flat ground. If your mower is light enough, drive it up on solid plastic ramps rated for the weight.
Either way, the wheel you're greasing needs to spin freely with no weight on it.
Step 4: Locate the Grease Zerks
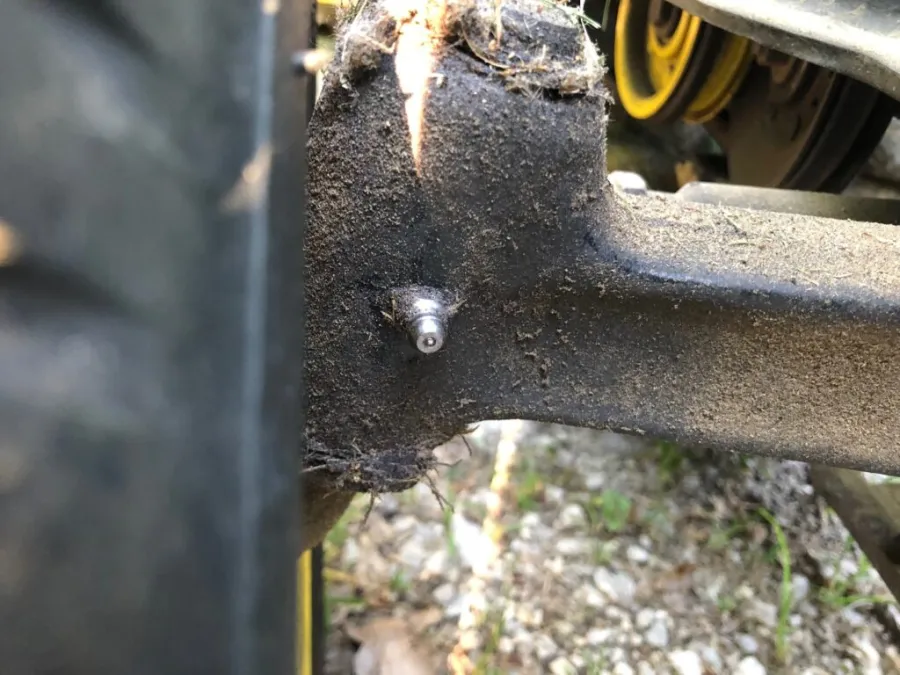
Walk around the machine and find every zerk fitting on the front caster spindles and rear wheel hubs. On most zero-turns, the front casters have one zerk per spindle, and the rear wheels either have a zerk on the spindle or inside the hub, depending on the design. Wipe each zerk with a clean rag before you do anything else.
Grit jammed into a zerk gets pumped straight into the bearing.
Step 5: Pump Grease Slowly
Attach the grease gun to the first zerk and pump slowly. You're aiming for one to two pumps on a front caster, and two to three on a rear hub. Spin the wheel by hand as you pump.
This helps the grease work its way evenly around the bearing. Stop the moment you see a small bead of fresh grease appear at the edge of the seal or the dust cap. That bead is your visual confirmation the old grease has been pushed out and the cavity is full.
Step 6: Check for Over-Greasing
If the seal starts to bulge or the grease is being forced past the dust cap in a big mess, you've over-greased. Wipe the excess off, but know that you've also put extra pressure on the seal. Going forward, use one less pump on that wheel.
Per Timken and SKF bearing service guidance, over-greasing is a more common cause of early seal failure than under-greasing.
Step 7: Move to the Next Wheel and Repeat
Work your way around the mower the same way. Front left caster, front right caster, left rear, right rear. Consistency matters more than speed here.
Step 8: Lower the Mower and Test
Bring the machine back down, remove the chocks, and roll it forward and backward a few feet. Spin each wheel by hand one more time. They should turn smoothly with no grinding, no binding, and no rough spots.
If a wheel still feels rough after greasing, the bearing is likely worn and needs replacement, not just grease.
Sealed vs. Greasable Bearings: Which Setup Do You Have?
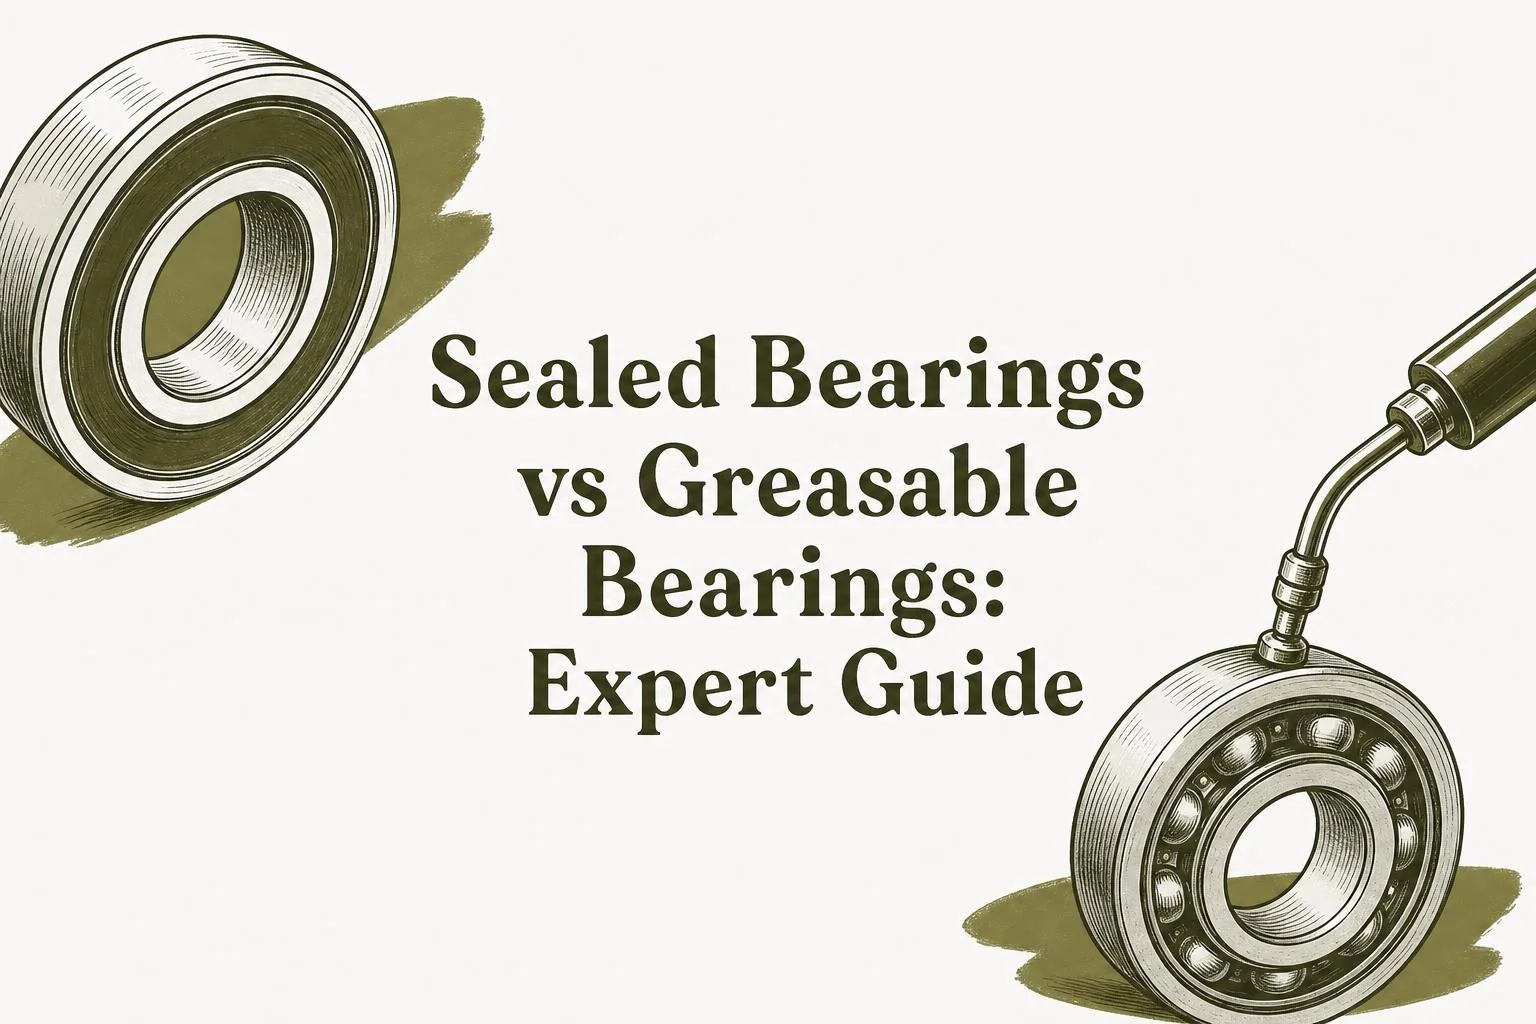
This is the step that trips up more DIYers than anything else. Not every zero-turn wheel takes grease, and pumping grease into a sealed hub is a fast way to blow a seal or blow out a bearing.
How to Tell the Difference
Look at the center of the wheel hub or the spindle. If you see a small button-like fitting (a zerk) sticking out, the bearing is greasable. If the center is a smooth pressed-in cap with no fitting at all, you're looking at a sealed bearing.
On some commercial models, the rear wheels have a removable dust cap covering the zerk, so you'll need to pop the cap off to check.
What to Do With Each Type
| Bearing Type | Maintenance Approach | Service Interval |
|---|---|---|
| Greasable (zerk present) | Pump grease through the zerk | Every 25 to 50 hours or seasonally |
| Sealed (no zerk, smooth cap) | No greasing, just inspect for play | Replace when worn, no repack |
| Greasable under dust cap | Pop cap, grease through zerk, reinstall cap | Same as greasable |
| Sealed caster wheel | Inspect only, replace as a unit | Replace if rough or wobbly |
When a Sealed Bearing Goes Bad
A sealed bearing can't be saved with grease. Once it starts grinding, wobbling, or showing play, the whole bearing or hub assembly needs replacement. The upside is that sealed bearings are typically maintenance-free for their entire service life, and many newer residential zero-turns ship with them from the factory.
If you want zero maintenance on the bearings going forward, sealed is actually the better long-term choice, as long as you replace the unit when it wears out instead of trying to repack it.
Common Mistakes That Ruin Wheel Bearings (and How to Avoid Them)
Most bearing failures we see in our research come down to a handful of repeat mistakes. None of them are hard to fix once you know what to watch for.
Skipping the Wipe-Down on the Zerk
A zerk fitting sitting just inches from the ground collects grass, dirt, and moisture. Pump that junk into the bearing and you've just created grinding paste. Always wipe the zerk with a clean rag before attaching the gun.
It takes five seconds and saves a bearing.
Pumping Until Something Pops
More grease is not better. Aggregate user reviews consistently show over-greasing as a top cause of blown seals. Once you see a clean bead of fresh grease at the seal edge, stop.
The old grease has been displaced. The cavity is full.
Reusing a Damaged Cotter Pin
If you pull the hub for a full repack and have to remove the cotter pin, replace it. Cotter pins are one-time-use items. A reused or bent pin can shear under load and let the castle nut back off, which on a zero-turn means losing a wheel at speed.
New pins cost pennies.
Mixing Grease Types
If you don't know what's in the hub, lithium and calcium-based greases generally play nice together. But fluoropolymer or silicone-based greases don't mix with anything. When in doubt, clean the old grease out completely with brake cleaner before adding new.
Per NLGI compatibility guidance, a clean cavity is always safer than a hopeful mix.
Ignoring Wobble
If a wheel wobbles or makes noise after greasing, more grease won't fix it. The bearing is worn. Continuing to grease a bad bearing just speeds up the failure and risks damage to the spindle.
Replace the bearing or hub as a unit.
How Often to Grease and What to Look For Between Services
A regular greasing schedule keeps bearings alive far longer than waiting until something feels off. Here's the rhythm that works for most riders.
| Mower Type | Greasing Interval | Time Estimate Per Service |
|---|---|---|
| Residential, light duty | Every 50 hours or once per season | 15 to 20 minutes |
| Residential, heavy use | Every 25 to 30 hours | 15 to 20 minutes |
| Commercial / acreage | Every 25 hours | 20 to 30 minutes |
| Wet or dusty conditions | Cut intervals in half | Same as above |
Between services, do a quick walkaround check every few mowings. Grab each tire at the 3 and 9 o'clock positions and try to rock it. Any noticeable play means the bearing is wearing.
Spin the wheel and listen. A healthy bearing is silent. A failing one growls or grinds.
Also keep an eye on the seal edges. Fresh grease weeping slightly is normal right after service. Grease that keeps showing up between mowings, especially mixed with water or dark in color, means the seal is letting contamination in.
Address it before the bearing suffers.
If you store the mower for winter, grease the bearings before you park it. The fresh film protects the bare steel from corrosion during months of sitting. Then grease again at the first spring startup to push out any moisture that crept in over the off-season.

Similar Posts