Why One Sprinkler Zone Has Low Water Pressure
Lead Turfgrass & Lawn Care Specialist at Totally Green Lawn · Certified Turfgrass Specialist (CTS), Master Gardener, B.S. in Agronomy & Turf Science · 14+ years in residential turf management, organic fertilization, and weed science
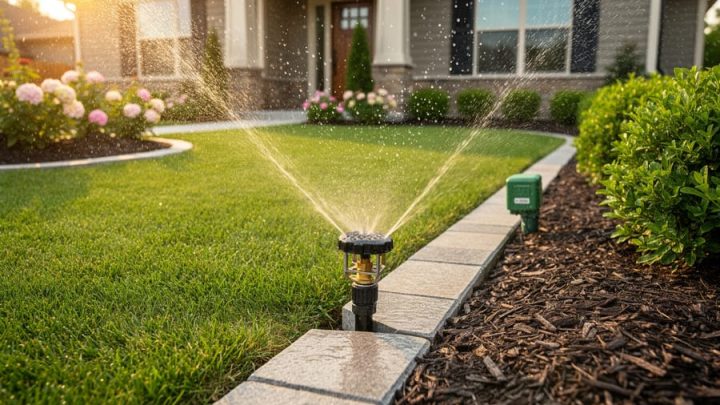
If you've ever watched one sprinkler zone dribble out weak, misty heads while the rest of the yard looks fine, you're not alone. The frustrating part is that "why is sprinkler water pressure dropping in one zone" usually has a short list of suspects, and you can find the real one in under an hour if you test in the right order.
Most residential zones run on 30 to 65 PSI of working pressure, so when one zone drops below about 25 PSI at the heads, you'll see misting, short throw distance, and heads that barely pop up. Manufacturer specs from Hunter, Rain Bird, and Toro all confirm that rotor heads need roughly 45 to 65 PSI to throw properly, and spray heads need 30 to 35 PSI to deliver their rated distance. Knowing those numbers is the starting point for everything that follows, so let's get into what your system is actually doing.
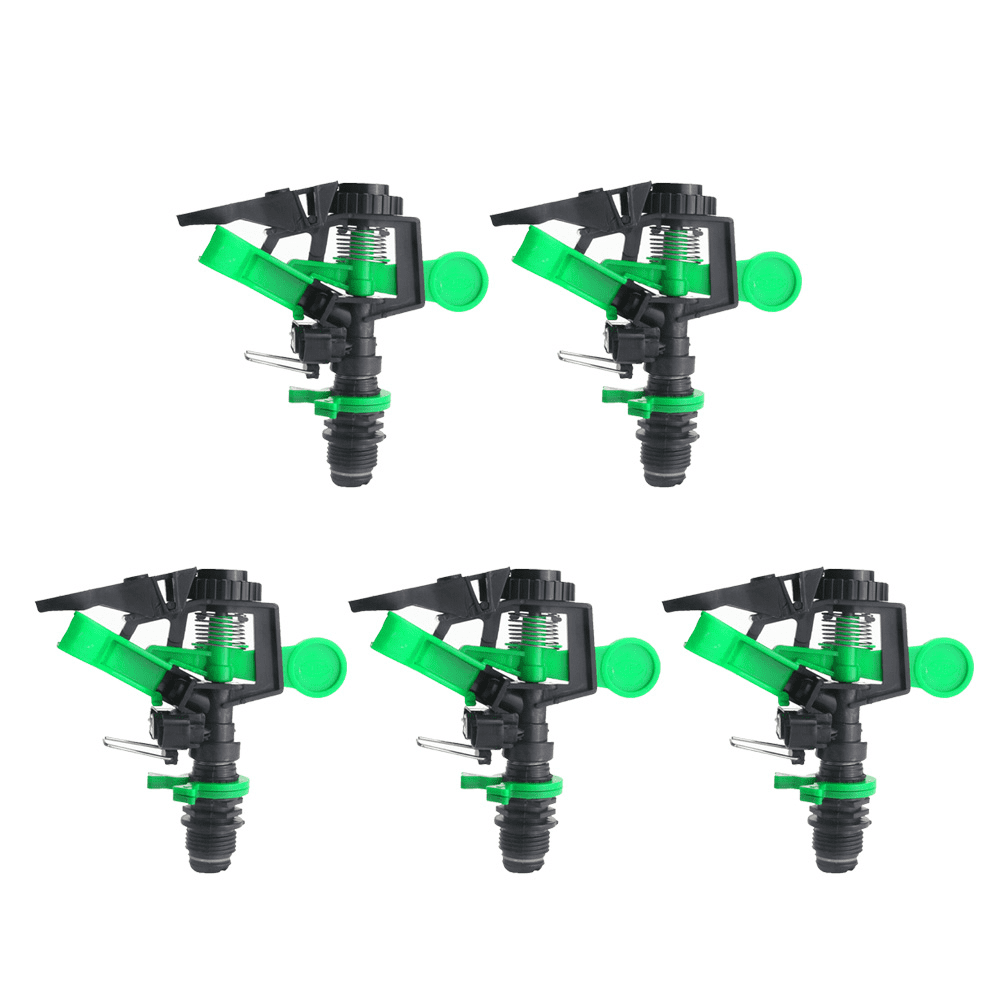
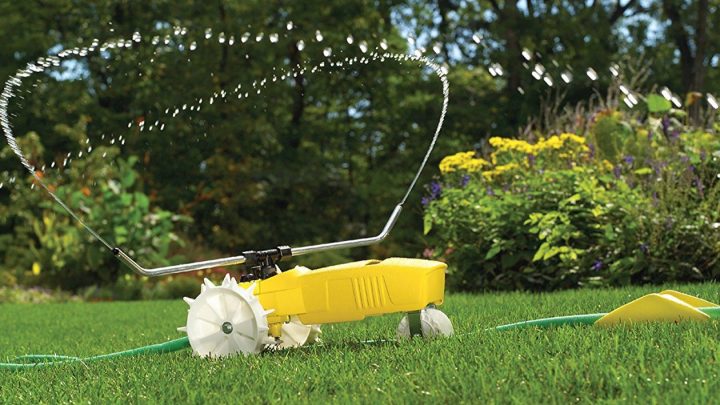
Image source: Bing (Web (fair-use with source credit))
Quick Answer
A single sprinkler zone loses pressure when something inside that zone is restricting flow or leaking water out before it reaches the heads. The most common causes are a cracked lateral line, a partially closed or failing solenoid valve, clogged nozzles, or too many heads on the zone. You diagnose it by isolating the zone and measuring pressure at the valve and at the heads.
Why Pressure Drops in a Single Sprinkler Zone (and What It Tells You)
When pressure falls in just one zone, the problem is almost always between the manifold and the last head on that zone. The rest of your system can be totally healthy, so you're really looking for a local restriction, a local leak, or a control issue at that specific valve. Three quick observations narrow the field fast:
- Other zones run fine. That rules out the main supply, the backflow preventer, and the pump (if you have one). The fault lives downstream of the manifold.
- Heads pop up but spray weakly. You're losing pressure somewhere along the path, usually in the valve, the pipe, or the nozzle itself.
- Heads don't pop up at all, or only some do. You may have a dead solenoid, a broken lateral, or a head that's clogged with debris.
Per the Irrigation Association's residential irrigation best-practice guidance, working pressure is the single biggest factor in head performance, and even a 10 PSI drop can cut rotor throw distance in half. That's why a single weak zone is worth chasing down. Wasted water and dead patches of turf add up fast, and a cracked lateral can quietly dump hundreds of gallons a day.
The good news is that the diagnostic path is short. You don't need fancy gear, and you don't need to guess. You just need to follow a sequence that rules things out one branch at a time.
How Sprinkler Pressure Actually Works in a Single Zone
Every zone is a small hydraulic loop. Water enters the zone through a solenoid valve, flows through the lateral pipe, and exits through the sprinkler heads. Pressure at the heads depends on three things: the supply pressure coming in, the friction loss inside the pipe, and the pressure consumed by the heads themselves.
Here's the part most homeowners miss. Pressure and flow are linked. A 3/4-inch PVC lateral flowing 6 GPM loses about 5 to 6 PSI per 100 feet just to pipe friction.
If you cram 8 or 10 rotors onto a zone that was designed for 4, the pipe can't deliver enough flow, and pressure at the last head collapses. The heads closest to the valve look fine, the heads at the far end look terrible. That's a classic hydraulic overload, and it shows up as a "pressure" problem even though the real issue is undersized pipe or too many heads.
A second concept worth knowing: static pressure versus dynamic pressure. Static is the pressure in the line when no water is flowing. Dynamic is the pressure while the zone is running.
Most performance problems only show up under dynamic conditions, which is why you always test pressure with the zone on, not off.
| Pressure Type | When You Measure It | What It Tells You |
|---|---|---|
| Static | Zone valve closed | Health of the main supply and backflow preventer |
| Dynamic (at valve) | Zone running, gauge on the manifold | Health of the valve and supply line to the zone |
| Dynamic (at head) | Zone running, gauge or pitot at the head | Real working pressure and friction loss in the lateral |
If you're seeing low pressure at the head but normal pressure at the valve, your problem is in the lateral pipe or the heads. If pressure is low at the valve, your problem is upstream of the valve, which usually means the valve itself.
The Diagnostic Workflow: Find the Cause Step by Step
This is the part where a little order saves a lot of digging. Work through the sequence below, and stop as soon as the test gives you an answer. Most homeowners solve this in under 30 minutes once they follow the chain.
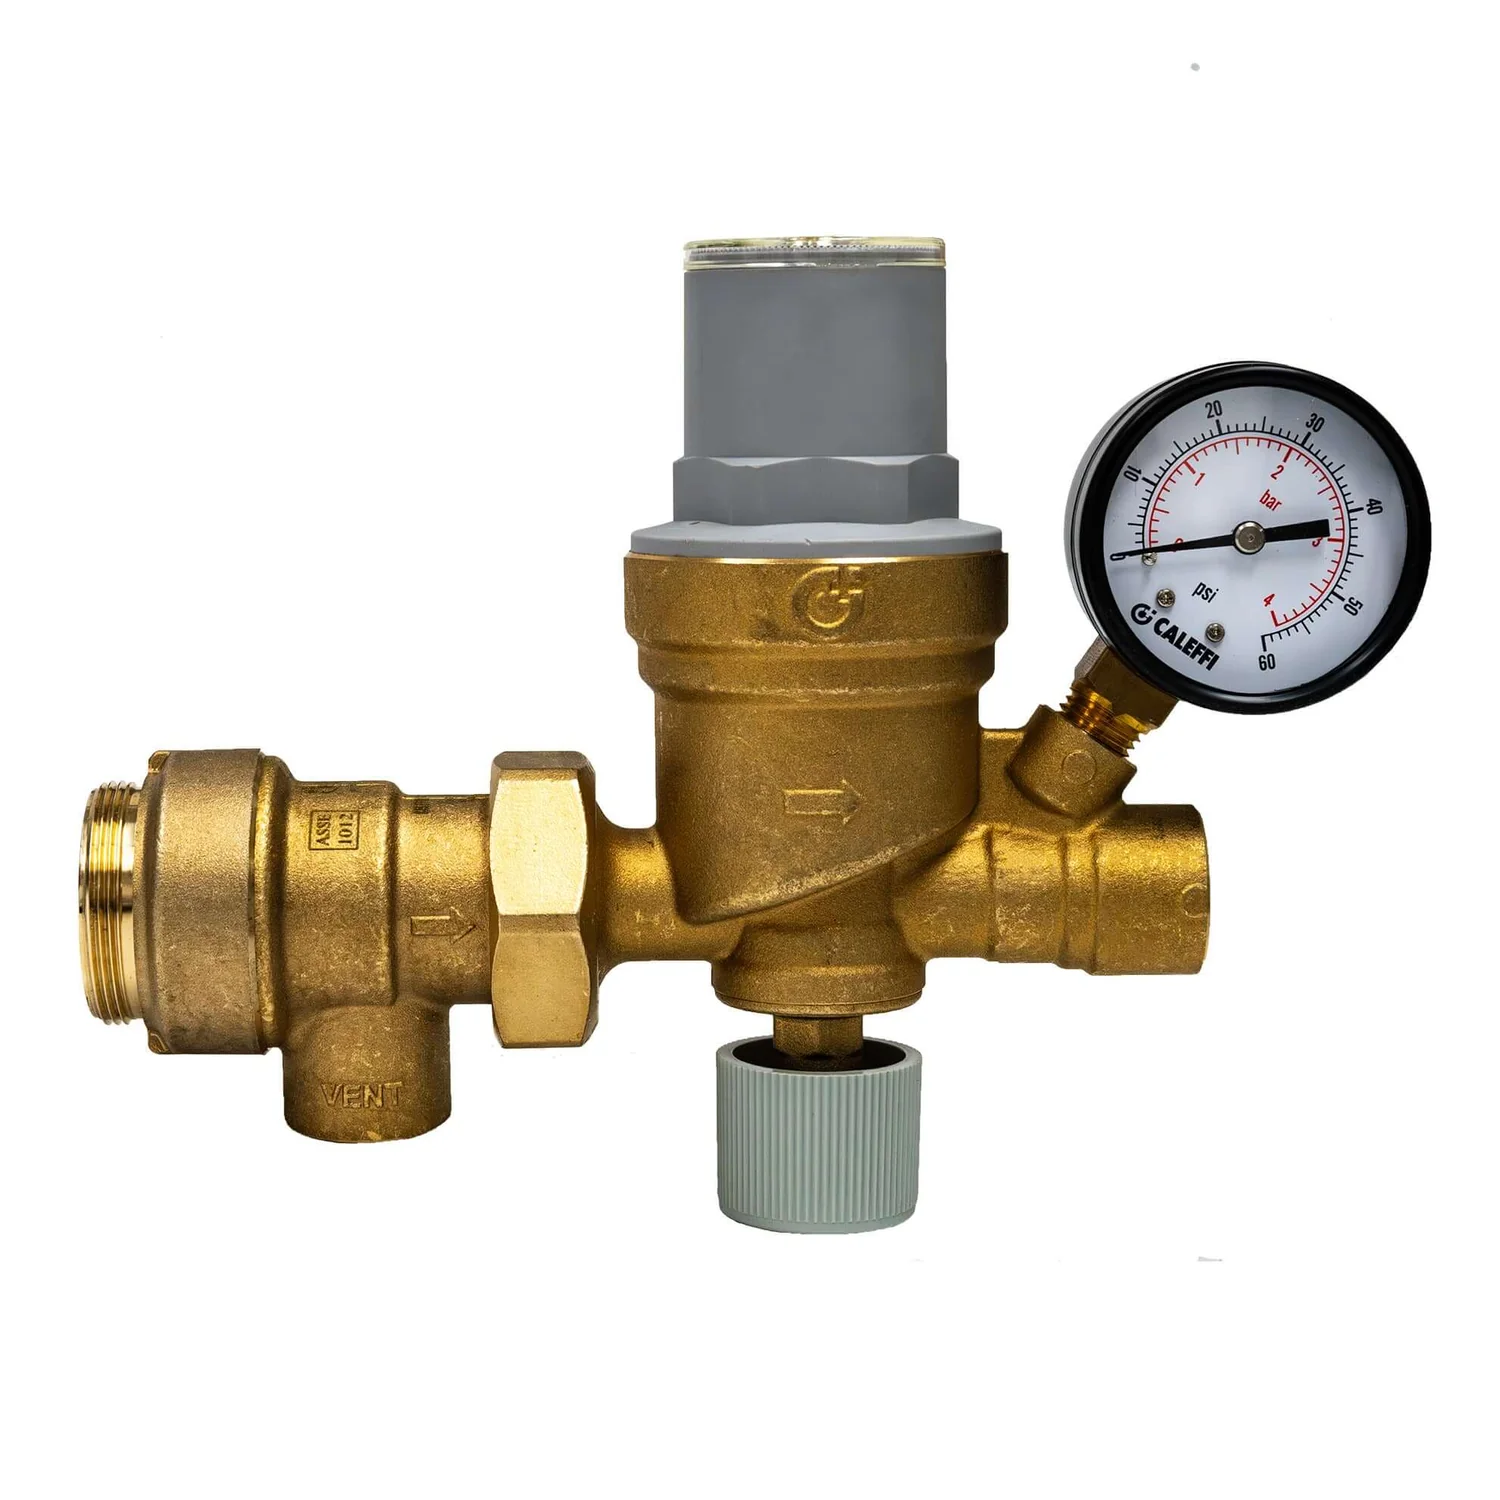
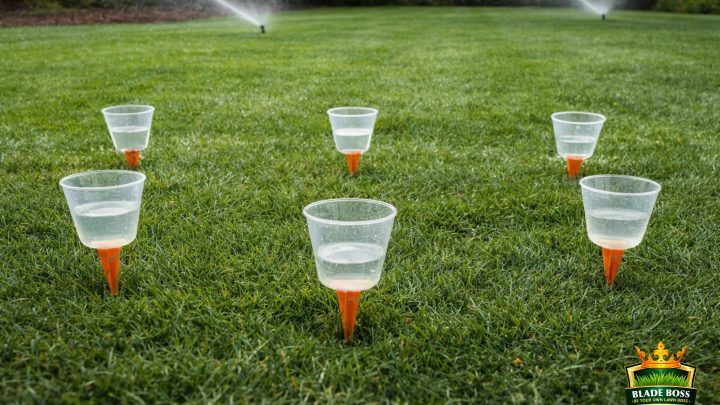
Image source: Bing (Web (fair-use with source credit))
Step 1: Run the zone manually at the controller.
Manually trigger the zone from the timer, not the valve. You're confirming the controller is sending a signal. If the zone runs at all, the timer, common wire, and master valve (if equipped) are functional.
If the zone doesn't run at all, you have a separate electrical problem, and pressure isn't your issue yet.
Step 2: Listen and look at the valve.
With the zone running, walk to the valve box and listen for a steady, full click. A weak, chattering, or silent solenoid suggests electrical failure. Look for soggy soil, air bubbles, or water leaking back into the valve box.
Per Hunter Industries' valve troubleshooting documentation, a leaking valve diaphragm or a stuck solenoid plunger is one of the top three causes of low pressure in a single zone.
Step 3: Bypass the solenoid and run the zone manually at the valve.
Most residential valves have a manual bleed screw or a solenoid you can turn counterclockwise about a quarter turn. This opens the valve mechanically, without the timer. If pressure jumps back to normal, the solenoid or its diaphragm is bad.
If pressure stays low, the problem is downstream in the lateral.
Step 4: Measure pressure at the valve.
Attach a 0 to 100 PSI gauge to the test port on the valve. Run the zone. You're looking for at least 40 PSI on the supply side of the valve.
Below 30, and the supply is starving the zone. Above 50, and the valve is passing restriction or the lateral is your culprit.
Step 5: Cap heads one at a time, starting at the farthest head.
Walk to the last head on the zone and cap it. Watch the heads closer to the valve. If pressure jumps back up, the capped head has a clogged nozzle, a broken riser, or the pipe feeding it is cracked.
Move one head closer and repeat. This isolates the problem to a specific section of lateral.
Step 6: Check for a wet spot or a sinkhole.
A classic sign of a broken lateral is a patch of grass that's greener than the rest, a soft muddy spot, or a small depression. The pipe is leaking water underground and stealing pressure from the heads downstream.
| Step | What You're Testing | Decision Branch |
|---|---|---|
| 1 | Controller signal | No signal = electrical problem, stop here |
| 2 | Valve solenoid | Weak click = bad solenoid, replace |
| 3 | Manual valve operation | Pressure returns = bad solenoid/diaphragm |
| 4 | Pressure at valve | Below 30 PSI = supply or valve restriction |
| 5 | Cap heads progressively | Pressure returns = clogged/broken section |
| 6 | Look for leaks | Wet spot = broken lateral in that area |
If you've reached Step 6 and haven't found anything, the issue is probably a failing pressure regulator, a partially closed master or isolation valve, or the zone simply has too many heads for its pipe size. Those last few causes need a little more digging, which we'll cover in the next section.
Common Causes of Pressure Loss in One Zone (Ranked by Likelihood)
In our research across homeowner forums, contractor write-ups, and manufacturer service bulletins, the same handful of causes account for the vast majority of single-zone pressure drops. Here's the list in the order we typically find them in the field.
1. Cracked or broken lateral line.
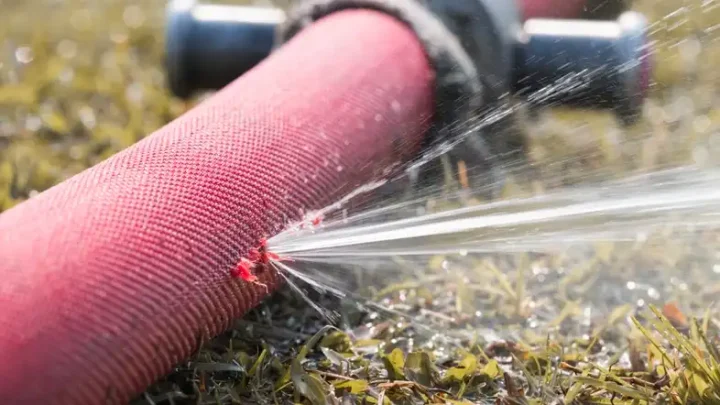
PVC gets brittle with age, poly gets chewed by roots, and a single bad joint can vent most of your pressure underground. This is the single most common cause of a sudden pressure drop in one zone, and it's often paired with a wet patch in the lawn.
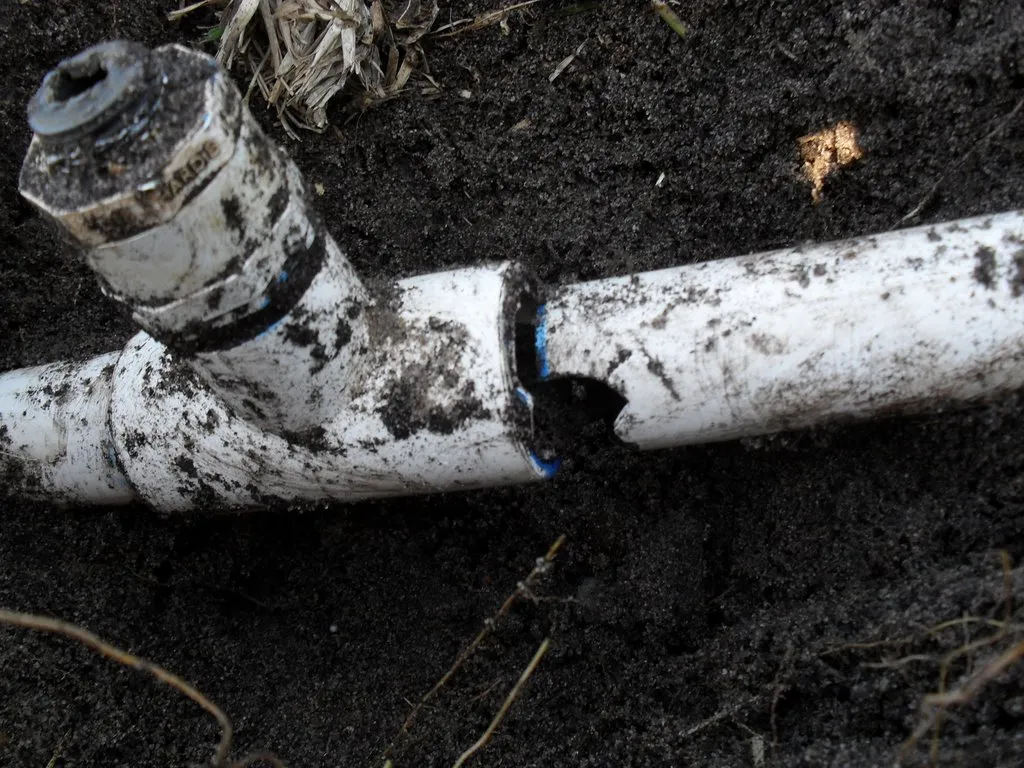
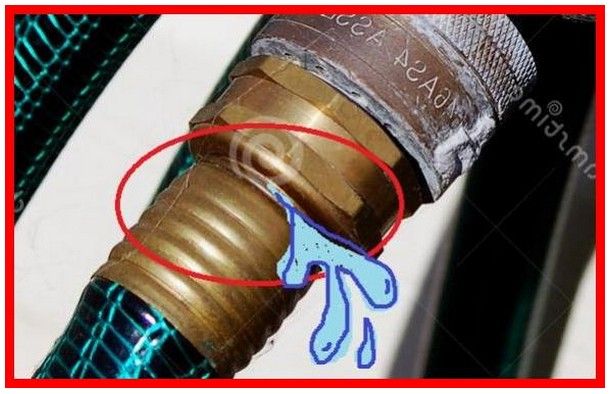
Image source: Bing (Web (fair-use with source credit))
2. Failing solenoid or torn valve diaphragm.
The solenoid is the electromagnetic coil on top of the valve. When it fails, the valve only opens partway, restricting flow. A torn diaphragm lets water leak back into the valve box.
Either one drops pressure dramatically.
3. Clogged nozzles or filter screens.
A single nozzle half-plugged with grit can drop the flow through the entire zone. This usually shows up as uneven coverage rather than a fully weak zone, but a heavy clog can mimic a pressure problem.
4. Partially closed isolation or master valve.
Someone may have turned a valve handle halfway during a repair and forgotten about it. It's a five-second fix once you spot it.
5. Too many heads on the zone.
If the zone was designed for spray heads and someone later added rotors, the flow demand can exceed what the lateral can deliver. Pressure at the heads closest to the valve looks fine, and pressure at the end collapses.
6. Pressure regulator failure.
If the zone is on a regulated branch and the regulator is stuck or clogged, downstream pressure drops for everything on that branch.
| Cause | Quick Test | Typical Fix |
|---|---|---|
| Broken lateral | Look for wet spot, cap heads progressively | Cut out and replace the cracked section |
| Bad solenoid/diaphragm | Manual bleed restores pressure | Replace solenoid or rebuild valve |
| Clogged nozzle | Pop up head, inspect screen | Clean or replace the nozzle and screen |
| Closed isolation valve | Check all valves in the box | Open fully |
| Too many heads | Count heads, compare to GPM rating | Split zone or upgrade pipe |
| Regulator failure | Bypass regulator temporarily | Clean or replace regulator |
The point of this ranking is simple. Don't start by replacing the valve. Start by looking at the ground, listening at the valve, and capping heads.
Most single-zone pressure issues are lateral problems, and a valve swap won't fix a cracked pipe.
Tools and Pressure Numbers You Need Before You Start
You don't need a truck full of gear, but a few specific tools will turn a guessing game into a real diagnosis. Here's what professional irrigation techs reach for first, and what each tool actually tells you.
- 0 to 100 PSI pressure gauge with a hose bib or pitot adapter. Attach it to the valve test port or hold it against a running spray head. This is the single most useful tool for the job.
- Multimeter that reads AC voltage and resistance. Solenoids typically run on 24 VAC, and their coil resistance usually falls between 20 and 60 ohms, depending on the brand. Per the EPA WaterSense irrigation audit protocol, verifying controller output is a standard part of any pressure diagnosis.
- Rotor or spray head adjustment key and a small pickup tool. You need these to pop up heads and pull nozzles.
- Plastic caps or foam earplugs. Useful for capping individual heads during the isolation test.
- Valve box probe or long screwdriver. Helps you locate valves and listen for leaks underground.
As for the numbers you should be looking for, keep this table handy while you work. It pulls together the manufacturer-published working pressure ranges that, as of 2026, still govern residential spray and rotor head design.
| Component | Acceptable Range | If You Read Below It |
|---|---|---|
| Static supply pressure | 40 to 80 PSI | Possible closed master or PRV issue |
| Dynamic pressure at valve | Above 40 PSI | Supply starvation or valve restriction |
| Spray head working pressure | 30 to 35 PSI | Misting, fogging, poor coverage |
| Rotor head working pressure | 45 to 65 PSI | Short throw, dry spots at edge |
| Solenoid resistance | 20 to 60 ohms | Open coil = replace solenoid |
| Controller output | 22 to 28 VAC | Wire break or failing transformer |
One last note before you start digging. Always work with the controller in the OFF position when you're opening valve boxes or capping heads, then manually trigger the zone for each test. That keeps you safe around 24 VAC and keeps the zone from running while your hands are inside the valve box.
Mistakes to Avoid When Troubleshooting Zone Pressure
Most failed diagnoses come from skipping steps or trusting the wrong clue. Here are the traps we see over and over, in roughly the order homeowners fall into them.
Jumping straight to the valve
Replacing a solenoid before checking the lateral is the single most expensive mistake. A new valve won't fix a cracked pipe, and you'll still see wet turf and low pressure at the last head. Start with the ground, then the valve.
Trusting the "it was fine last summer" story
Systems drift. A solenoid that held up for eight years can fail mid-season. A lateral that survived five winters can crack on the sixth.
Treat every diagnosis as fresh, even on a system you know well.
Mixing head types on the same zone
This one is sneaky. A homeowner adds two rotors to a spray zone "just for the corner." The rotors need twice the flow a spray head uses. The pipe can't keep up, and suddenly the whole zone looks weak.
Always check that the heads on a zone share the same precipitation rate and pressure requirement.
Capping heads without watching pressure at the valve
If you cap heads and pressure at the valve doesn't change, the restriction is between the valve and the first head, not at the heads. Most people cap heads and assume the issue is at the head. It's often a stuck flow control inside the valve.
Ignoring the wire path
A solenoid with 5 VAC instead of 24 VAC will click but won't open the valve fully. Low voltage from a broken splice or a failing transformer looks identical to a bad solenoid. Always check voltage at the solenoid before you buy a new one.
Pro Tips and Decision Guide: When to DIY vs. Call a Pro
Once you've worked the workflow, you usually land in one of three places. Here's how to read where you are and what to do next.
If the cause is a clogged nozzle or dirty filter screen
This is a clean DIY fix. Pop up the head, pull the nozzle, rinse the screen, reinstall. Ten minutes and a pair of pliers.
Per most manufacturer service bulletins, this is the recommended first step and doesn't void any warranty.
If the cause is a cracked lateral or a bad solenoid
Still DIY for most homeowners, but you'll need a PVC cutter, primer, cement, and a replacement solenoid. A lateral repair runs 30 to 90 minutes. A solenoid swap is 15.
The catch is that you need to know your valve brand and model before you order, so take a photo of the valve tag.
If the cause is too many heads or a failing pressure regulator
Call a pro. Re-piping a zone or replacing a regulator touches mainline pressure and backflow devices. In many jurisdictions, that work requires a licensed irrigator or plumber.
It's also where DIY mistakes tend to flood yards.
A good rule of thumb: if your multimeter reading or pressure reading is confusing you, stop and call someone. Diagnostic mistakes are cheap. Repair mistakes on a mainline are not.
Frequently Asked Questions
Can a single bad sprinkler head cause low pressure across the whole zone?
Yes. A head with a stuck internal check valve or a clogged nozzle can restrict flow into the entire downstream run. The fix is to pull the head and inspect, or cap it temporarily to confirm.
How do I tell if my pressure problem is the valve or the pipe?
Run the zone manually at the valve by opening the bleed screw. If pressure jumps, the solenoid or diaphragm is the issue. If pressure stays low, the pipe downstream is leaking or restricted.
What pressure should my sprinkler zone actually have?
Most residential spray heads run best at 30 to 35 PSI. Rotor heads need 45 to 65 PSI. Anything below 25 PSI at the head will produce misting and short throw distance.
Is it normal for sprinkler pressure to drop in hot weather?
Municipal pressure can drop slightly during peak demand on hot afternoons, which affects all zones, not just one. If only one zone is weak, the cause is local to that zone, not the weather.
How do I find a buried broken lateral line?
Walk the zone slowly while it's running. Look for soggy spots, greener grass, or a small depression. If nothing is visible, isolate by capping heads progressively and watching pressure recover at the valve.
Should I replace the whole valve or just the solenoid?
Most modern residential valves use a replaceable solenoid on top and a rebuildable diaphragm inside. Replace the solenoid first if it clicks weakly. Replace the diaphragm if water leaks from the valve body or the manual bleed.

Similar Posts